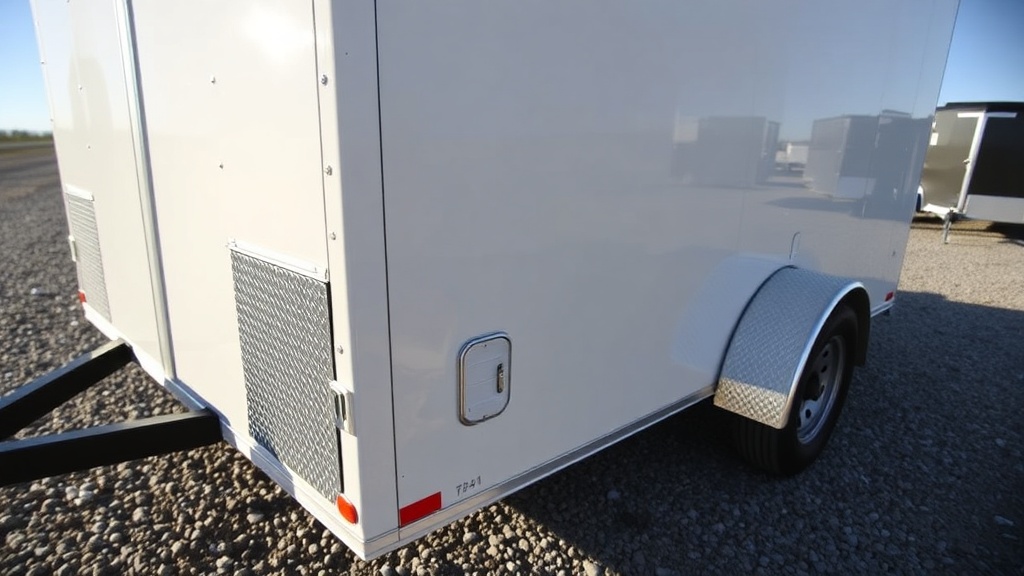
How Do You Assess the Severity of a Side Wall Puncture on a PJ Trailers Pacesetter 7×14?
A side wall puncture on your PJ Trailers Pacesetter 7×14 demands immediate attention. Before breaking out tools, you must first categorize the damage. Start by measuring the puncture’s diameter and depth. A diameter under 1.5 inches with no structural deformation typically qualifies as a minor repair. If the puncture exceeds 2 inches or distorts the aluminum sheet’s shape, you are looking at a moderate to major issue. Also check for exposed insulation or interior liner damage—if water has penetrated the foam core, the repair becomes more involved. Use a flashlight and a straightedge to assess creases in the adjacent panels. For any puncture that compromises a vertical support post (the aluminum framing inside the wall), you should consider professional intervention. The table below outlines severity levels for typical side wall punctures on this model.
| Severity Level | Puncture Diameter | Damage to Frame? | Leak Risk | Recommended Action |
|---|---|---|---|---|
| Minor | Under 1.5 inches | No | Low | Patch with aluminum plate and sealant |
| Moderate | 1.5–3 inches | Possible (check inside) | Medium | Backer panel + full seal |
| Major | Over 3 inches or tear | Yes | High | Replace entire wall section or consult dealer |
Before proceeding, ensure your PJ Trailers Pacesetter 7×14 Hitch Receiver Wear: Inspection and Replacement Guide is up to date, as towing stress can worsen wall damage.
What Tools and Materials Are Needed for the Repair?
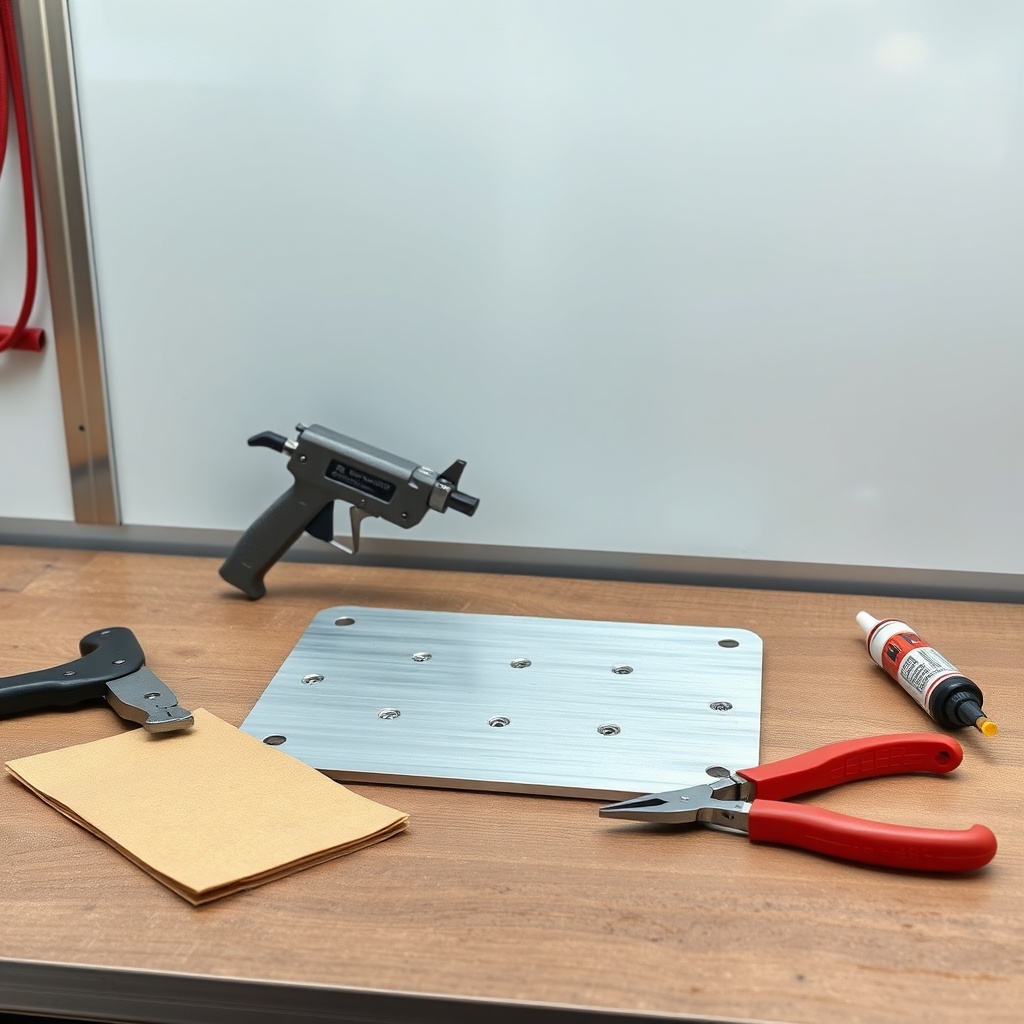
Gather the following before starting the puncture repair on your PJ Trailers Pacesetter 7×14:
- Aluminum patch plate: 0.040-inch thick, cut to overlap the hole by at least 1 inch on all sides.
- Aviation snips or metal shears for cutting the patch.
- Sandpaper (120-grit) and aluminum cleaner/degreaser.
- Structural adhesive (3M 5200 or equivalent marine-grade polyurethane).
- Self-tapping aluminum rivets (3/16-inch) and a rivet gun.
- Backer plate (thin aluminum or plastic) if the foam core is damaged.
- Brushable seam sealer (matching the trailer’s white or gray finish).
- Protective gloves (rips from aluminum edges are common).
- Utility knife for trimming insulation or interior liner.
If the puncture is near a corner or hinge, you might need additional support—see our PJ Trailers Pacesetter 7×14 Roof Leak Causes and Permanent Fix for related sealing techniques.
How Do You Prepare the Damaged Area for Patching?
Begin by removing any loose aluminum shreds around the puncture with the utility knife. Use sandpaper (120-grit) to scuff a 2-inch border around the hole—this ensures the adhesive bonds. Wipe the cleaned area with aluminum degreaser and a lint-free cloth. If the interior foam is exposed, cut away any water-damaged or crumbling sections with the knife. Insert a small backer plate (cut to 3×3 inches) behind the puncture to give the patch a solid foundation. Secure the backer temporarily with a dab of adhesive. Make sure the surface is completely dry; residual moisture under the patch will cause corrosion later. You can also check the PJ Trailers Pacesetter 7×14 Winter Storage Preparation Guide for tips on keeping wall cavities dry during colder months.
What Is the Step-by-Step Process for Installing the Patch?
Follow this sequence for a lasting repair on your PJ Trailers Pacesetter 7×14 side wall:
- Cut the patch plate: Use the aviation snips to cut a piece of 0.040-inch aluminum that extends at least 1 inch beyond the puncture’s edges on all sides. Round the corners slightly to prevent sharp edges from catching.
- Test fit: Hold the patch over the hole—confirm it covers the damage completely. Mark any interference with adjacent rivets or trim.
- Apply adhesive: Run a continuous bead of structural adhesive around the perimeter of the patch’s backside, staying about ¼ inch from the edge. Also add a zigzag line across the center.
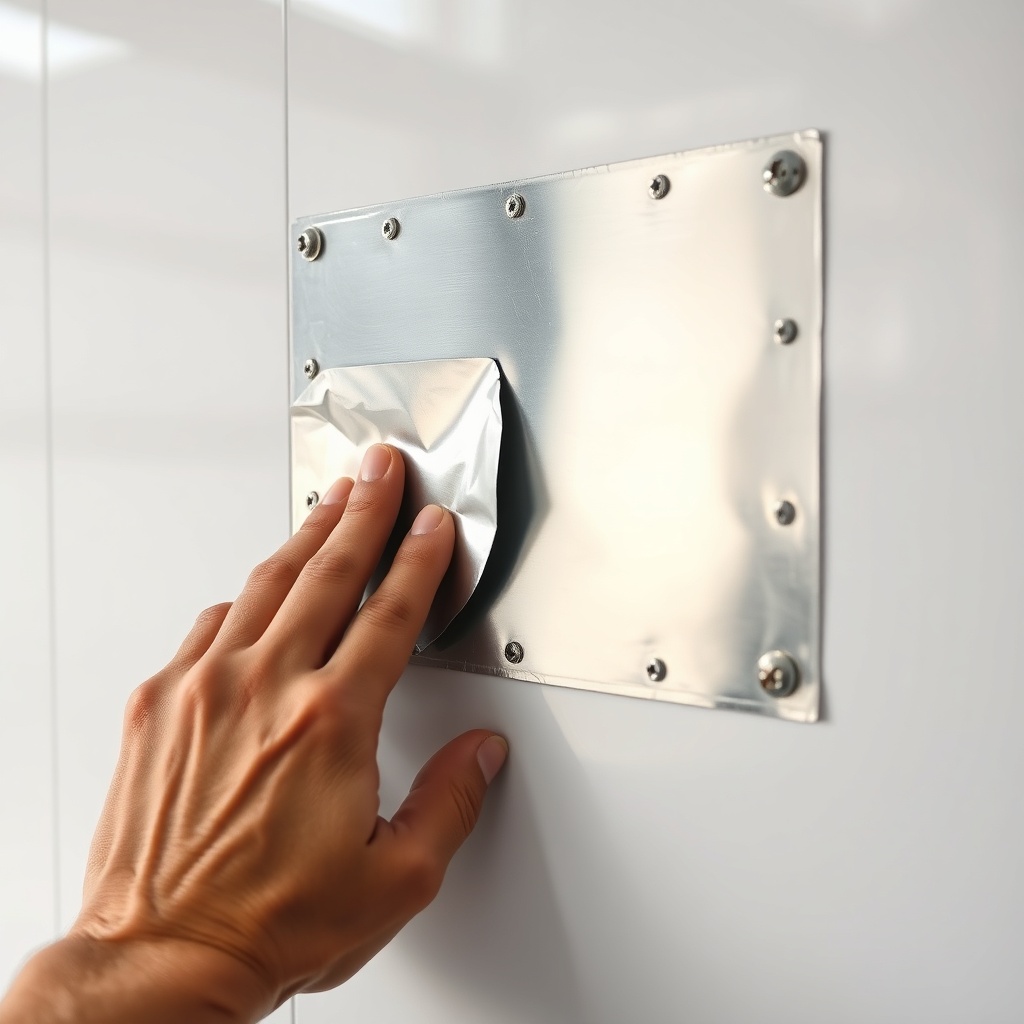
- Position the patch: Press it firmly onto the prepared wall surface. Wipe away excess adhesive immediately with a damp rag.
- Rivet the patch: Drill 3/32-inch pilot holes through the patch and into the trailer wall, spaced every 2 inches along the edge. Insert 3/16-inch self-tapping aluminum rivets and set them with the rivet gun. Avoid over-driving, which can dimple the aluminum.
- Seal the edges: Apply a ¼-inch bead of seam sealer over every rivet head and along the patch perimeter. Smooth with a wet finger for a professional look.
- Cure time: Let the adhesive cure for 24 hours (check manufacturer’s spec). Do not tow the trailer during this period.
If the puncture involves the interior liner (like a dent that cracked the inner skin), you must also patch that side—this doubles the repair time but prevents moisture trapping.
How Do You Prevent Future Side Wall Punctures?
Prevention is cheaper than patching. For your PJ Trailers Pacesetter 7×14, take these steps:
- Install protective rub rails if your trailer lacks them—aftermarket aluminum strips bolt to the lower wall.
- Maintain proper tire pressure to avoid debris being thrown up from the road. Refer to PJ Trailers Pacesetter 7×14 Tire Pressure and Load Rating Guide for correct inflation levels.
- Secure loose cargo inside—a shifting ATV or tool box can punch through side walls in a hard corner.
- Park away from construction zones or use a trailer cover when storing outdoors.
- Inspect the coupling latch regularly; a failed latch can cause the trailer to sway into obstacles. Consult PJ Trailers Pacesetter 7×14 Coupling Latch Inspection and Maintenance Guide for details.
What Do Owners Say About Side Wall Damage on the Pacesetter 7×14?
Owners of the PJ Trailers Pacesetter 7×14 often mention the aluminum skin as both a strength and a vulnerability. “The .040 aluminum is light but dents easier than steel; I hit a low branch and got a 2-inch gash,” reports one owner on a trailer forum. Another user stresses the importance of quality adhesive: “I used cheap silicone on a puncture patch, and it leaked within three months. Swap to 5200 and it’s solid.” Several owners note the interior liner is thin—some 1/8-inch plywood—so a heavy impact from inside can bulge the outer skin. A common tip: install a 1/4-inch plywood interior liner over the factory one for added impact resistance. Overall, owners agree the repair process is straightforward if you follow a methodical approach, but they caution against cutting corners on prep and curing time.
How Does the Patch Hold Up Over Time on a Pacesetter 7×14?
A properly installed patch on a PJ Trailers Pacesetter 7×14 should outlive the trailer if maintained. The key variables: the quality of the adhesive bond, the rivet seal integrity, and the absence of water intrusion behind the patch. Owners report patches lasting five to eight years without issue when using marine-grade polyurethane adhesive and sealing the rivets annually. However, if the trailer is stored outside in harsh sun, UV degradation can crack the seam sealer after three years—inspecting and reapplying sealant every two years is recommended. Check the interior wall occasionally for damp spots, which indicate a failed seal. For flooring-related issues that might affect wall stability, see PJ Trailers Pacesetter 7×14 Flooring Material Comparison: Plywood vs Aluminum.
Frequently Asked Questions
1. Can I use a fiberglass patch instead of aluminum on a PJ Trailers Pacesetter 7×14 side wall?
Yes, but aluminum is preferred because it matches the expansion coefficient of the wall and adheres better to the existing structure. Fiberglass can crack under flexing during towing.
2. How much does it cost to repair a side wall puncture professionally?
A professional shop typically charges between $150 and $350 for a minor patch on a PJ Trailers Pacesetter 7×14, while a major replacement of a wall section can cost $800 to $1,200.
3. Can I patch a puncture from inside the trailer without harming the exterior?
Only if the puncture is small (under 1 inch) and you can access the interior skin. Apply a backing plate inside and seal the exterior hole with a small button plug—this is less durable than a full external patch.
4. Should I replace the entire side wall if the foam core is waterlogged?
If water has saturated the foam (test by pressing with a screwdriver), the insulation will rot and promote corrosion. Replacement is advised if more than 20% of the panel is affected; otherwise, dry the cavity thoroughly and patch.
5. How do I match the paint color on a PJ Trailers Pacesetter 7×14 patch?
Contact a PJ dealer for OEM touch-up paint (usually a high-gloss white or gray). Alternatively, use a universal aluminum-safe enamel and blend with a small roller for texture.
6. Can I tow immediately after patching?
No—allow the adhesive to cure for a full 24 hours at temperatures above 50°F. Towing earlier can stress the bond and cause the patch to detach at highway speeds.