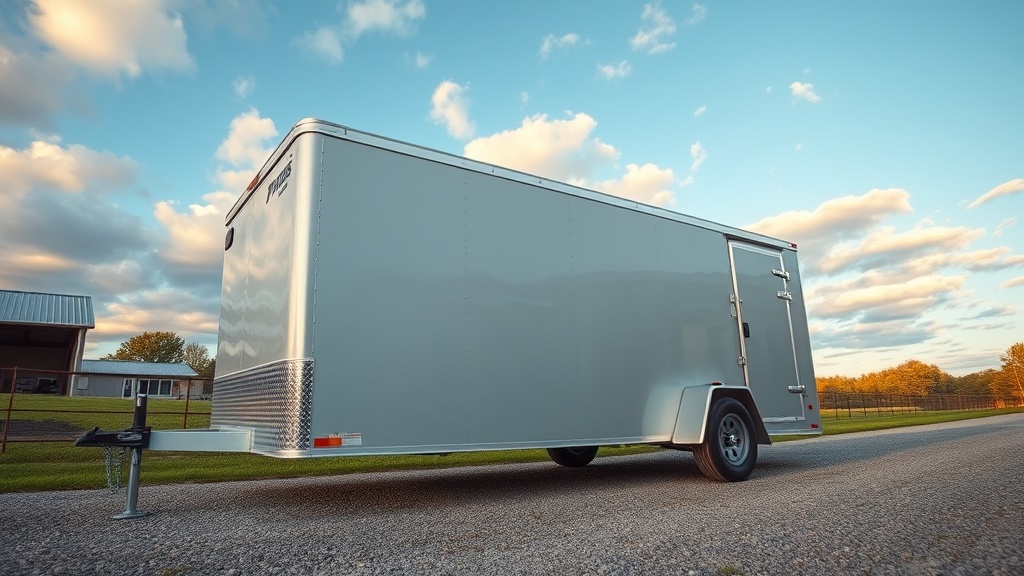
PJ Trailers Pacesetter 7×14 Roof Leak Causes and Permanent Fix
Owners of the PJ Trailers Pacesetter 7×14 often discover water intrusion around the roof seam or vent openings after a season of heavy rain. A persistent leak not only damages cargo but also accelerates rust on the steel framework. Identifying the root cause—whether from failed sealant, damaged trim, or improperly sealed roof seams—is the first step toward a permanent fix.
This troubleshooting guide breaks down common leak sources, repair methods, and preventative measures. With proper maintenance, the roof of your PJ Trailers Pacesetter 7×14 can remain watertight for years. For a complete winter storage routine, see our PJ Trailers Pacesetter 7×14 Winter Storage Preparation Guide.
Where Does a Roof Leak Typically Start on the Pacesetter 7×14?
Most leaks originate at the roof-to-wall joint, the front cap seam, or around factory-installed roof vents. On the Pacesetter 7×14, the roof is a one-piece aluminum skin rolled over a tapered bow frame. The seams are sealed with butyl tape and covered by aluminum trim, but age and thermal expansion can cause gaps.
Another common source is the seam where the front cap meets the roof sheet. Over time, the caulking separates due to vibration from towing. A third frequent location is around the roof vent flange, where screws loosen and sealant dries out.
To check, inspect the interior ceiling for water stains, soft spots, or rust streaks. Use a flashlight inside after a rain event; trace the water path upward to the breach. On the roof, run a garden hose over suspect areas while a helper watches inside for drips.
For related suspension and weight load considerations, refer to the PJ Trailers Pacesetter 7×14 Tire Pressure and Load Rating Guide.
What Tools and Materials Are Needed for a Permanent Roof Leak Repair?
You can fix most leaks with basic hand tools and high-quality sealants. Avoid cheap silicone caulks; they fail under UV exposure and flexing. Instead, use marine-grade sealants or self-leveling lap sealant designed for RV and trailer roofs. Here is a recommended checklist:
| Item | Purpose | Estimated Cost (USD) |
|---|---|---|
| Non-abrasive scrub pad (e.g., Scotch-Brite) | Clean old sealant residue | $5 |
| Isopropyl alcohol (90%+ clean-up solvent) | Degrease surfaces | $8 |
| Self-leveling lap sealant (Dicor or equivalent) | Seal flat seams and gaps | $15–$20 per tube |
| Non-sag butyl tape (1″ wide) | Seal trim strips and vent flanges | $10 per roll |
| Heavy-duty aluminum tape (for temporary patches) | Emergency leak stop | $8 |
| Wire brush (for rust removal on steel edges) | Prep areas with surface corrosion | $6 |
| Torx driver set (T-25, T-30) | Remove trim screws | $12 |
| Ladder (folding type, 6-ft minimum) | Safe roof access | $60–$120 |
Total investment for a thorough repair is under $150 in materials. You may already own the tools.
How Do You Properly Seal the Roof Seam Between the Wall and the Roof?
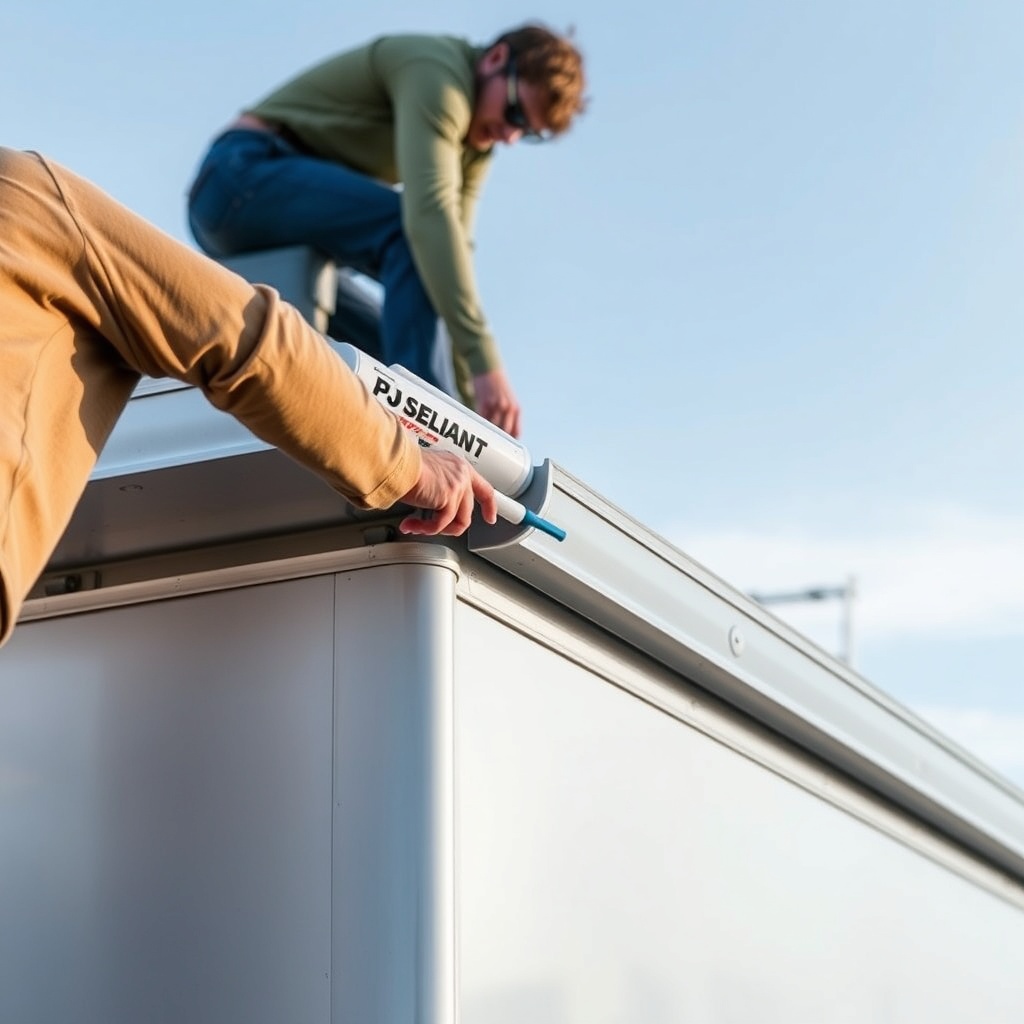
The critical joint between the aluminum roof and the sidewall is covered by a vinyl or aluminum trim strip. On the Pacesetter 7×14, this trim is held by screws placed every 8 to 12 inches. Over time, the butyl tape behind the trim compresses, creating a gap that lets water siphon inward.
Follow these steps for a permanent fix:
- Remove the trim piece by unscrewing all fasteners. Carefully pry it away from the wall without bending.
- Clean the rail underneath: scrape off old butyl tape and sealant residue using a plastic putty knife. Wipe with isopropyl alcohol.
- Apply a fresh layer of butyl tape along the entire length of the roof edge—press it firmly into the channel.
- Reattach the trim, tightening screws evenly (do not overtighten, as aluminum deforms).
- After the trim is installed, run a bead of self-leveling lap sealant along the top edge of the trim to bond with the roof panel.
- Smooth the sealant with a fingertip or a tool to eliminate voids.
Wait 24 hours for curing before subjecting the trailer to rain. Inspect the sealant annually as part of routine upkeep. For additional structural guidance, see the PJ Trailers Pacesetter 7×14 Coupling Latch Inspection and Maintenance Guide.
How to Repair a Leaking Roof Vent on the Pacesetter 7×14?
The standard roof vent on the Pacesetter 7×14 has a plastic flange that is screwed into the roof deck. Water often seeps through the screw holes or cracks in the old caulk. The fix involves removing the vent, cleaning both surfaces, and resetting it with new sealant and gaskets.
Step-by-step:
- Remove the interior vent trim ring and lift the vent lid. Disconnect the actuator if equipped with a manual crank.
- Unscrew the exterior flange screws. Lift the vent assembly off.
- Scrape away all existing sealant from the roof opening and the underside of the vent flange. Use a heat gun (low setting) if old material is stubborn.
- Sand lightly with 220-grit sandpaper to remove any oxidation, then clean with alcohol.
- Place a new foam gasket or apply a generous bead of butyl tape around the roof opening perimeter.
- Set the vent back in place, press down firmly, and install new screws (self-tapping #12 or #14). Do not overtorque—just snug.
- After screws are in, apply a continuous bead of self-leveling lap sealant around the entire flange edge, covering each screw head.
- Level the sealant with a plastic spreader to create a smooth convex bond.
If the vent lid or base is cracked (often from hail or years of UV exposure), replace it entirely. A new OEM vent costs around $40–$60. For related maintenance procedures, refer to the PJ Trailers Pacesetter 7×14 Hitch Receiver Wear: Inspection and Replacement Guide.
What Causes Water to Pool on the Roof and How to Prevent It?
Water pooling indicates a lack of proper roof crown or debris accumulation that blocks drainage. The Pacesetter 7×14 roof is designed with a slight crown (arched bows), but overloading or bow sag can create low spots. If water collects in pockets, it accelerates sealant degradation and increases hydrostatic pressure on seams.
Prevent pooling by:
- Keeping the roof clear of leaves, dirt, and bird droppings that trap moisture. Sweep after every use.
- Checking the roof bow alignment from inside the trailer. If the ceiling sags between ribs, the bows may need replacement (a structural repair).
- Applying a UV-protective roof coating (reflective acrylic) to restore the surface’s ability to shed water. This coats small cracks and improves water run-off.
- Installing roof edge drip rails if not factory-equipped—they direct water away from the sidewalls.
For floor and interior moisture protection, see the PJ Trailers Pacesetter 7×14 Flooring Material Comparison: Plywood vs Aluminum.
What Owners Say About Troubleshooting Leaks on the Pacesetter 7×14
Long-term owners report that the roof seam is the most recurrent issue, especially on units built before 2022. Many note that the factory butyl tape dries out within 12–18 months if the trailer is stored outdoors in direct sunlight. A common solution among experienced owners is to upgrade to EternaBond tape along the entire roof seam as a secondary barrier.
One owner on a trailer forum detailed patching a roof vent leak with marine-grade silicone, only to have it fail within six months. The permanent fix was removing the vent and using a Dicor sealant combined with a new gasket. Another noted that pressure washing the roof often loosens the sealant around trim pieces—hand-washing with a soft brush is recommended instead.
Owners also emphasize checking the front cap edge where it meets the roof sheet. This seam is prone to separation on rough roads. A bead of self-leveling sealant applied over the joint after each spring maintenance season can prevent leaks without removing trim.
Frequently Asked Questions
Q1: Can I use regular silicone caulk to seal the roof of my Pacesetter 7×14?
No. Silicone caulk does not bond well to unpainted aluminum and fails under thermal cycling. Use only self-leveling lap sealant or butyl rubber tape designed for metal roof trailers.
Q2: How often should I inspect the roof for leaks?
At least twice per year—once in spring before heavy rain and once in fall before winter storage. After any long road trip, inspect for loose sealant around vents and trim.
Q3: What if the roof has rust forming at the edge?
Rust indicates that water has penetrated the seam. Remove the rust with a wire brush, apply a rust converter, then reseal with butyl tape and lap sealant. If the aluminum skin is corroded through, a patch panel may be needed.
Q4: Can I paint over the roof sealant?
It’s not recommended. Most sealants are designed to flex and bond. Painting over them may cause cracking. Use a reflective roof coating instead if you want UV protection.
Q5: Does the Pacesetter 7×14 have a warranty against roof leaks?
Yes. PJ Trailers offers a limited warranty covering workmanship and materials—typically 1 to 5 years depending on the component. Roof leaks caused by improper maintenance are not covered. Consult your owner’s manual for specific details.
Q6: Should I remove all old sealant before reapplying?
Yes. New sealant will not adhere well to old, dried-out material. Remove as much as possible with a plastic scraper and solvent, then clean thoroughly before applying fresh sealant.