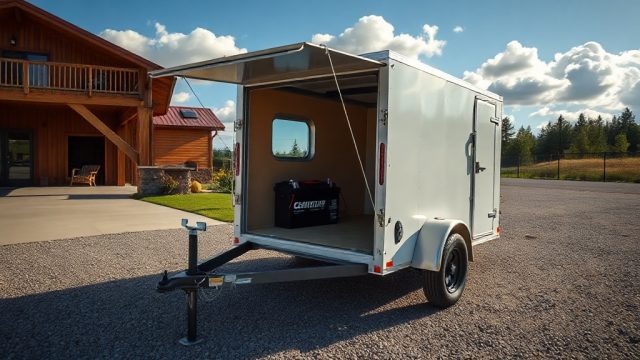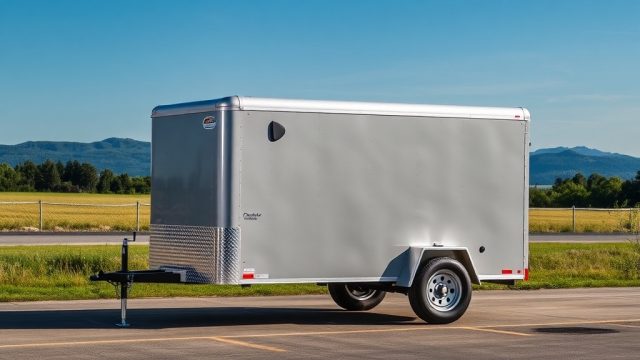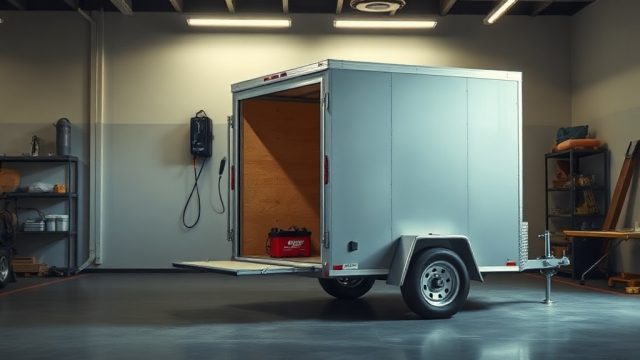
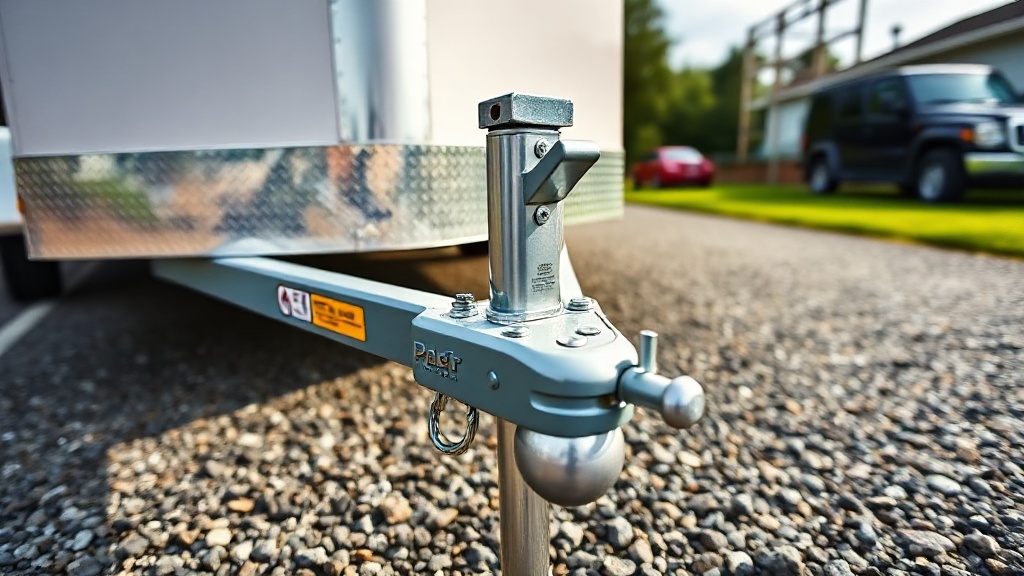
PJ Trailers Pacesetter 7×14 Coupling Latch Inspection and Maintenance Guide
Proper coupling latch operation is critical for safe towing with your PJ Trailers Pacesetter 7×14. Neglecting this component can lead to catastrophic trailer separation, property damage, or injury. This guide provides a step-by-step inspection and maintenance routine to keep your coupling latch reliable for years.
How Often Should I Inspect the Coupling Latch on My PJ Pacesetter 7×14?
Industry best practice recommends inspecting the coupling latch before every tow, and performing a more thorough examination at least once per season or every 3,000 miles. The PJ Pacesetter 7×14’s latch mechanism is exposed to road salt, moisture, and debris, which accelerates wear. Regular inspection catches issues like seized pivot pins, cracked latch springs, or worn retaining balls before they cause failure. If you frequently tow in harsh climates (e.g., coastal salt air or winter road salt), increase inspection intervals to monthly.
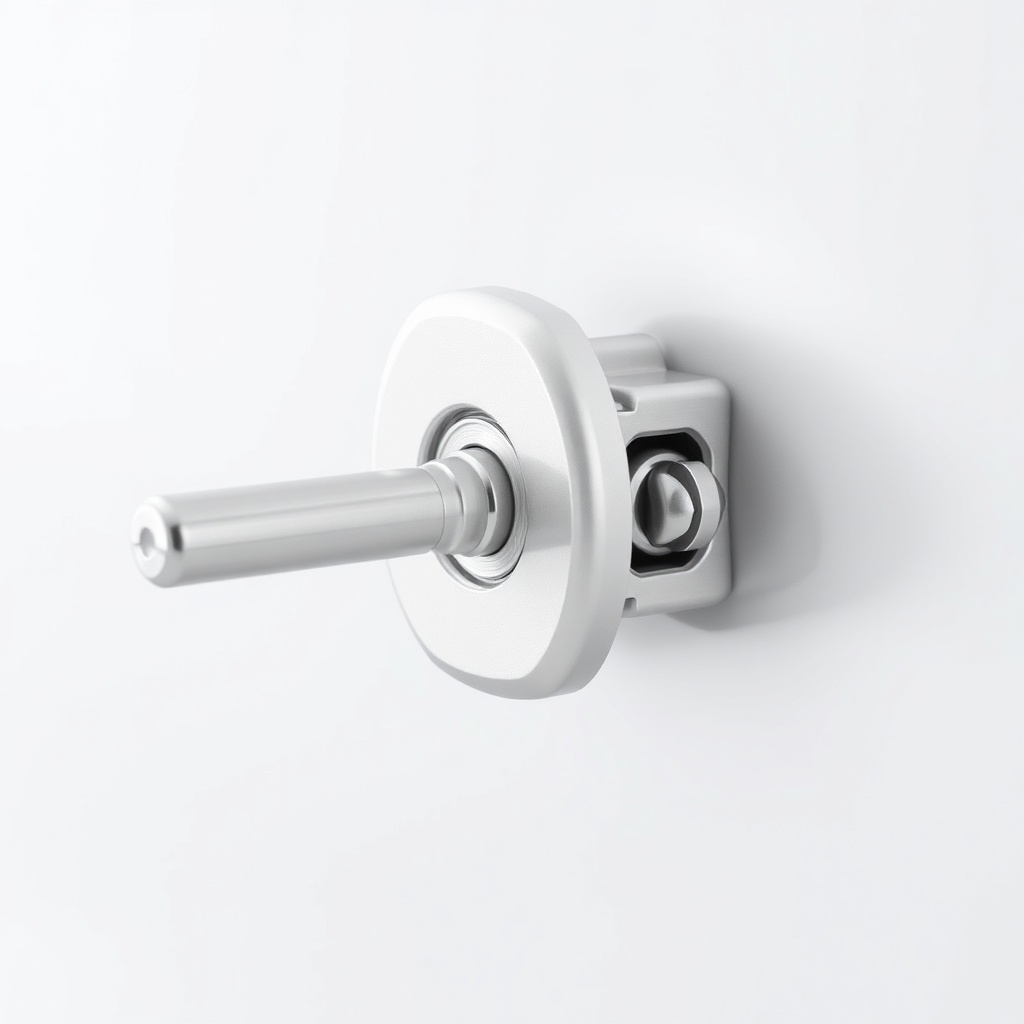
What Are the Key Parts of the Coupling Latch System?
Understanding the components makes inspection straightforward. The PJ Pacesetter 7×14 typically uses a 2-inch or 2-5/16-inch adjustable coupler with a spring-loaded latch. Key parts include:
- Latch lever: The handle that engages and disengages the locking mechanism.
- Latch spring: Returns the lever to the locked position.
- Locking ball or pin: Secures the coupler onto the hitch ball.
- Pivot pin and retaining clip: Holds the latch assembly together.
- Coupler body: The housing that encloses the mechanism.
- Safety chain attachment points: Not part of the latch but crucial redundancy.
Inspect each part for rust, deformation, or debris. A common failure point on the Pacesetter is the pivot pin retaining clip, which can snap from corrosion.
How Do I Perform a Step-by-Step Latch Inspection?
Follow this checklist for a thorough inspection:
- Visual check: Look for cracks, heavy rust, or bent components on the latch lever and coupler body.
- Spring tension test: Pull the latch lever fully open—it should snap back into place. Replace the spring if it feels weak or sticks.
- Locking ball alignment: Place the coupler over a clean hitch ball (2-inch or 2-5/16-inch as applicable). The ball should seat fully, and the latch should engage with an audible click.
- Lubrication check: Apply a small amount of silicone-based grease or white lithium grease to the pivot pin and latch spring. Avoid oil-based lubes that attract grit.
- Retaining clip integrity: Ensure the clip is fully seated and not rusted through. Replace if deformed.
- Safety chain test: Verify chains are not twisted and that hooks are secure.
For added detail, reference PJ Trailers Pacesetter 7×14 Hitch Receiver Wear: Inspection and Replacement Guide to ensure your tow vehicle’s receiver is equally ready.
| Inspection Point | Acceptable Condition | Signs of Wear/Failure | Recommended Action |
|---|---|---|---|
| Latch lever | No cracks, smooth operation | Bent, cracked, or frozen lever | Replace latch assembly |
| Latch spring | Strong return action | Weak, corroded, or broken coils | Replace spring |
| Locking ball/pin | Smooth engagement, no wobble | Excessive play, sticking, or missing ball | Replace coupler |
| Pivot pin/retaining clip | Clean, no rust, clip fully seated | Rust pitting, clip bent or missing | Replace pin or clip |
| Coupler body | No cracks or deformities | Stress fractures at weld points | Replace coupler |
What Lubrication Does the PJ Pacesetter 7×14 Coupling Latch Need?
Proper lubrication reduces friction and prevents corrosion. For your Pacesetter coupler, use a silicone-based spray lubricant (like WD-40 Specialist Silicone) or white lithium grease applied sparingly. Apply to the pivot pin, spring coils, and latch lever contact points. Avoid over-lubricating, as excess attracts road grit that accelerates wear. Do not use penetrating oils (e.g., original WD-40) as primary lubes—they dry out quickly and leave residue. A light coat every 3–4 months (or after rain/high-pressure washing) keeps the action smooth.
When Should I Replace the Coupling Latch vs. Repair It?
Minor issues like a weak spring or seized pivot pin can be repaired with replacement parts (spring costs ~$5–$10, pivot pin kits ~$15–$20). However, if the coupler body shows cracks, the locking ball is worn beyond 0.5mm of play, or the latch lever is bent from a previous mishap, full replacement is necessary. A new 2-inch PJ Pacesetter coupler costs $35–$50, while the complete latch assembly runs $60–$80 (2025 prices, including shipping). Never attempt to weld a cracked coupler—heat weakens the steel. When in doubt, replace. Note that hitch ball sizes vary; confirm your ball size before ordering. If you also modify suspension or floor, see PJ Trailers Pacesetter 7×14 Suspension Upgrade Guide: From Leaf to Torsion for related tips.
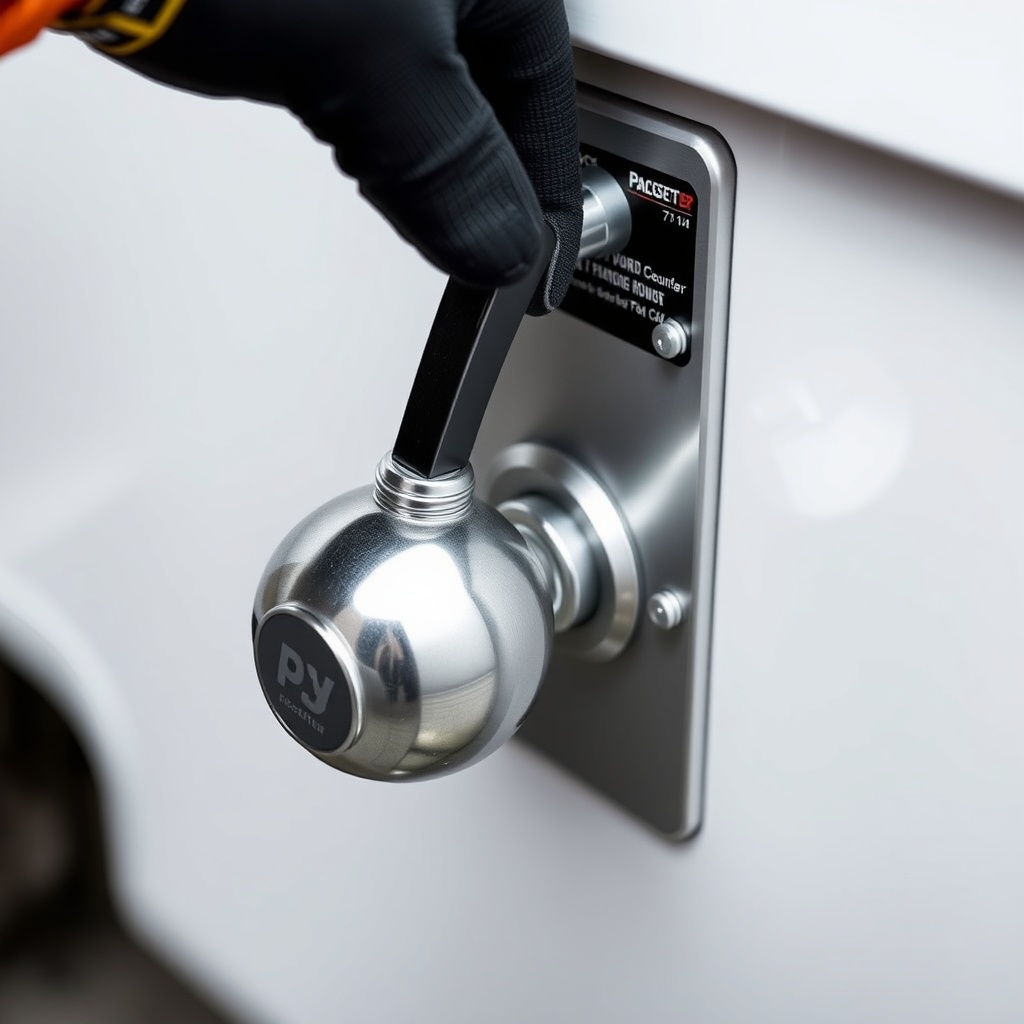
What Owners Say About the PJ Pacesetter 7×14 Coupling Latch
Owner feedback on the Pacesetter 7×14’s coupling latch is generally positive, with a few common themes. John M. from Texas notes, “The latch clicks solidly, but I grease it every three months—any longer and it starts squeaking.” Sarah K. from Ohio replaced her spring after two winters: “The salt ate through the original spring fast. I upgraded to a stainless version for $12.” Several owners report that the retaining clip can pop off if not fully seated after maintenance. A frequent tip: use a zip tie as backup until you install a new clip. Overall, owners appreciate the simplicity of the design but emphasize regular lubrication. For those hauling motorcycles, see Motorcycle Hauling in the PJ Pacesetter 7×14: Interior Layout Tips to complement your towing setup.
Frequently Asked Questions
Q: How do I know if my PJ Pacesetter 7×14 coupling latch is seized?
A: If the latch lever does not return to position after being pulled, or if it takes force to move, the pivot pin or spring is likely seized. Try lubricating; if no change, disassemble and replace the pin or spring.
Q: Can I use any grease on the coupler?
A: Silicone-based lubricant or white lithium grease is best. Avoid petroleum-based grease, which can degrade rubber seals and attract road sand.
Q: What is the torque spec for the coupler-to-trailer bolts?
A: For the PJ Pacesetter 7×14, coupling bolts should be torqued to 45–55 ft-lbs (grade 5) or 60–70 ft-lbs (grade 8). Always check your owner’s manual.
Q: My latch won’t close over the ball. Could it be the wrong ball size?
A: Yes. The Pacesetter often uses a 2-inch coupler, but confirm your model. A 2-5/16-inch ball will not fit a 2-inch coupler. Measure the ball diameter with a caliper.
Q: How often should I replace the safety chains?
A: Safety chains should be replaced if any link shows rust pitting, deformation, or cracks. Many owners replace them every 5–7 years, especially if used in salt conditions. For winter prep tips, read PJ Trailers Pacesetter 7×14 Winter Storage Preparation Guide.
Q: Can I upgrade to a premium latch on the Pacesetter 7×14?
A: Yes, aftermarket bolt-on latch assemblies from brands like CURT or Reese fit the Pacesetter’s mounting pattern. Expect to pay $70–$90. Ensure you get the correct ball size and coupler height. For flooring material upgrades, see PJ Trailers Pacesetter 7×14 Flooring Material Comparison: Plywood vs Aluminum.
Final Tips for a Reliable Latch
Always perform a pull test after coupling: attempt to lift the trailer off the ball—any movement indicates poor latching. Lubricate after every heavy rain or wash. Replace retaining clips annually. If you tow often, keep a spare spring and clip in your glove box. For tire-related safety, check PJ Trailers Pacesetter 7×14 Tire Pressure and Load Rating Guide. A well-maintained coupling latch on your PJ Pacesetter 7×14 is the first line of defense in towing safety.