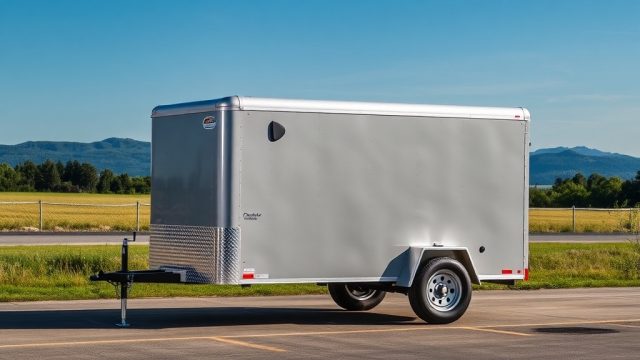

Why Is a Proper Battery Charger Installation Critical for the Haulmark Edge 6×12?
The Haulmark Edge 6×12 is a popular enclosed cargo trailer used by contractors, racing teams, and small businesses. Its standard electrical system relies on a deep-cycle battery to power interior lights, ventilation fans, and accessory outlets when disconnected from the tow vehicle. Without a correctly installed battery charger, the battery may never reach full charge, leading to premature failure, dim lighting, or a dead battery when you need it most. This step-by-step guide covers everything from selecting the right charger to wiring it safely in your Haulmark Edge 6×12, helping you avoid common troubleshooting pitfalls down the road.
What Type of Battery Charger Should I Use for the Haulmark Edge 6×12?
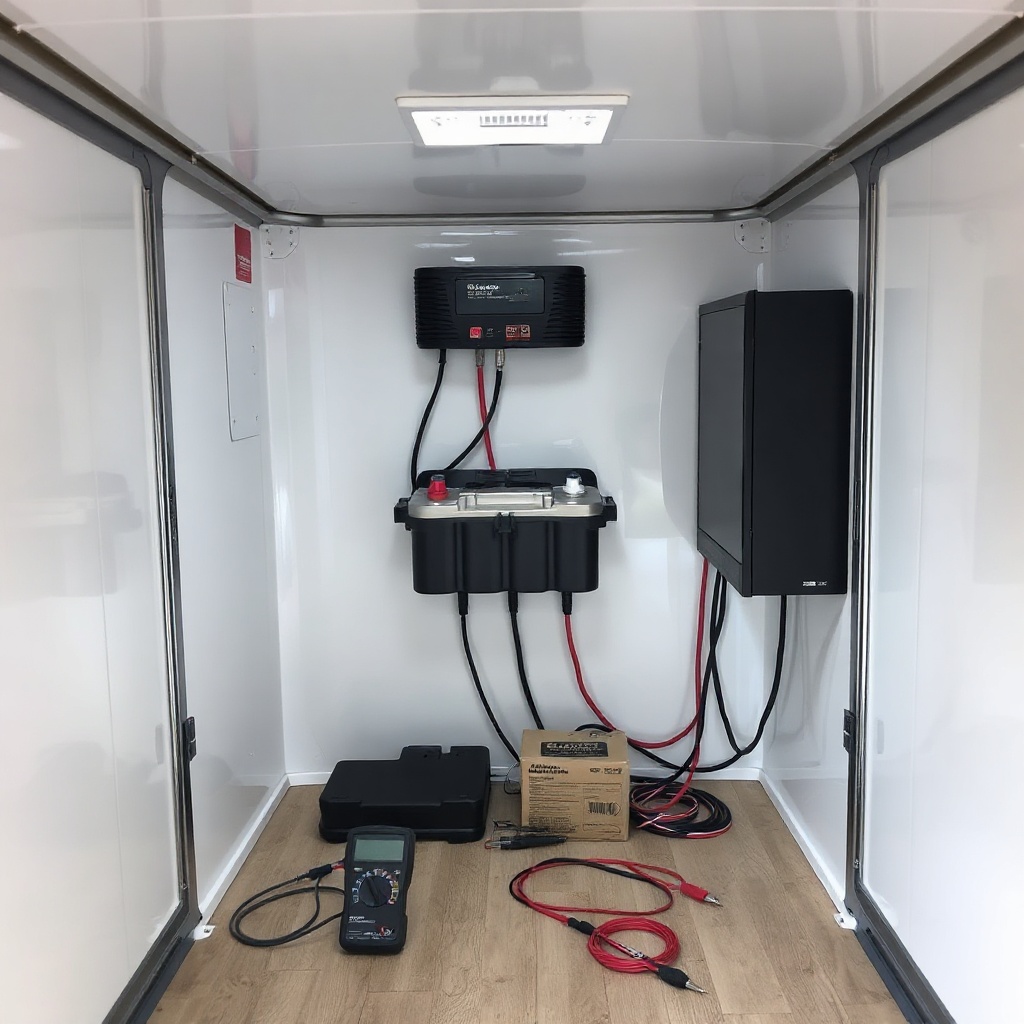
The Haulmark Edge 6×12 typically comes with a Group 24 or Group 27 deep-cycle battery, though some owners upgrade to dual batteries for extended off-grid use. The charger must match the battery chemistry—most commonly flooded lead-acid (FLA), AGM, or lithium iron phosphate (LiFePO4). A smart charger with a multi-stage charging profile (bulk, absorption, float) is highly recommended. Look for a unit rated at 10 to 15 amps for a single battery or 20 to 30 amps for dual batteries. Many owners opt for a converter/charger combo that integrates with the trailer’s 120V AC system, such as the Progressive Dynamics PD9260 or the WFCO WF-8900 series.
For a straightforward installation, a standalone charger like the NOCO Genius Pro25 or Battery Tender 15A is also viable, though it may require a dedicated outlet. Always verify the charger’s input voltage (120V AC in North America) and output voltage (typically 13.6V to 14.8V depending on the battery type). Using an automotive charger not designed for deep-cycle batteries can overcharge or undercharge, reducing battery lifespan significantly.
Where Should I Mount the Charger in the Haulmark Edge 6×12?
Mount the charger in a dry, well-ventilated area near the battery compartment but away from flammable materials. The Haulmark Edge 6×12 has a dedicated battery tray under the floor or inside a front storage compartment, depending on the model year. Ideally, mount the charger on a sidewall or partition using vibration-dampening brackets to protect it from road shock. Keep the charger at least 12 inches away from the battery itself to avoid exposure to explosive hydrogen gas during charging. Always route AC power cords away from sharp metal edges using wire loom or split tubing. If you install a converter/charger, it often fits into an existing cutout in the trailer’s distribution panel (if equipped).
Before mounting, measure the distance from the charger to the battery terminals. Use 10 AWG or thicker copper wire for runs longer than four feet to minimize voltage drop. Secure all wiring with zip ties or conduit clamps to prevent chafing during transport. Remember, any holes drilled into the trailer’s metal skin must be sealed with silicone or rubber grommets to prevent moisture intrusion, which can lead to rust or electrical shorts.
What Is the Correct Wiring Sequence for the Haulmark Edge 6×12 Battery Charger?
Always disconnect the trailer from shore power and remove the battery negative terminal first before starting any electrical work. Follow this sequence:
- Step 1: Install a circuit breaker or fuse on the positive battery cable, rated at 150% of the charger’s output current. For a 15A charger, use a 25A breaker.
- Step 2: Connect the charger’s positive output (red wire) to the circuit breaker, then from the breaker to the battery positive terminal. Use ring terminals and heat shrink.
- Step 3: Connect the charger’s negative output (black wire) directly to the battery negative terminal. Do not ground to the chassis alone—this can cause voltage drop and interfere with the trailer’s breakaway switch circuit.
- Step 4: Connect the charger’s AC input to a dedicated 15A or 20A breaker in the trailer’s distribution panel (if used) or to a shore power inlet through a GFCI-protected outlet. Use 12 AWG wire for AC runs.
- Step 5: Verify polarity with a multimeter before applying power. The voltage between the charger output and battery terminals should read 0V when disconnected.
Reconnect the battery negative terminal last. Test the charger by plugging into shore power; the charger LEDs should indicate bulk or absorption mode. Let it run for a full charge cycle (typically 4 to 8 hours for a depleted battery) and check that the battery voltage reaches the manufacturer’s spec (13.6V to 14.8V).
How Do I Troubleshoot Common Battery Charger Issues on the Haulmark Edge 6×12?
| Symptom | Likely Cause | Severity (1-5) | Solution |
|---|---|---|---|
| No output voltage from charger | Blown internal fuse or tripped AC breaker | 4 | Check AC input; replace fuse with same rating |
| Charger cycles on/off rapidly | Battery sulfation or high internal resistance | 3 | Try a desulfation mode; replace battery if no improvement |
| Low battery voltage after charging | Incorrect charger profile (e.g., AGM charger on flooded battery) | 3 | Set charger to correct battery type; verify voltage at terminals |
| Charger overheats or smells | Inadequate ventilation or loose connections | 5 | Increase airflow; tighten all wire terminals; replace if damaged |
| Battery drains overnight with charger off | Parasitic drain from trailer accessories | 2 | Install a battery disconnect switch; test with ammeter |
| Charger LED shows fault code | Reverse polarity or overvoltage protection | 4 | Disconnect immediately; check wiring polarity; consult manual |
If you encounter persistent charging issues, inspect the trailer’s main wiring for corrosion at the tongue connector. A common problem on the Haulmark Edge 6×12 is a broken ground wire inside the junction box near the coupler. For a deeper dive into electrical diagnostics, see our Haulmark Edge 6×12 Brake Controller Installation Guide for related power circuit testing.
What Are the Maintenance Tips to Extend Battery and Charger Life?
Regular maintenance prevents many failures. Keep battery terminals clean and coated with dielectric grease. Check water levels monthly in flooded batteries—use only distilled water. For AGM or lithium batteries, no watering is required, but terminal torque should be verified (typically 60-80 in-lbs). The charger itself needs minimal care: clean dust from cooling vents with compressed air every 90 days. Test the charger output voltage with a multimeter under load (e.g., with interior lights on) to ensure it stays within spec. If you store the trailer for winter, place the battery on a maintenance charger (trickle charger) to prevent deep discharge.
Another critical check is the battery hold-down bracket—vibration can loosen it, causing terminal shorts. Review our Haulmark Edge 6×12 Flooring Options Comparison: Plywood vs Aluminum vs Composite for guidance on protecting the battery compartment floor from moisture. If you ever need to replace the battery, disconnect the charger first and ensure the new battery matches the charger’s voltage profile.
What Owners Say About Battery Charger Upgrades on the Haulmark Edge 6×12
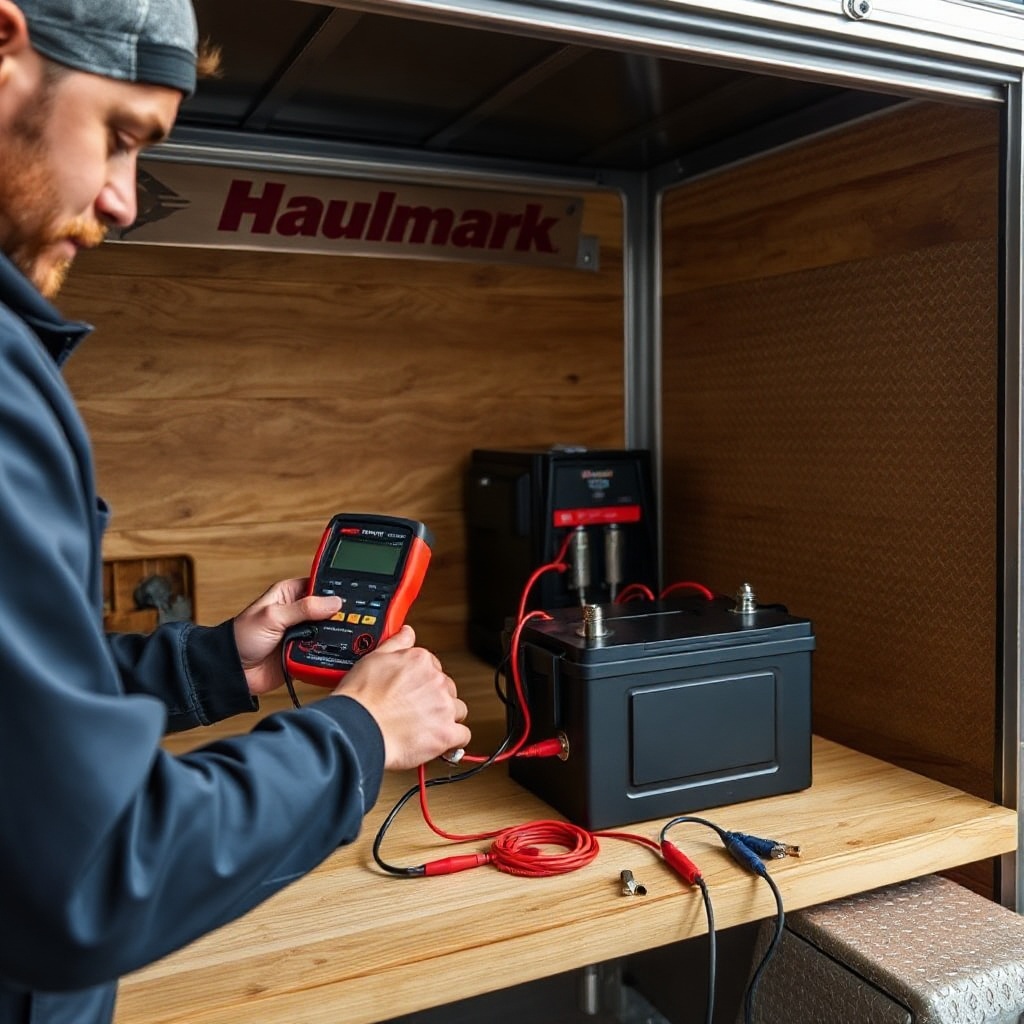
Owners of the Haulmark Edge 6×12 frequently report that upgrading from the factory-installed charger (if equipped) to a modern smart charger dramatically improves battery longevity. Many note that the stock converter provided only single-stage charging, which caused electrolyte boil-off in flooded batteries. After switching to a multi-stage unit, battery life extended from 18 months to over 4 years. A common DIY modification is adding a second battery and a 30A charger, enabling full-day use of ceiling fans and lights without recharging. Some owners pair the charger with a solar panel controller for off-grid towing, as discussed in our Haulmark Edge 6×12 Gravel Road Towing Tips: Suspension and Tire Adjustments.
However, a few owners caution against using automotive jump starters or cheap chargers, as they lack the necessary voltage regulation. One forum thread noted that a 12A charger was insufficient for a dual-battery setup, leading to incomplete charging after a weekend trip. The consensus is to spend $100 to $200 (USD) on a quality name-brand charger to avoid future headaches. If your setup includes electric brakes, ensure charging circuits are isolated from brake controller power—see our Haulmark Edge 6×12 Brake Controller Upgrade: Bluetooth Integration for more on wiring separation.
Frequently Asked Questions About Haulmark Edge 6×12 Battery Charger Installation
Can I use a standard car battery charger on my Haulmark Edge 6×12?
Yes, but it must be a smart charger designed for deep-cycle batteries. A standard automotive charger can overcharge and damage the battery. Use one with a voltage selector or automatic detection.
How long does it take to charge a fully dead battery in the trailer?
With a 15A charger, a 100Ah battery typically takes 6 to 8 hours from a complete discharge. Lithium batteries charge faster, about 3 to 4 hours, due to lower internal resistance.
Do I need a GFCI outlet for the charger in the trailer?
Yes, when installing a dedicated AC outlet for the charger inside the trailer, use a GFCI-protected outlet (or breaker) in compliance with local electrical codes, especially in wet or metal-bodied environments.
Will the charger drain my tow vehicle’s battery when towing?
No, the charger only operates when plugged into 120V AC shore power. The tow vehicle’s alternator charges the battery through the 7-pin connector, but a charger is not involved during towing unless you have a solar setup.
What size wire should I use between the charger and battery?
For distances under 4 feet, 10 AWG is sufficient for up to 30A. For longer runs (8-10 feet), use 8 AWG to prevent voltage drop. Always use stranded, marine-grade wire with tinned copper for corrosion resistance.
How do I test if the charger is working correctly?
With the charger connected to AC and battery, measure the voltage at the battery terminals. It should read between 13.6V and 14.8V in bulk mode. Also measure current (amps) using a clamp meter—the reading should match the charger’s rated output when the battery is low.
For a related problem involving side-wall damage near the battery compartment, see our Haulmark Edge 6×12 Side Wall Puncture Repair: Step-by-Step Guide. And if you’re dealing with hitch attachment issues while carrying a heavy battery, Haulmark Edge 6×12 Hitch Receiver Wear: Inspection and Replacement Guide offers practical inspection tips.