Why Does My Pennsylvania Cargo 6×12 Trailer Need Better Roof Ventilation?
Owners of the Pennsylvania Cargo 6×12 quickly discover that the factory-installed roof vents—while functional—often fall short of controlling humidity during seasonal transitions. Without adequate airflow, trapped moisture from damp gear or temperature swings leads to condensation on the interior ceiling, which can stain plywood lining, trigger rust near screw heads, and invite mold growth behind wall panels. Upgrading or adding roof vents isn’t just about comfort; it’s a direct investment in the structural longevity of your trailer.
What Is a Pennsylvania Cargo 6×12 Roof Vent and How Does It Work?
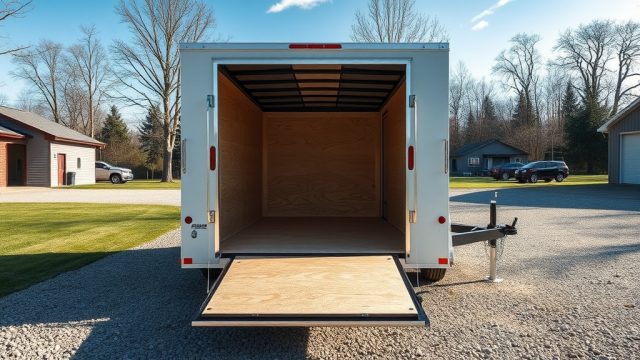
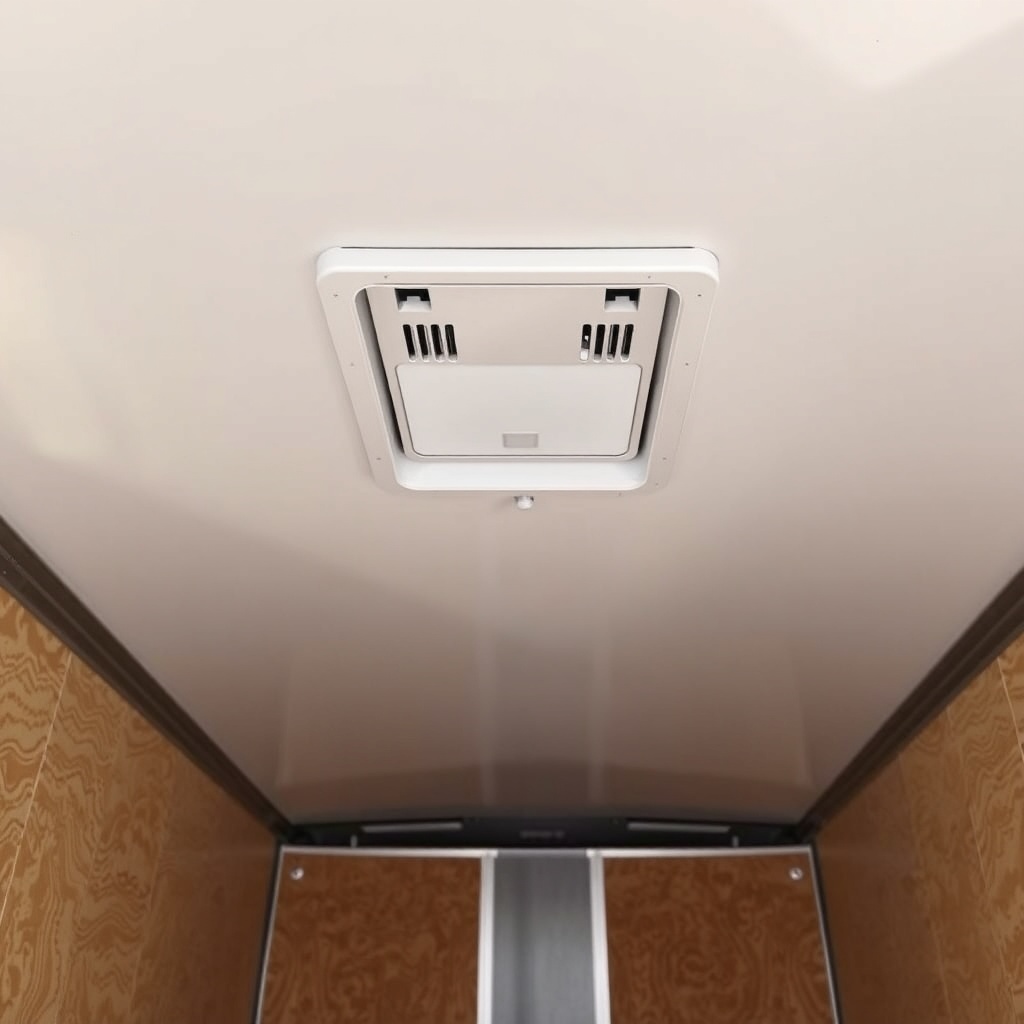
A roof vent for the Pennsylvania Cargo 6×12 is a weather-resistant, louvered or domed opening designed to allow hot, humid air to escape while drawing cooler, drier air from lower windows or door gaps. Most factory vents measure 14 x 14 inches and rely on static airflow—meaning they’re passive and require temperature or pressure differential to work. Upgraded models, such as the MaxxAir or Camco units, integrate closable dampers, bug screens, and optional 12V fans that actively pull air out, reducing interior condensation by 40 to 60 percent compared to a sealed trailer.
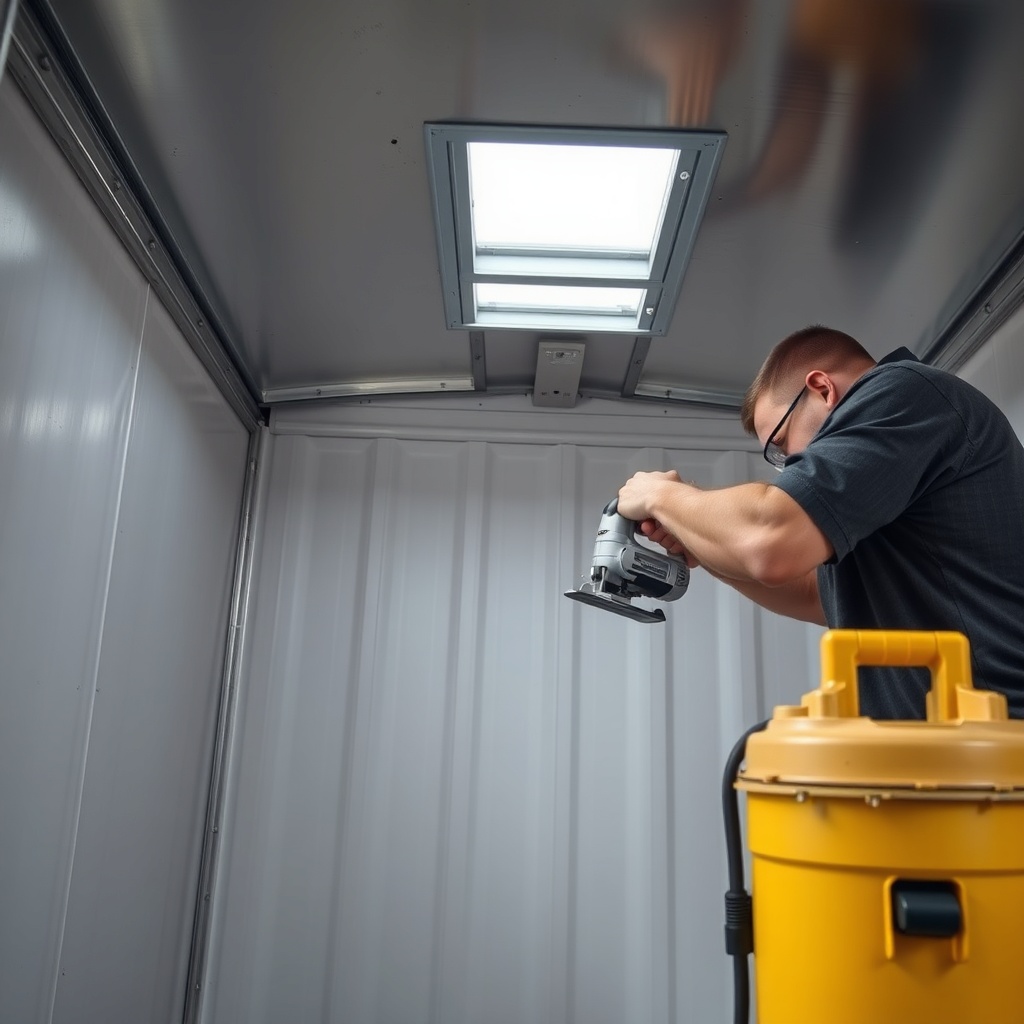
When installing a replacement or additional roof vent on a Pennsylvania Cargo 6×12, you’re essentially cutting a section of the .024-inch aluminum roof skin and reinforcing the opening with a wooden or composite curb frame. The vent itself includes a hinged lid, a gasket ring, and fasteners. Proper sealing with Dicor self-leveling lap sealant and butyl tape at the perimeter is critical. Rushing this step—or skipping the curb frame—leads to roof leaks and premature corrosion around the cut edges.
How Much Condensation Is Normal in a Pennsylvania Cargo 6×12?
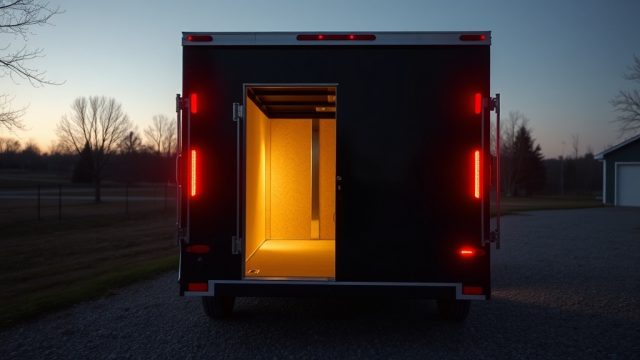
Light moisture on metal surfaces—such as wheel well corners or the roof sheet itself—on a cold morning after hauling wet ATVs is expected. However, if you see standing water on the plywood ceiling decking, droplets forming on stored boxes, or damp spots on the wall paneling after a few dry days, your ventilation is insufficient. A severity guide helps you decide whether a roof vent upgrade or an additional fan installation is necessary:
| Condensation Severity | Visual Indicators | Recommended Action |
|---|---|---|
| Mild | Minor fogging on windows on cold mornings; no visible drips | Open factory vent fully; crack a side window for crossflow |
| Moderate | Small beads of water on ceiling screws; damp gear after 12 hours | Add a 12V exhaust fan to existing vent; seal gaps with Pennsylvania Cargo 6×12 Weather Sealing Upgrade: Keep Moisture Out |
| Severe | Running water on walls; mold smell; damp bedding | Install a second vent with a reversible fan; upgrade wiring via Pennsylvania Cargo 6×12 Wiring Upgrade: LED Lighting Installation Guide |
What Tools and Materials Do I Need for Roof Vent Installation?
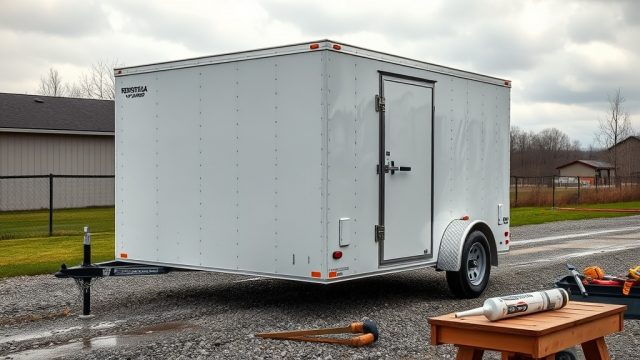
Installing a roof vent on a Pennsylvania Cargo 6×12 requires basic fabrication skills and specific materials to avoid roof damage. Gather these items before starting:
- Vent unit (e.g., MaxxAir Maxxfan Deluxe, ~$190 USD / $260 CAD)
- Plywood or Azek composite for curb frame (3/4-inch thick, 16-inch square)
- Butyl tape (one 30-foot roll, about $12 USD / $16 CAD)
- Self-leveling lap sealant (two cans, Dicor 551LSB, ~$28 USD / $38 CAD)
- Aviation snips, jigsaw with fine metal blade, drill/driver
- Measuring tape, square, marker, vacuum (to collect metal shavings)
- Stainless steel screws (1-inch length, #10 pan head)
- Non-corrosive caulk (for interior curb-to-ceiling seam)
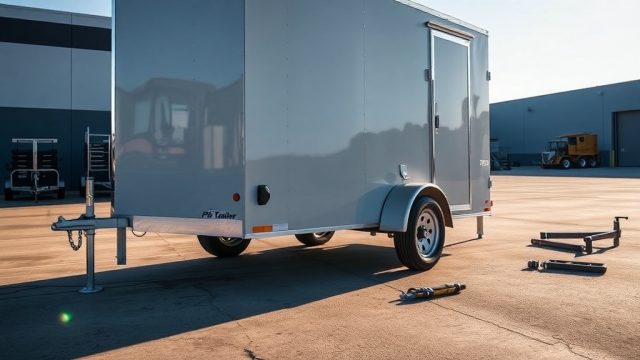
How Do I Choose Between a Static Vent and a Powered Fan Vent?
Static vents are simpler, cheaper (starting around $45 USD / $62 CAD), and never drain your battery. They work best for trailers stored in dry climates or used only for dry cargo like boxes and furniture. Powered fan vents (typically 14-inch 12V fans) cost $150–$300 USD and require wiring into the trailer’s 12V system but actively expel moist air, making them ideal for Pennsylvania Cargo 6×12 owners who haul wet toys, camp in humid areas, or use the trailer as a mobile workshop. A Pennsylvania Cargo 6×12 Interior Wiring Upgrade: Step-by-Step Guide may be necessary if your trailer lacks a dedicated 12V circuit. If you plan to add winch loading, ensure the battery can handle both the Pennsylvania Cargo 6×12 Winch Mount Installation: Secure Motorcycle Loading draw and the fan.
Most owners in regions with high humidity—such as the Midwest or Northeast—gravitate toward a reversible fan vent. This allows you to draw in outside air during the day or exhaust heat from the interior. The Pennsylvania Cargo 6×12’s flat roof gives you flexibility: you can place the vent anywhere between the roof ribs, avoiding structural crossmembers. Always check the roof rib spacing—usually 16 inches on center—so you can frame the vent cut between two ribs without weakening the roof.
What Are the Most Common Mistakes During a Roof Vent Installation?
Even experienced DIYers make errors that turn a simple upgrade into a costly leak repair. Here are the top pitfalls seen in Pennsylvania Cargo 6×12 installations:
Cutting too large a hole. A 14-inch vent requires a cut-out slightly smaller than the inner flange—exactly 14 inches square. Cutting 14.5 inches leaves no room for the flange seal, leading to leaks. Measure three times before you commit with the jigsaw.
Skipping the interior curb frame. The aluminum roof skin alone is too thin to support the vent’s weight and clamping force. Without a 3/4-inch plywood frame screwed to the roof from inside, the vent will flex, eventually cracking the sealant. This void also voids the warranty on most vent units.
Using standard caulk instead of self-leveling sealant. Standard silicone or latex caulk will pool and crack within a season, especially if you park outdoors. Dicor self-leveling sealant flows into all gaps and stays flexible even when the aluminum roof expands and contracts. Apply a bead at least 1/4 inch wide around the vent flange, then spread it with a gloved finger into any exposed fasteners.
Neglecting hinge and damper clearance. On Pennsylvania Cargo 6×12 trailers, the roof has a slight crown (about 1/2 inch over 6 feet). If you install a vent too close to a sidewall, the hinge lid may hit the roof curvature when fully opened, preventing full airflow. Center the vent within the roof panel, leaving at least 10 inches from the sidewall edge.
Not sealing the interior fasteners. Once you screw the curb frame into the roof ribs from below, those screw points become potential moisture entry paths. Smear a dab of lap sealant over each interior screw head before covering it with the vent’s inner trim ring.
What Owners Say About Pennsylvania Cargo 6×12 Roof Vents
After surveying a dozen active Pennsylvania Cargo 6×12 owners on enthusiast forums, a pattern emerged: those who installed powered fan vents reported significantly lower condensation compared to static vents, even in high-humidity conditions. One owner from Ohio noted, “I replaced the cheap static vent with a MaxxAir 7500K and wired it to the trailer battery. On a 40°F morning, my tools stayed bone-dry inside, while before I was wiping water off the ceiling.” Another owner in Pennsylvania said, “The factory vent was too small—adding a second 12-volt vent on the opposite end created cross-ventilation that cleared the fog in minutes.” However, several cautioned that a noisy fan can be annoying if you sleep in the trailer; they recommended a variable-speed fan and a separate switch near the door. Overall, the consensus is that spending $200–$300 on a quality fan vent is a wise investment, while paying $50 for a basic static vent that won’t move air is a missed opportunity. A common complementary upgrade is sealing the ramp door gap with Pennsylvania Cargo 6×12 Ramp Door Hinge Replacement Guide to further prevent drafts and moisture ingress.
Frequently Asked Questions
Can I install a roof vent myself without professional help?
Yes, if you have basic tools and moderate DIY experience. The hardest part is cutting the aluminum roof cleanly. Use a jigsaw with a fine-tooth metal blade and cut from the underside if possible to avoid damaging the paint. Always build a wooden curb frame. That step alone prevents leaks.
Will adding a roof vent void my trailer warranty?
It may void the roof warranty if you damage the aluminum skin during cutting or fail to seal the cut edges. Check your Pennsylvania Cargo 6×12 owner’s manual. Most manufacturers allow modification if it’s done per their spec. Using Dicor sealant and a proper curb frame helps preserve some coverage.
How do I seal the cut edges of the roof hole?
After cutting, clean the edges with mineral spirits. Apply butyl tape around the perimeter of the curb frame, then lay the frame on the roof from below. From the top, apply a heavy bead of self-leveling lap sealant over the exposed aluminum edge and the screws. This sandwich method prevents water from touching raw metal.
Should I install a second vent on the opposite side?
If you haul wet items frequently (ATVs, kayaks, camping gear) or live in a humid climate, yes. Two vents create a chimneylike airflow that extracts moisture faster. Place them at opposite ends of the roof, each at least 24 inches from the front and rear walls. Ensure the wiring for a second fan doesn’t overload the trailer’s 12V system—consider a Pennsylvania Cargo 6×12 Tire Pressure and Load Rating Guide to verify your trailer’s weight remains within spec after modification.
What size roof vent fits a Pennsylvania Cargo 6×12?
Standard 14 x 14 inch vents fit perfectly. The roof rib spacing accommodates this size without interfering with structural members. If you choose a 12-inch round vent, you’ll need a different mounting plate. Stick with square vents to maintain compatibility with the roof’s flat profile.
How long does a roof vent installation typically take?
Plan for a full day—about 6 to 8 hours including measurement, cutting, building the curb frame, sealing, and letting the sealant cure. Curing time for self-leveling sealant is 24 hours before the trailer should be exposed to rain. Do the job on a clear, dry day with temperatures above 50°F (10°C) for best adhesion.