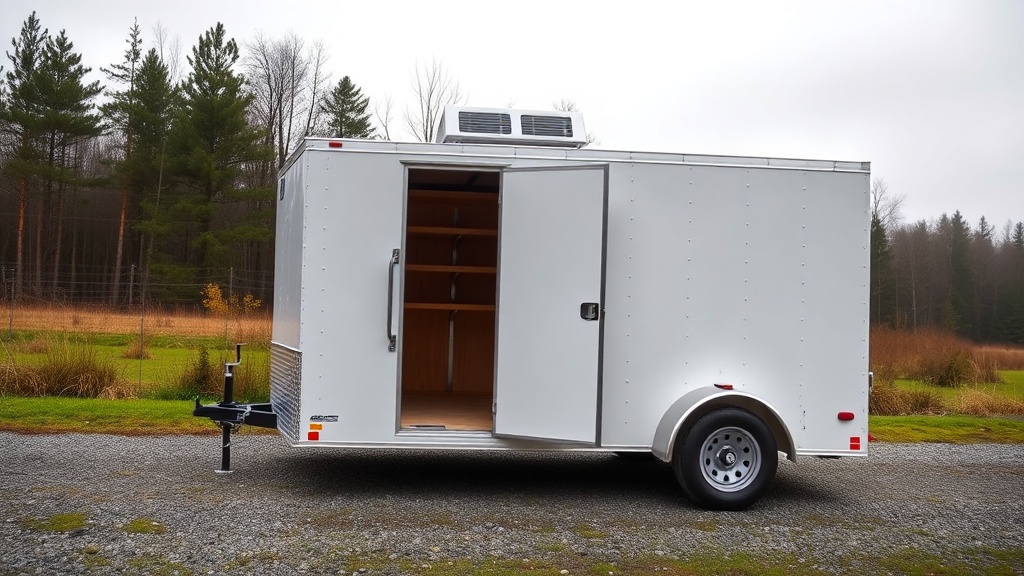
Owners of the Pennsylvania Cargo 6×12 trailer know that managing interior moisture and stale air is critical for protecting tools, bikes, and cargo. Installing roof vents is one of the most effective upgrades to reduce condensation and improve airflow. This guide covers the essential steps, specifications, and real-world feedback for adding roof vents to your 6×12 trailer.
Why Does Condensation Build Up in a Pennsylvania Cargo 6×12 Trailer?
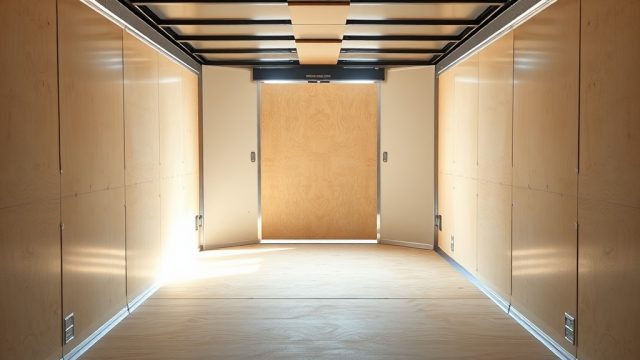
Condensation occurs when warm, moist air inside the trailer meets cold surfaces like metal walls or a roof. In a 6×12 enclosed cargo trailer, typical scenarios include hauling motorcycles after a ride, storing damp equipment, or parking in humid conditions. Without adequate ventilation, moisture can lead to rust, mold, and damage to upholstery or electronics. A roof vent creates a passive or powered exhaust point that draws humid air out and pulls fresh air in through cracks or windows.
What Tools and Materials Are Needed for Roof Vent Installation?
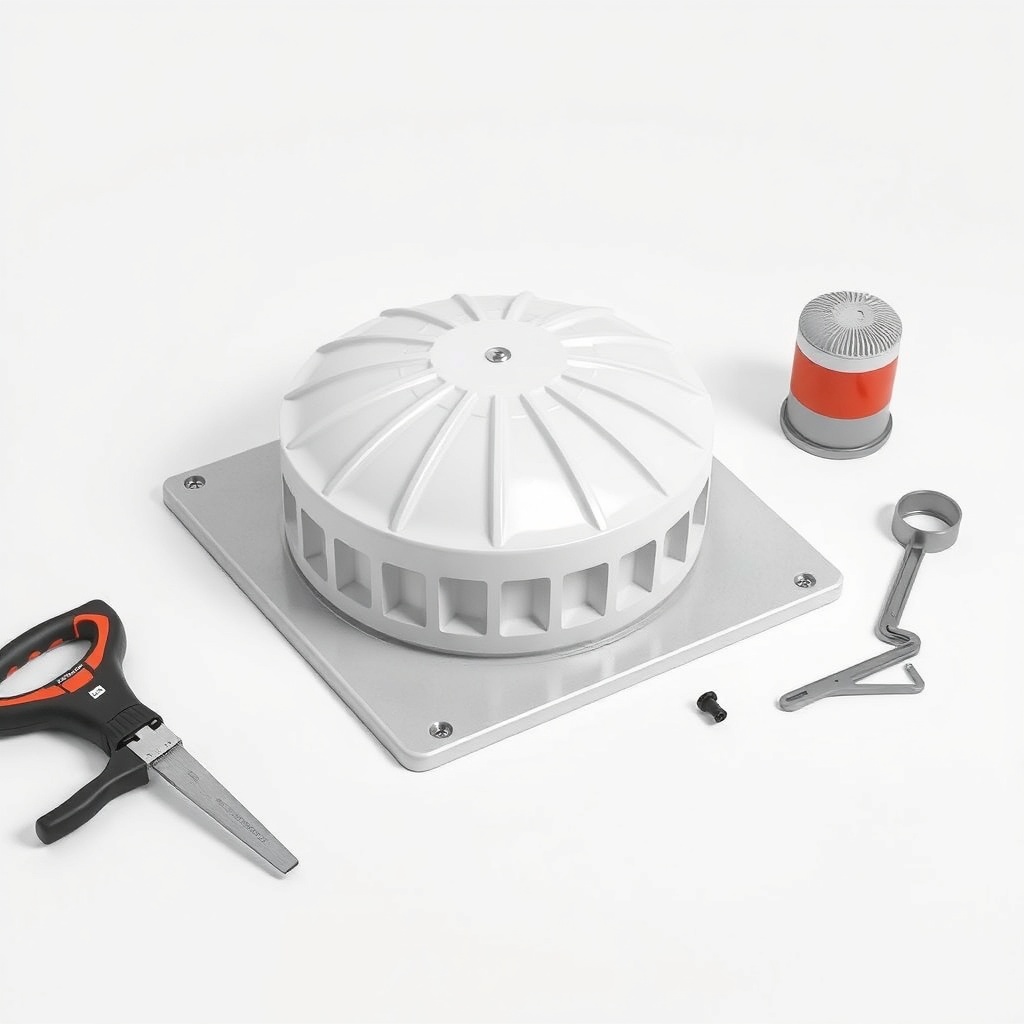
Before cutting into your Pennsylvania Cargo 6×12 roof, gather these items:
- Roof vent kit (12V or manual, 14×14 inch standard opening)
- Cordless drill with 3/16-inch and 1/8-inch bits
- Jigsaw with fine-tooth metal blade
- Butyl tape (1 inch wide, 1/8 inch thick)
- Self-tapping screws (#10, 3/4 inch for metal roof; 1 inch for thick installs)
- Measuring tape, straightedge, and marker
- Safety goggles and dust mask (metal shavings)
For wiring a powered vent, you will also need marine-grade wire, a fuse holder, and a switch. Refer to our Pennsylvania Cargo 6×12 Interior Wiring Upgrade: Step-by-Step Guide for proper 12V circuit planning.
How to Choose Between a Manual and Powered Roof Vent
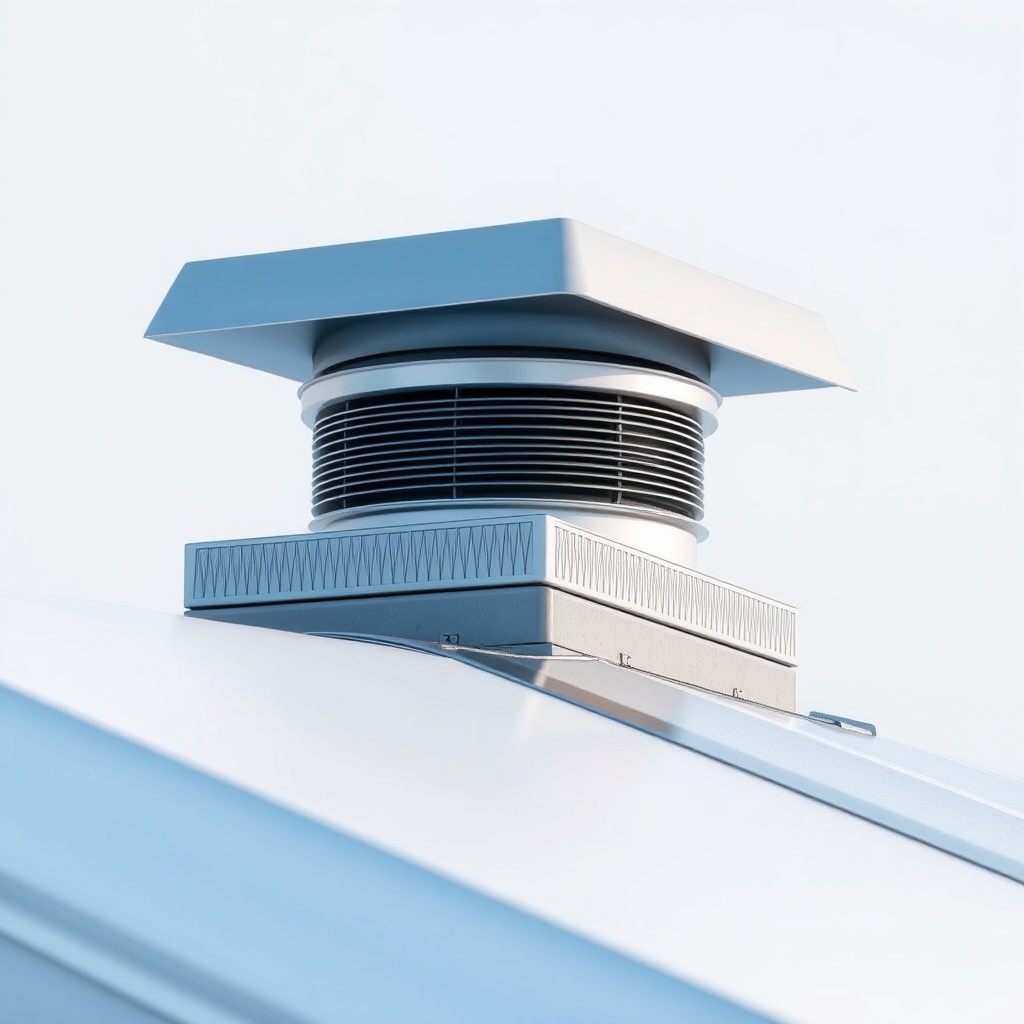
Manual vents (hand-crank) cost less and require no wiring—ideal for basic airflow. Powered vents, such as MaxxAir or Fantastic Fan models, include thermostats and switchable intake/exhaust modes, moving air even when the trailer is stationary. For a 6×12 cargo trailer used for motorcycle hauling, a powered vent is recommended because it actively pulls out fumes and heat. Budget for a 14×14-inch powered vent between $150 and $300 CAD. Manual kits run $60 to $120 CAD. Both options fit the same roof cutout.
| Feature | Manual Vent | Powered Vent |
|---|---|---|
| Cost (CAD) | $60 – $120 | $150 – $300 |
| Airflow (CFM) | Passive | 450 – 900 |
| Wiring Required | No | Yes (12V) |
| Rain Sensor Option | No | Yes |
| Best For | Storage, low humidity | Active hauling, condensation control |
What Is the Step-by-Step Process for Cutting the Roof and Mounting the Vent?
First, locate the vent between roof bows—usually 24 inches from the front or rear wall. Mark a 14×14-inch square. Drill a starting hole inside the outline, then cut with a jigsaw. Smooth edges with a file. Apply butyl tape around the vent opening, then position the vent base. Secure with self-tapping screws every 4 inches. For a powered vent, run wire from a 12V source (your trailer battery or tow vehicle). Use a fuse near the battery. Test operation before sealing the interior trim ring. If you are also upgrading interior lighting, check our Pennsylvania Cargo 6×12 Wiring Upgrade: LED Lighting Installation Guide to avoid overloading circuits.
How Much Airflow Does a Roof Vent Provide for a 6×12 Trailer?
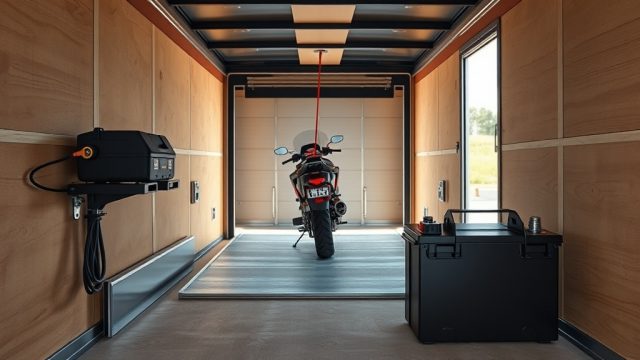
A single 14×14-inch roof vent moves enough air to reduce condensation in a 6×12 cargo trailer (approximately 72 square feet of floor area). Powered vents with 500 CFM exchange the interior air volume (about 430 cubic feet) in under one minute. In summer, a powered vent combined with side vents or an open rear door lowers interior temperature by 10 to 15 degrees Celsius. For maximum effect, consider adding a second vent at the rear to create cross flow. Many owners pair roof vents with a Pennsylvania Cargo 6×12 Winch Mount Installation: Secure Motorcycle Loading to keep bikes secure and dry.
What Owners Say About Roof Vents in the Pennsylvania Cargo 6×12
Frequent feedback from owners on trailer forums and Facebook groups highlights three points. First, condensation on metal walls drops dramatically after installing even a single powered vent. Second, homeowners using the trailer for woodworking or hauling wet gear notice less rust on tool surfaces after a 30-minute vent run. Third, manual vents are adequate for storage but insufficient for active use. One owner posted, “I cut through condensation completely with a $200 CAD MaxxAir fan. Zero moisture on the ceiling after a rainy night.” Another recommended pairing roof vent install with Pennsylvania Cargo 6×12 Floor Sanding and Refinishing Tips to prevent trapped moisture from damaging plywood floors.
Frequently Asked Questions
1. Can I install a roof vent in my Pennsylvania Cargo 6×12 if it has a curved roof?
Yes. Most 6×12 trailers have a slight crown of 1 to 2 inches. A standard vent kit includes a gasket that conforms to mild curves. You may need to use extra butyl tape on high points.
2. Do I need to cut through roof bows to install the vent?
No. Roof bows in a Pennsylvania Cargo 6×12 are spaced 16 inches apart. A 14-inch vent fits between two bows without cutting any structural support. Measure first to avoid alignment issues.
3. What is the best sealant for roof vents on a cargo trailer?
Use butyl tape for the base seal and then Dicor self-leveling lap sealant over the screw heads and edge. Do not use silicone, which does not bond well to metal or painted surfaces.
4. Can I run a powered roof vent from my trailer’s 12V battery while driving?
Yes, provided the battery is charged and wiring is fused. A typical powered vent draws 3 to 5 amps. Running it for hours will deplete a small battery, consider solar charging or connecting to the tow vehicle’s 7-pin connector.
5. How long does a roof vent installation take?
For an experienced DIYer, a manual vent takes 2 to 3 hours. A powered vent adds 1 hour for wiring. With help, you can complete the job in a weekend afternoon.
6. Do roof vents leak in heavy rain?
Quality vent covers (like MaxxAir’s enclosed design) prevent water intrusion even when left open. Manual vents require closing during rain. Always test with a garden hose after installation to confirm the seal.