Why Would a Pennsylvania Cargo 6×12 Owner Need an Interior Wiring Upgrade?
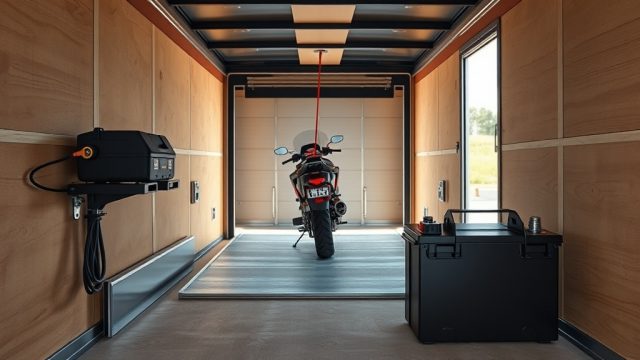
For many owners, the factory-installed interior wiring in a Pennsylvania Cargo 6×12 trailer satisfies basic needs: a single overhead dome light and a standard 12-volt outlet. However, when you start using the trailer for serious hauling—whether it’s motorcycle transport, equipment storage, or a mobile workshop—that minimal setup quickly becomes a bottleneck. Dim interior lighting makes loading in low light a chore, and a single outlet can’t power auxiliary fans, battery chargers, or inverter systems. An interior wiring upgrade transforms your trailer from a simple box into a functional, customized workspace.
Beyond adding convenience, upgrading allows you to plan a smarter electrical layout. You can run heavier-gauge wiring to accommodate higher amperage draws, install dedicated circuits for specialized gear, and future-proof your setup for solar panels or lithium battery banks. This guide focuses on a practical, owner-installed upgrade—moving from the basic factory harness to a robust interior distribution system that matches your specific storage and utility needs.
What Are the Main Tools and Materials Needed for the Job?
Before you begin, gather everything you’ll need to complete the upgrade efficiently. Start with a clear workspace inside the trailer—remove any loose cargo and sweep the floor. You’ll need a basic automotive wiring kit, but several specialized items are critical for a safe, code-compliant installation inside a metal trailer.
- Primary wiring: 20–25 feet of 10/2 marine-grade duplex wire (for main circuit runs) plus 10 feet of 10-gauge stranded copper for ground bonding.
- Circuit protection: A 12-volt, 30-amp surface-mount circuit breaker panel (4–6 positions) with a master switch and indicator light. Cost: approximately $45–$65 USD.
- Lighting fixtures: Four to six recessed LED dome lights with surface-mount bezels (each drawing 0.5–1.0 amp). Budget $80–$120 USD total.
- Outlets and accessories: Three 12-volt cigarette-style sockets (rated 15A each) and one dual USB-C fast-charge port. Expect to spend $35–$50 USD.
- Hardware: Self-tapping 1-inch #10 stainless steel screws, 100-pack of zip ties, adhesive-backed wire clips, and a roll of butyl tape for sealing entry points.
- Tools: Wire strippers/crimpers, a multimeter, a 12-volt drill/driver with step drill bit, a soldering iron and flux, heat shrink tubing, and a continuity tester.
Safety note: Always disconnect the trailer battery and any solar panel input before working on the wiring. A metal trailer frame provides excellent ground potential, but it also means any short circuit can cause arcing. Use marine-grade wire with tinned copper conductors to resist corrosion from condensation.
How Do You Map Out the New Interior Electrical Layout?
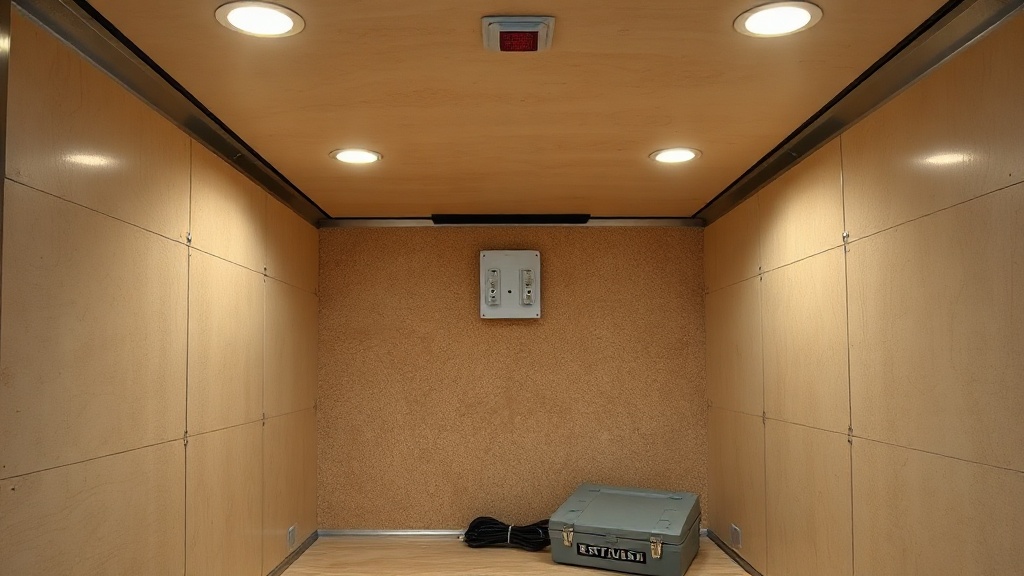
A thoughtful layout prevents wasted wire and excess labor. Start by deciding where you want lights and outlets based on intended use. For a Pennsylvania Cargo 6×12 Wiring Upgrade: LED Lighting Installation Guide, you’ll typically place lights near the center of the roof ribs to avoid shadows. Mark each location with a pencil on the ceiling liner (often ⅛-inch birch plywood). For outlets, place one near the front bulkhead for a battery charger or inverter, one at the rear by the ramp door for a work light, and a third midway on the side wall.
Next, plan your circuit breaker panel location. A common spot is on the front wall, between the trailer’s V-nose and the interior cargo area—this gives easy access to the tow vehicle’s 7-pin connector wiring and keeps the panel out of the way. Measure the distance from the battery or battery disconnect to the panel; add 10% for slack. Your main feed wire (from battery positive to the breaker panel) should be 10-gauge for a run up to 15 feet; if the distance exceeds that, consider 8-gauge wire to minimize voltage drop.
Finally, sketch your circuit layout on paper. A good design uses two separate lighting circuits (front/rear) on 15-amp breakers and one 20-amp circuit for outlets. This way, if you blow a breaker on the outlet circuit, your interior lights stay on. Label each wire run with a permanent marker at 1-foot intervals—this saves hours later when troubleshooting. For a professional look, use wire loom conduit on all exposed runs, especially along the trailer walls where cargo could chafe the insulation.
How Do You Run the Wires and Install the Breaker Panel?
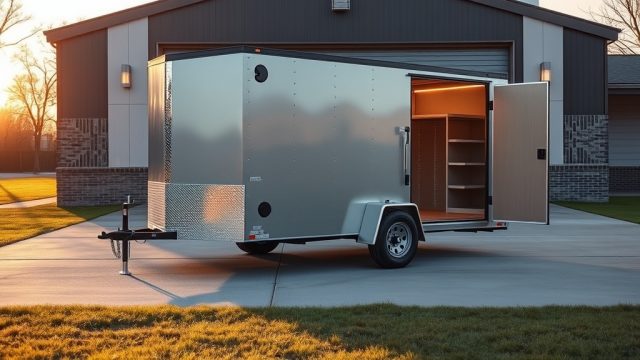
Begin by removing the interior wall panels if your trailer has them. Many Pennsylvania Cargo 6×12 models use plywood panels secured by self-tapping screws into the steel studs. Remove these carefully and store them flat. With the walls open, you can see the metal stud framework and the factory wiring bundle. Use a step bit to create clean holes through the studs for your new wire runs—drill a 5/8-inch hole for each new circuit, and always deburr the edges with a file to prevent chafing.
Now run your main 10-gauge positive feed wire from the battery location (typically in the V-nose storage compartment) to your breaker panel location. Secure the wire every 12 inches with zip ties attached to the studs. On the negative side, run a separate 10-gauge ground wire back to the battery’s negative terminal—do not trust the trailer frame as the only ground for interior circuits. A dedicated ground wire eliminates voltage offset from other loads and prevents electrolysis.
Install the breaker panel next. Mount it on a ½-inch plywood backer that is screwed into the steel studs for strength. Use a hole saw to cut a clean opening in the wall panel for the panel face. Feed the main positive wire into the panel’s input side (often labeled “BATT” or “LINE”). Install a 30-amp main breaker between the battery and your panel to protect the feed wire. At this point, connect the negative bus bar inside the panel to your dedicated ground wire. Double-check polarity with a multimeter before connecting any load circuits.
| Circuit Number | Circuit Type | Breaker Rating | Amperage Draw (Max) | Wire Gauge | Typical Components |
|---|---|---|---|---|---|
| 1 | Front lights | 15A | 3A (3 lights) | 14 AWG | 2 recessed LED lights, switch |
| 2 | Rear lights | 15A | 3A (3 lights) | 14 AWG | 2 recessed LED lights, switch |
| 3 | General outlets | 20A | 12A (fans, chargers) | 12 AWG | 3x 12V sockets, USB port |
| 4 | Spare/high-amp | 20A | — | 12 AWG | Future inverter or compressor |
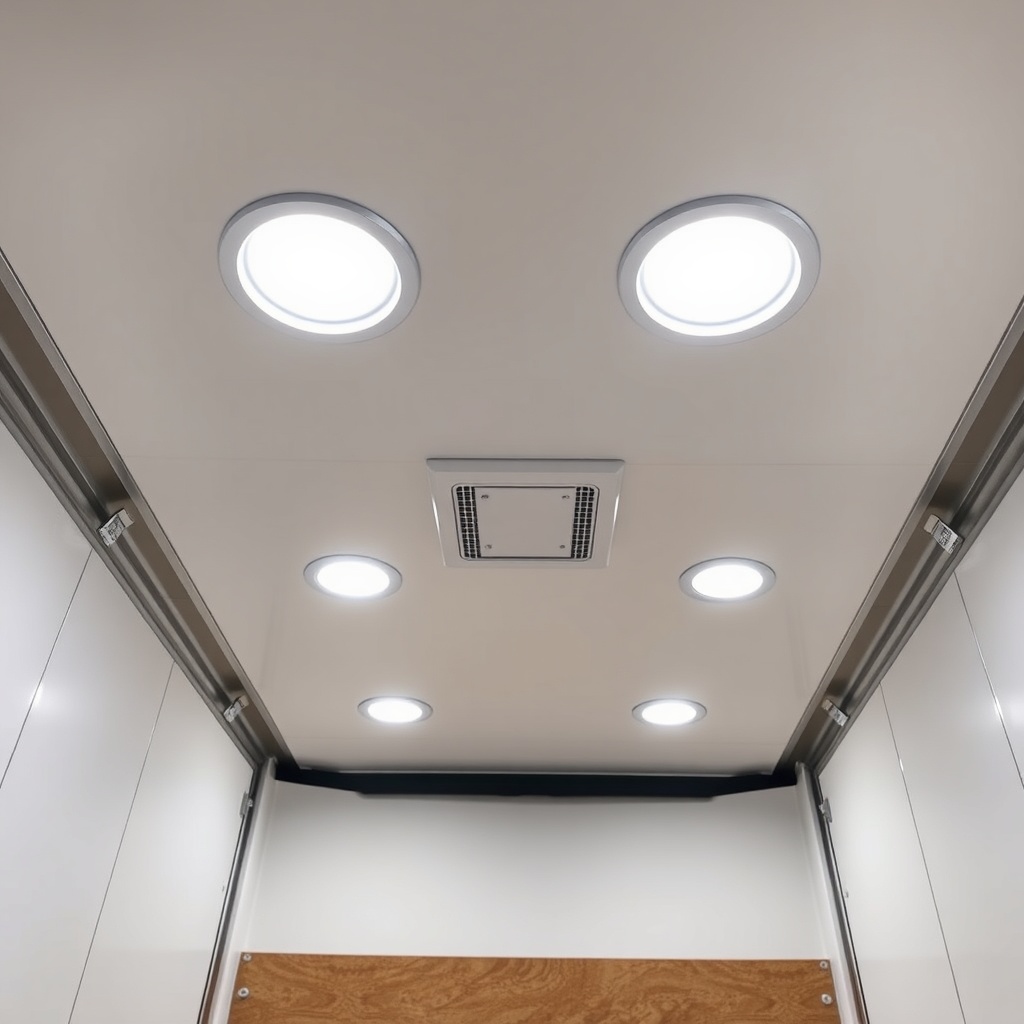
How Do You Install the LED Lights and Outlets?
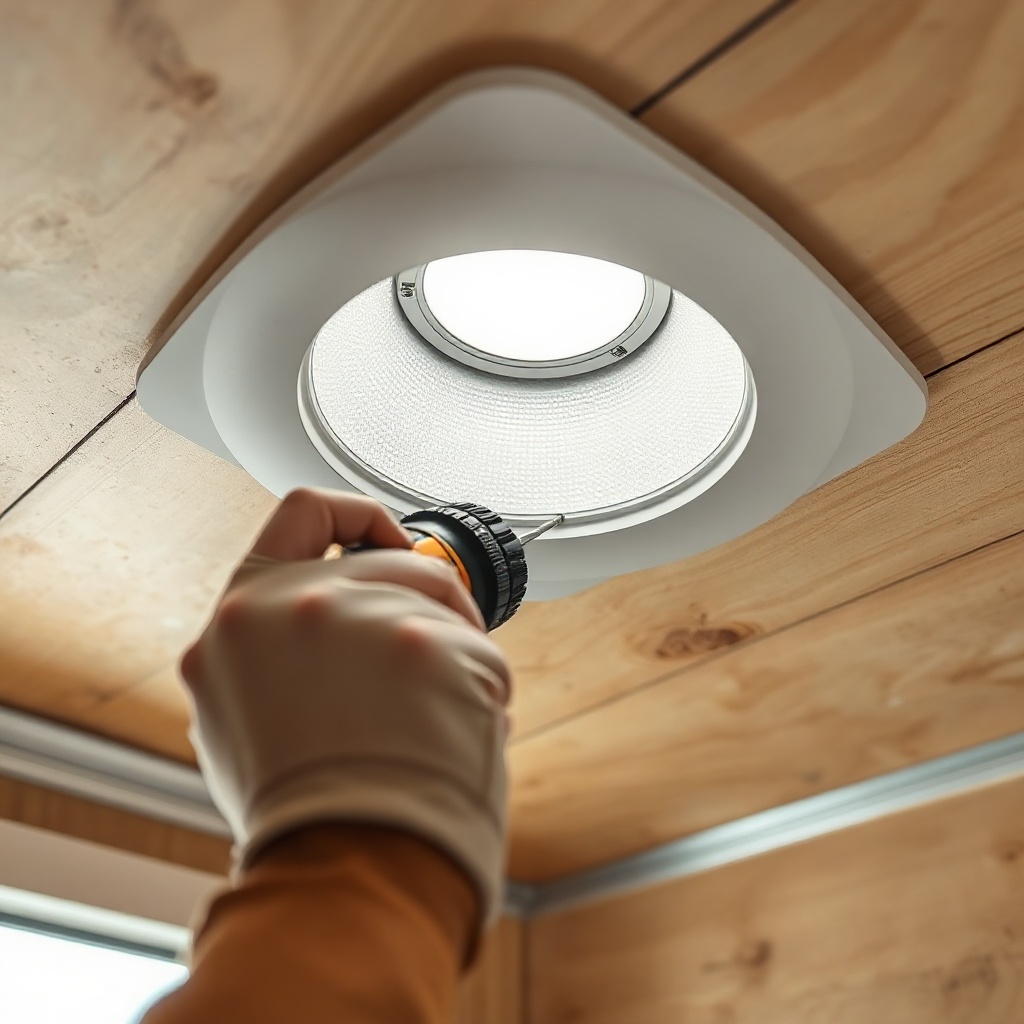
With the breaker panel in place, focus on the lighting and outlets. For the LED fixtures, mark the ceiling where you want each light. Use a hole saw slightly smaller than the fixture’s mounting flange—typically 3½ inches for recessed dome lights. Feed the fixture’s pigtail wires through the hole, then screw the mounting base into the plywood ceiling. After securing, wire each fixture in parallel using 14-gauge wire: connect positive to positive (usually red or white with a stripe) and negative to negative (black or plain white). Use crimp connectors with heat shrink for a weatherproof seal.
For the 12-volt outlets, cut a rectangular hole in the wall panel using a drywall saw. Most sockets require a 1½-inch by 2-inch opening. Pull your 12-gauge wire from the breaker panel to the outlet location, leaving about 6 inches of slack. Secure the wire to the wall stud with a wire clip every 18 inches. Connect the outlet: the center terminal is positive, and the outer tab is negative. Crimp ring terminals for a solid connection. Install the outlet into the wall cutout, and snap on the decorative faceplate.
Pro tip: For the USB-C port, use a fused inline holder on the positive wire at the outlet location—this protects sensitive electronics if a short occurs downstream. Also, label each outlet and light switch on the breaker panel cover with a permanent marker. Finally, test every circuit with a multimeter before closing up the walls. Check voltage at the farthest outlet—you should see no more than 0.5 volts drop from the panel. If voltage drop exceeds 1 volt, your wire gauge may be too small for the run length.
What Safety Checks and Final Steps Should You Perform?
Before you reattach the wall panels, perform a thorough inspection. Verify that all wire connections are secure, there are no exposed copper wires, and all splice points are inside junction boxes or heat-shrunk. Turn on the master breaker and test each circuit under full load: turn on all lights simultaneously, and plug a 12-volt fan and charger into the outlets. Let the system run for 15 minutes, then touch the breaker panel, wires, and fixtures—they should be warm, not hot. If any component exceeds 120°F, there may be a loose connection or an overloaded circuit.
Now reinstall the wall panels, being careful not to pinch wires between the panel and the steel studs. Use the original screws or slightly longer ones (ensure they don’t protrude into the wall cavity). After the panels are up, install a weather-sealing gasket around the breaker panel face—this prevents dust and moisture from entering. For Pennsylvania Cargo 6×12 Weather Sealing Upgrade: Keep Moisture Out, consider sealing any gaps between the wall panels and the ceiling with silicone caulk to reduce condensation pathways. Finally, test the system again with the walls closed to ensure no screws pierced a wire, which would cause a short.
Document your wiring diagram and keep it in the trailer’s manual pouch. Note the breaker ratings and wire gauge for each circuit. This will help anyone troubleshooting later. If you plan to add a Pennsylvania Cargo 6×12 Winch Mount Installation: Secure Motorcycle Loading, your new interior wiring can easily supply power to a winch control box via one of the auxiliary circuits. You now have a versatile, safe electrical system that supports years of heavy use.
What Owners Say
More than a few Pennsylvania Cargo 6×12 owners have tackled this upgrade and shared their results on forums. One owner, Jim R. from Erie, noted: “After upgrading to four LED lights and two outlets, I can finally see each toolbox from the back of the trailer. The dim factory bulb was useless after sunset.” Another owner, Sarah L. from Pittsburgh, added: “I installed a small 1000-watt pure sine inverter on a dedicated 20-amp circuit from this guide. Now I run a laptop and battery charger on site without the truck running. The breaker panel keeps everything organized—no more fumbling with inline fuses.”
Some users caution that if your trailer is stored outside for long periods, the ground wire connections should be checked annually—corrosion can creep into crimp terminals. For Pennsylvania Cargo 6×12 Floor Rust Prevention and Care, one owner from Reading found that the new wiring’s elevated ground bus helped reduce electrolytic corrosion on floor fasteners. Overall, owners report that the wiring upgrade is a weekend project that immediately increases daily utility and trailer resale value.
Frequently Asked Questions
Can I reuse the factory wire from the 7-pin connector for interior lights?
Not recommended. The factory 7-pin connector wire is typically 14-gauge and designed for taillights and brakes, not constant interior loads. For a safe interior upgrade, run a dedicated 10-gauge feed from the battery.
Do I need a permit to modify the trailer’s electrical system?
In most jurisdictions, low-voltage (12-volt) interior modifications in a cargo trailer do not require a permit. However, if you plan to install a 120-volt inverter system with outlets, local electrical codes may apply; check with your building department.
Can I use automotive wire instead of marine-grade wire?
Marine-grade wire is tinned to resist corrosion from humidity and condensation—common inside a sealed cargo trailer. Automotive wire lacks this protection and may fail prematurely. Spend the extra $20 for marine-grade.
Will upgrading interior wiring affect my trailer warranty?
Most manufacturers, including Pennsylvania Cargo, allow owner modifications as long as they don’t damage factory wiring or structure. Keep records and photos of your installation, and avoid cutting into the trailer’s frame for wire routing.
How do I add a solar panel input to the interior panel?
After completing the interior panel installation, add a dedicated 30-amp breaker for a solar charge controller. Wire the solar input from the roof to a combiner box, then to this breaker. This is covered in detail in our Pennsylvania Cargo 6×12 Wiring Upgrade: LED Lighting Installation Guide.
What is the maximum total amperage I can draw from the new panel?
With a properly sized 10-gauge main feed and 30-amp breaker at the battery, you can draw up to 30 amps total. However, each 20-amp circuit is individually protected. If you regularly exceed 25 amps continuous, consider upgrading the main feed to 8-gauge wire.