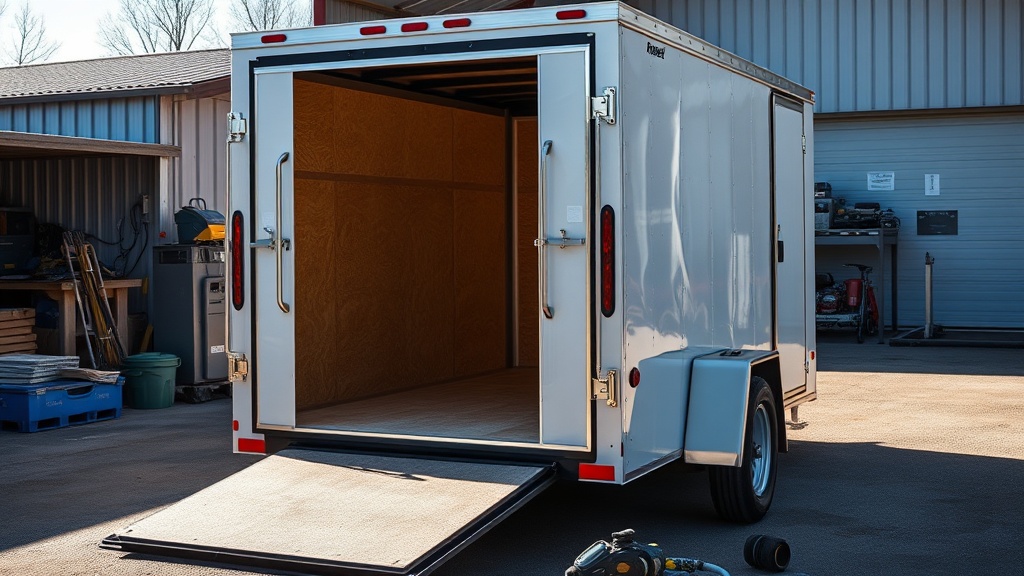
How Do You Know the Rear Door Seal on Your Haulmark Edge 6×12 Needs Replacement?
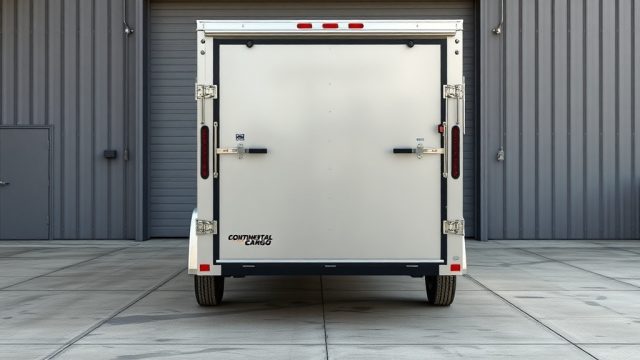
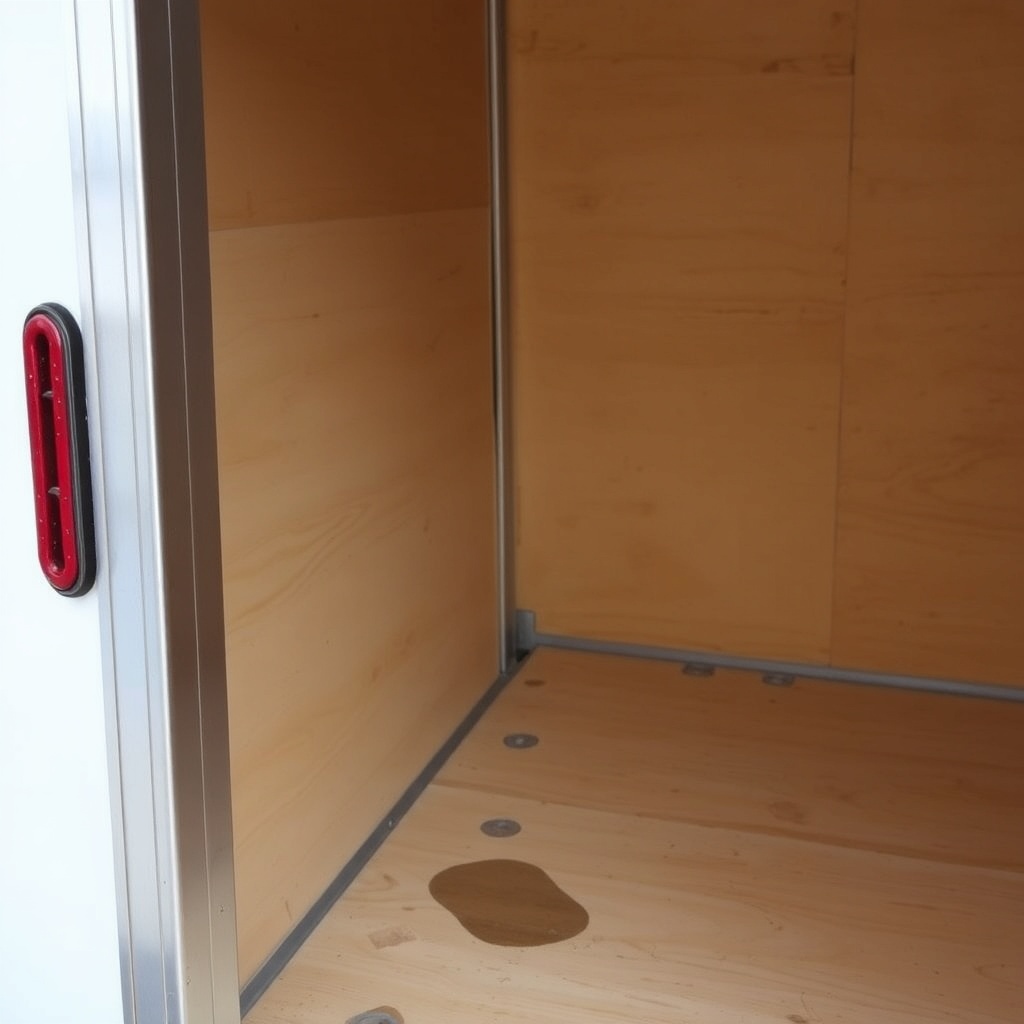
The rear door seal on the Haulmark Edge 6×12 is a critical component for keeping your cargo dry and secure. Over time, exposure to UV rays, temperature swings, and road debris can cause the rubber gasket to crack, compress, or pull away from the frame. The first sign is often a whistling sound at highway speeds, followed by dust streaks inside the door jamb or water stains on the plywood floor after a rain. If you see daylight peeking through any part of the closed door, you are already losing seal integrity that allows moisture and dust into the trailer.
Another common indicator is the rear door becoming harder to latch properly. When the seal loses its shape, the door may no longer press evenly against the frame, requiring extra force to close the handles. On a Haulmark Edge 6×12, the rear ramp door seals on all four sides, and a compromised gasket affects the entire perimeter. Ignoring this issue can lead to expensive problems like mold in the interior paneling, corrosion on the steel subframe, and damage to gear stored inside. Replacing the seal early is a simple DIY job that saves you from bigger repair bills later. For related guidance on preventing water intrusion, see our article on frame rust prevention and treatment for the Haulmark Edge 6×12.
What Tools and Materials Are Required for the Seal Replacement?
Before starting the repair, gather the correct replacement seal and tools. The Haulmark Edge 6×12 uses a standard D-profile or bulb-style weather stripping, typically 5/8-inch wide with a 3/8-inch adhesive backing. You can purchase genuine Haulmark replacement seals from a dealer for approximately $45 to $60 for a 20-foot roll, enough to cover the entire rear door perimeter twice. Generic D-profile seals from an RV supply store cost about $25 for the same length, but ensure you choose one rated for exterior use with UV stabilizers. For the specific dimensions of the Haulmark Edge 6×12 rear door, visit your local dealer or check the specs in our competitor comparison article.
Here is the complete list of tools and materials you will need:
- Replacement D-profile or bulb seal (approx. 20 feet for a 6×12 rear door)
- Isopropyl alcohol (90% or higher) and clean rags
- Plastic scraper or putty knife (avoid metal to prevent scratching the paint)
- Heat gun or hair dryer (for softening old adhesive)
- Measuring tape and marker
- Utility knife with a sharp blade
- Denatured alcohol or Goo Gone for residue removal
- Optional: 3M Super 77 spray adhesive for extra hold
The total cost for this DIY project ranges from $30 to $65 depending on whether you buy genuine Haulmark parts or an aftermarket equivalent. You can often find good deals online, but always verify the seal profile matches your existing one.
How Do You Remove the Old Rear Door Seal Safely?
Removing the old seal without damaging the aluminum frame or painted surface requires patience. Start by warming a small section of the seal with a heat gun on the lowest setting (holding it about six inches away) for 20 to 30 seconds. This softens the adhesive underneath. Use a plastic scraper to gently lift the rubber strip away from the frame, working in sections of about 12 inches at a time. Do not pull the seal off forcefully, as this can tear the adhesive backing and leave residue behind. If you encounter stubborn spots, apply more heat and use a plastic pry tool to break the bond.
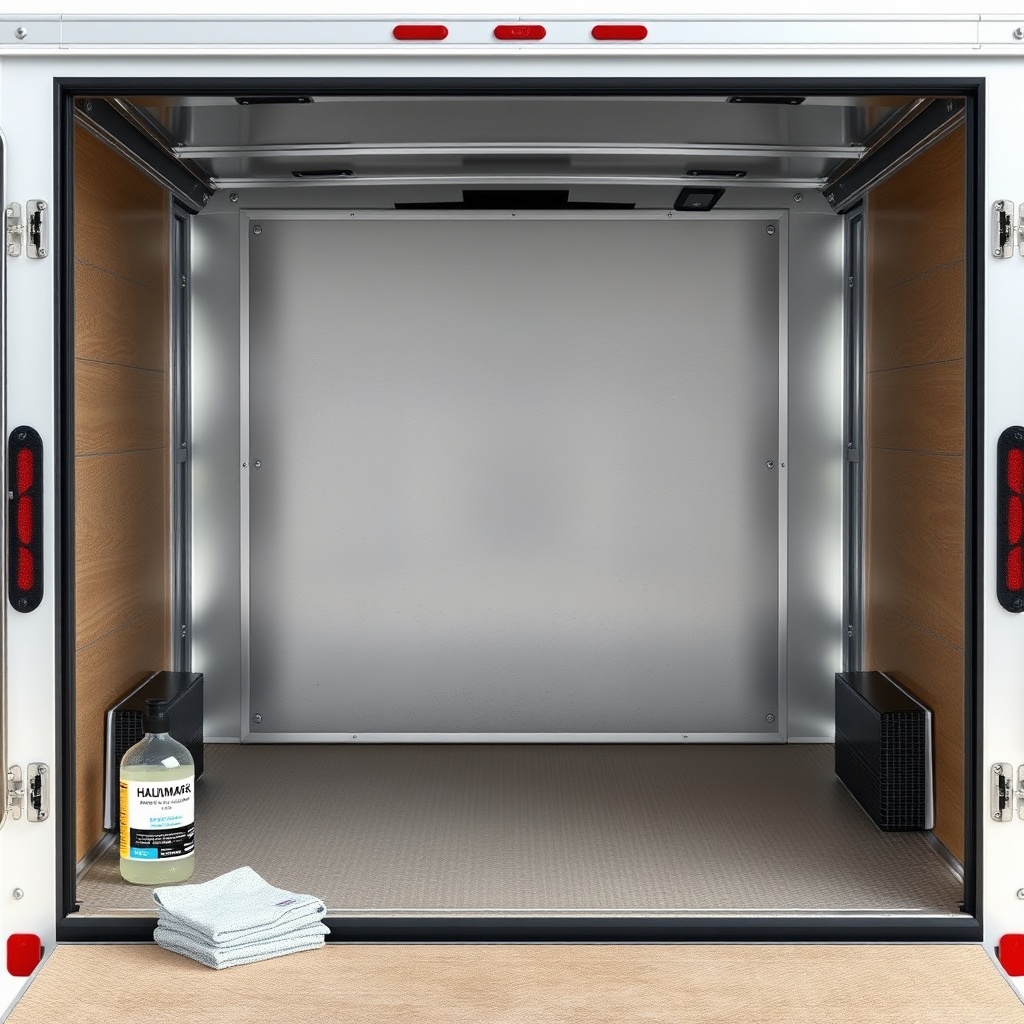
After removing the entire seal, you will be left with an adhesive residue track on the aluminum frame. Spray the area with denatured alcohol and let it sit for two minutes. Use a microfiber cloth to scrub the residue off in circular motions. For persistent glue, let the alcohol soak for five minutes. Once all residue is removed, wipe the frame down with isopropyl alcohol to remove any oils or dirt. The surface must be completely clean and dry before you install the new seal. Any contamination will cause the new adhesive to fail within months.
What Is the Correct Way to Install the New Seal on the Haulmark Edge 6×12?
Begin by measuring the total perimeter of the rear door opening. On a 6×12 Haulmark Edge, the height is typically 74 inches and the width 72 inches, giving a full perimeter of about 292 inches (24.3 feet). However, because you will install the seal continuously without splicing in corners, buy at least 20 feet to allow for one continuous run. If your seal roll is longer, simply cut off what you need after the test fit.
With the frame clean and dry, warm the first 12 inches of the new seal’s adhesive backing with a heat gun for 10 seconds. This activates the glue and ensures a strong initial bond. Align the seal with the inside edge of the frame channel — most owners prefer the bulb facing outward toward the door when closed. Press the seal firmly into place, using your fingers to run along the entire length, ensuring no gaps exist. Install the seal in one continuous motion around the entire door opening, working from top to bottom on the hinge side, then across the bottom, up the handle side, and finally across the top. Use a roller tool or your thumb to apply even pressure across the entire seal length.
At each corner, do not cut the seal. Instead, allow it to bend naturally; the D-profile seals are flexible enough to conform to 90-degree corners without kinking. If you notice the seal bunching, apply more heat and press it flat. Once installed, close the rear door and check for uniform compression. You should feel resistance when latching the door, but it should not require excessive force. If the door is too hard to close, the seal may be too thick or improperly positioned. For further tips on achieving an airtight trailer, read our wind noise reduction techniques for the Haulmark Edge 6×12.
How Do You Test the New Seal for Proper Fit and Performance?
Testing is straightforward but essential. With the door closed, perform a dollar bill test: close the door on a dollar bill placed between the seal and the door, then try to pull it out. If the bill slides out easily with no resistance, that section of the seal is not compressing enough. Adjust by removing the bill and pressing the seal further into the channel, or add a small bead of silicone adhesive underneath to increase height. Repeat the test at six points: top center, each corner, and mid-span on both sides and the bottom.
Next, perform a water test. On a dry day, spray a garden hose on the rear door seams from all angles for five minutes while someone inside the trailer looks for leaks using a flashlight. Any water intrusion means the seal is not seated correctly. If you notice moisture, mark the spot, dry the area, and re-apply that section with extra adhesive. Finally, take the trailer on a highway test drive at 55 mph and listen for whistling sounds. A well-installed seal should be silent. For more details on keeping the trailer interior dry, see our guide on best interior customizations that protect your cargo.
What Are the Most Common Mistakes Owners Make During Seal Replacement?
One frequent error is not cleaning the frame surface thoroughly before applying the new seal. Even a thin layer of old adhesive or dust can cause the new seal to peel off within weeks. Another mistake is cutting the seal at corners instead of bending it continuously. Cutting creates weak points where water can enter. Additionally, using a generic seal that is too thick can make the door impossible to latch, while a seal that is too thin provides no real protection. Always measure the existing channel depth before buying a replacement. A common oversight is failing to check the door alignment itself; a warped rear door may not compress the seal evenly no matter how well it is installed. If you suspect door misalignment, consult a professional or adjust the hinges as needed.
Seal Replacement Trouble Severity Guide
| Symptom | Severity Level | Estimated Repair Time | Replacement Cost | Risk of Water Damage |
|---|---|---|---|---|
| Light whistle at highway speeds | Low | 1 hour | $30–$40 | Low – minor dust ingress |
| Dust streaks on interior door frame | Moderate | 1.5 hours | $40–$50 | Moderate – possible moisture over time |
| Visible gaps or daylight through seal | High | 2 hours | $50–$65 | High – water can pool inside |
| Water puddles on floor after rain | Critical | 2.5 hours | $50–$65 plus cleaning | Severe – mold, rust, load damage |
What Owners Say About the Haulmark Edge 6×12 Rear Door Seal
Haulmark Edge 6×12 owners frequently mention the rear door seal as an area that needs periodic attention. On online forums, many report that the original seal lasts between two to four years depending on climate and parking conditions. Owners in southern states often cite earlier failure due to intense UV exposure. One owner commented that after replacing the seal with a thicker bulb-style gasket from an RV supplier, the trailer became much quieter on the highway — a common theme echoed in our wind noise reduction article. Another owner shared that they upgraded their interior lighting at the same time as the seal replacement, finding that the LED strips from our LED strip installation guide made it easier to see any seal gaps at night. Some owners caution that using a silicone-based adhesive can make future removal more difficult, recommending butyl-based adhesive tape instead. Overall, the consensus is clear: replacing the rear door seal is a straightforward maintenance task every Haulmark owner should know how to do.
Frequently Asked Questions
1. How often should I replace the rear door seal on my Haulmark Edge 6×12?
Most owners replace the seal every three to four years. However, if you store the trailer outdoors year-round or drive frequently on dusty roads, inspect it annually and replace as soon as you notice cracking or stiffness.
2. Can I use a generic weather stripping from a hardware store?
Yes, but choose a D-profile or bulb seal with UV resistance and the correct width (typically 5/8-inch to 3/4-inch). Measure your existing channel depth first. Generic options usually last one to two years compared to three to four years for OEM seals.
3. How much does a professional replacement cost?
A dealer or trailer repair shop may charge $120 to $200 for parts and labor. DIY replacement costs $30 to $65, making it a worthwhile weekend project.
4. Can I install the seal without a heat gun?
Adhesive backing works best when warm. In cool weather (below 50°F), the seal may not adhere well without heat. You can use a hair dryer as a substitute, but avoid open flames.
5. My rear door still leaks after replacing the seal. What else could be wrong?
Check the door alignment, hinge adjustment, and latch tension. Also verify that the seal is the correct profile for your specific Haulmark Edge 6×12 model year. A leak can also come from the door’s aluminum extrusion joints — apply silicone sealant to those seams.
6. Should I apply extra adhesive to the seal installation?
Not required for the first installation if the surface is clean and the adhesive backing is good quality. However, adding a bead of 3M Super 77 or butyl tape along high-stress areas (corners and bottom edge) can extend the seal life, especially if you frequently drive on rough roads.