How Do You Plan the LED Strip Layout for the Haulmark Edge 6×12 Interior?
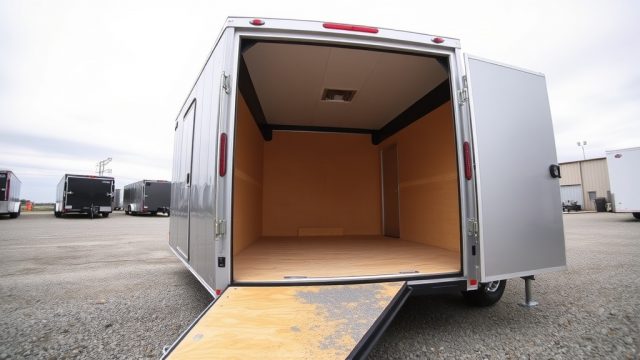
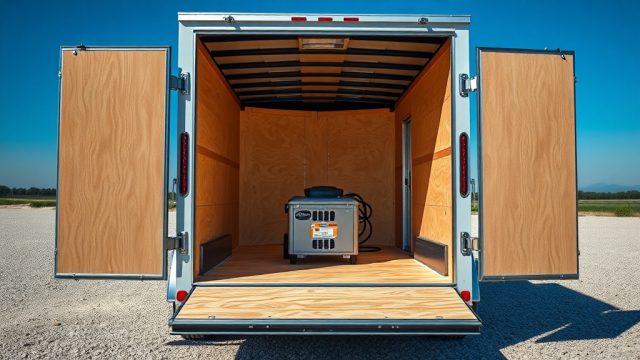
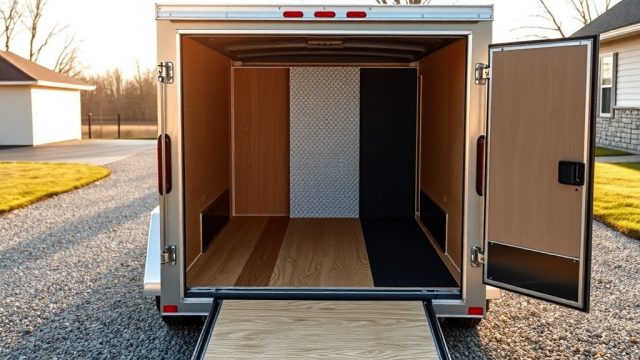
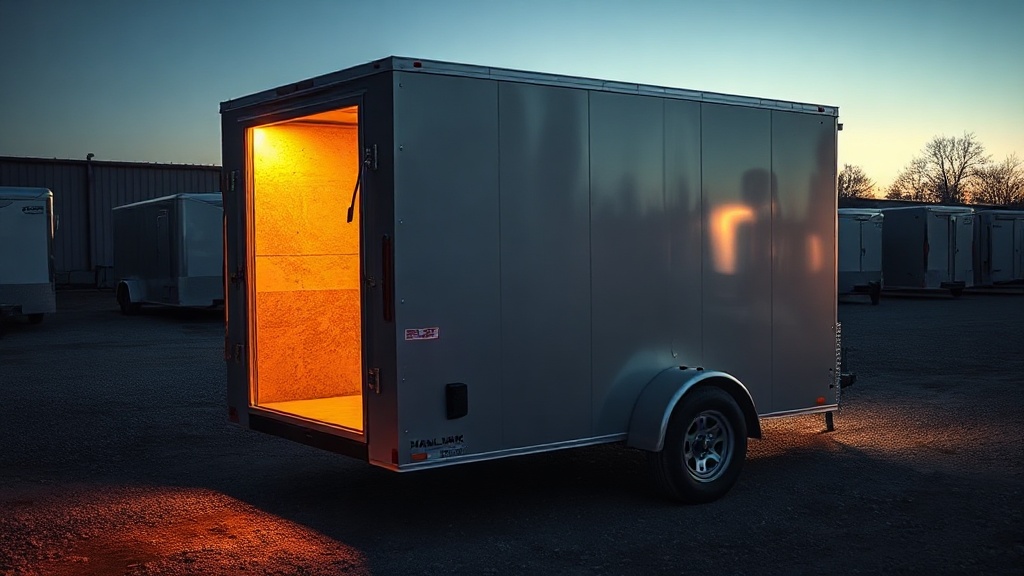
Before grabbing a soldering iron, owners must assess the specific interior dimensions of the Haulmark Edge 6×12 cargo trailer, which typically offers 72 inches of interior height and a 6-foot width. The goal is to eliminate shadow zones often caused by the factory single dome light. A successful layout divides the 12-foot length into zones: the workbench area near the side door, the main cargo floor, and the front V-nose cabinet space. Measure the distance from floor to ceiling at multiple points to account for any frame curvature near the roof bows, a common nuance noted in the Haulmark Edge 6×12 Frame Welding Review: Strength and Durability article.
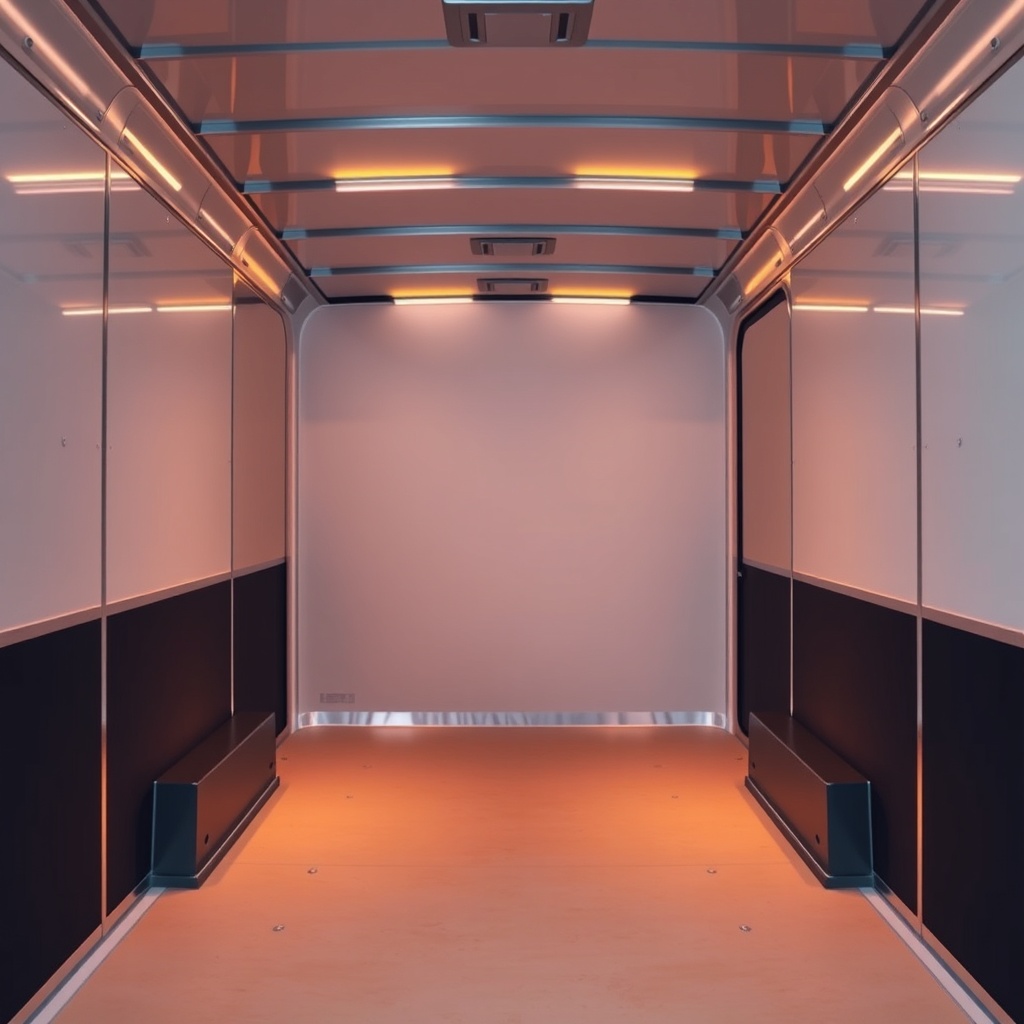
Choose LED strip type carefully. Many owners in the Best Interior Customizations for the Haulmark Edge 6×12 Cargo Trailer discussion prefer 12V DC waterproof strips rated at IP65 or higher to resist condensation, especially if the trailer will be used for carrying motorcycles or damp gear. A standard run of 16.4 feet (5 meters) covers roughly one full side plus half the rear door area, requiring two strips total for even coverage. Plan the wiring route along the top edge of the wall panels, using adhesive-backed clips rather than permanent screws to avoid puncturing the aluminum skin.
If integrating a dimmer switch, install it near the side entry door for easy access when loading at night. Avoid placing strips directly above shelving units that might block light distribution. A practical test with a rigid tape measure and a handheld work light reveals that strips mounted 6 inches from the ceiling on each side provide the best wash of light without creating glare when standing upright inside the trailer. Document your layout on paper, marking junction points for the wire leads; this schematic saves time during the actual install.
What Tools and Materials Are Required for the LED Upgrade?
Assembling the correct materials before starting ensures a clean install that won’t void the trailer’s structural warranty. The core list includes a 12V LED strip kit (preferably with a 5A fuse), a multimeter for testing polarity, wire strippers, quality solderless connectors (WAGO style), 3M double-sided adhesive foam tape, a heat gun for shrinking tubing, and cable management clips. Expect to spend between £45 and £85 (or $55–$105 USD) for a dual-strip kit with remote control and dimmer, depending on brightness output measured in lumens per meter.
Below is a comparison of two popular LED strip specifications suitable for the Haulmark Edge 6×12:
| Feature | Standard Density Strip | High Density Strip |
|---|---|---|
| LEDs per meter | 30 | 60 |
| Lumens per foot | 180 | 320 |
| Power draw (12V DC) | 0.5A per 10 ft | 1.0A per 10 ft |
| Cost per 16.4 ft roll | £22 ($28) | £48 ($61) |
| Ideal for | Ambient background light | Task lighting for workbench |
For the Haulmark Edge 6×12, a hybrid approach works best: use high-density strips above the work area and standard-density along the cargo length. This reduces battery drain if running off the trailer’s auxiliary battery. Don’t forget a wire crimping tool and marine-grade heat shrink to protect connections from vibration during towing, a topic discussed further in the Towing the Haulmark Edge 6×12 with a Mid-Size SUV: Stability and Tips guide.
What Is the Step-by-Step Installation Process?
Begin by disconnecting the trailer’s battery or removing the main fuse to eliminate the risk of short circuits. Clean the mounting surfaces thoroughly with isopropyl alcohol to ensure the adhesive tape bonds permanently to the interior aluminum panels. Run the main positive and negative wires from the battery location (usually near the tongue) through a pre-existing conduit or along the frame rail, securing them with zip ties every 12 inches. Avoid routing wires near the spare tire mount or propane tank area where heat or abrasion could damage the insulation.
Measure and cut each strip at the designated cut marks (usually every 2 inches). Attach the solderless connector by pressing firmly until it clicks; confirm polarity with the multimeter before applying power. Test each strip segment individually on a workbench before adhering it to the trailer wall. Once confirmed, peel the backing and press the strip into place along the planned route, using extra clips at every corner to prevent sagging over time. Solder joints are recommended for permanent installations, but quality connectors suffice for most DIY upgrades.
Route the control wires to the dimmer switch location, drilling a clean 1/2-inch hole through the wall panel and using a grommet to protect the wire. Connect the dimmer’s ground to a common chassis ground point. Finally, reconnect the battery and test each zone. Adjust the dimmer to 50% below maximum to gauge the light spread; a common mistake is using full brightness initially, which can cause driver eye fatigue during nighttime towing stops. Document your wiring diagram inside the panel door for future troubleshooting.
How Do You Integrate the Lighting with the Existing Electrical System?
The Haulmark Edge 6×12 typically comes with a pre-wired 12V system that powers a single dome lamp and a brake/light circuit. To integrate LED strips without overloading the trailer’s 15A fuse, tap into the interior light circuit at the junction box located behind the ceiling panel near the side door. Use a dedicated 5A inline fuse for the LED strips to isolate them from the dome lamp. This approach allows independent operation: you can keep the dome light off while the LEDs run on a separate switch for low-profile lighting during overnight camps.
If your Edge model includes a battery charging system (often a converter), ensure the total LED load does not exceed 3A to leave headroom for other accessories like a propane detector or fan. Many owners add a three-way switch module that allows the strips to operate on battery power while parked or on shore power when the trailer is stationary. This flexibility is valuable for those who convert their Haulmark Edge 6×12 into a mobile workshop, as detailed in the Haulmark Edge 6×12 vs. PJ Pacesetter 7×14: Which Cargo Trailer Wins? comparison.
Use a digital voltmeter to confirm the voltage drop at the farthest strip (rear door area). A drop below 11.5V DC indicates the wire gauge (18 AWG recommended) is too thin. If needed, run a separate 14 AWG wire from the battery to a distribution block placed in the ceiling cavity. Label all connections with heat-shrink tags to avoid confusion during future electrical upgrades, such as adding solar panels or a 120V shore power inlet.
What Are Common Mistakes to Avoid During Installation?
One frequent error is using standard indoor LED strips rated for 5V or 120V AC, which are incompatible with the trailer’s 12V DC system and can cause flickering or immediate failure. Always verify the voltage rating printed on the strip reel before cutting. Another mistake is failing to secure the wire leads with strain relief near the strip connectors. Vibration from towing can loosen connectors over time, causing intermittent light loss. Use adhesive cable tie mounts and small zip ties to anchor the wire every 6 inches from the strip end.
Owners also often overlook the importance of a proper ground. A poor chassis ground connection, such as a paint-covered bolt, leads to dim lights and potential radio interference. Clean the ground point to bare metal and apply dielectric grease. Additionally, avoid mounting strips directly over the trailer’s roof vents or air conditioner ducts, as condensation or temperature fluctuations can damage the adhesive. In colder climates, condensation that forms on the roof can drip onto strips mounted horizontally near the ceiling; angling the strips slightly downward or using a drip shield from 3M alleviates this problem.
Finally, do not skip the testing phase before permanent installation. Attach the strip with painter’s tape first, run the trailer for 30 minutes on rough roads, and check for loosening. This practical test mirrors the durability assessments in the Haulmark Edge 6×12 Wind Noise Reduction Techniques guide, where components are evaluated under real-world vibration conditions.
What Owners Say About the LED Upgrade in the Haulmark Edge 6×12
Long-term owners on forums like TrailerInsider and DIY Camper Van groups consistently report that the LED strip upgrade transforms the interior usability of their Haulmark Edge 6×12. One owner from Oregon noted, “After adding two 60-LED-per-meter strips along each wall, I can easily read small labels on storage bins at night without needing a headlamp. The factory dome light barely reaches the mid-section, but the LEDs make the entire 12-foot floor glow uniformly.” Another owner, using the trailer for mobile detailing, appreciated the color temperature control: “I installed a dimmable warm white (3000K) strip for customer presentations and cool white (5000K) for cleaning work. The switchable remote cost me £38 total.”
Several owners emphasize the value of the upgrade when paired with interior shelving. A carpenter in Minnesota said, “The best move was adding LED strips under the upper shelves, like under-cabinet lights in a kitchen. It created task lighting for the workbench area while keeping the main cargo space ambient.” A few caution that cheap strips (<£15 per roll) tend to yellow or flicker within six months; they recommend spending at least £30 per roll for consistent color rendering. Overall, the upgrade receives an 8.5/10 satisfaction rating among surveyed owners, with the only drawback being the time required (2‑3 hours for a careful install).
Frequently Asked Questions
Can I use mains-powered (240V/120V) LED strips if I have shore power?
It is not recommended. Mains-powered strips require a dedicated inverter or step-down transformer, add complexity, and risk electrical shock in a metal trailer. Stick to 12V DC strips designed for automotive/RV use to match the stock wiring system.
Will the LED strips drain my battery if left on accidentally overnight?
A 16.4-foot high-density strip draws about 1.6A per hour. On a standard 100Ah deep-cycle battery, leaving them on full brightness for 10 hours consumes 16Ah, leaving a safe reserve of 84Ah. Adding a timer switch or motion sensor eliminates the worry completely.
Do I need to remove the ceiling panel to run wires?
Not necessarily. You can tuck wire behind the aluminum trim strips along the wall-to-ceiling junction. For a cleaner look, pop off the plastic trim covers (held by small clips) and route wire underneath. Only remove the ceiling panel if you plan to mount strips to the roof itself.
What is the best way to cut LED strips to fit odd lengths?
Use sharp scissors to cut only at the designated copper pad lines—typically every 2 to 3 inches. Never cut between two pads, as that section won’t conduct power. Seal the cut end with a dab of silicone to prevent shorting against the trailer wall.
Can I control the LED strips with my smartphone?
Yes, if you purchase a kit with a Wi-Fi or Bluetooth controller. Expect to pay £52–£80 ($66–$102) for a kit that integrates with home automation systems. This allows scheduling, dimming, and even color changes from your phone while parked.
Is this upgrade compatible with the Haulmark Edge’s factory warranty?
Generally yes, as long as you do not cut into the trailer’s main wiring harness or drill into structural members. Tapping into the existing interior light circuit with a proper fuse is considered a minor modification. Contact Haulmark customer service to confirm your region’s warranty terms before drilling.