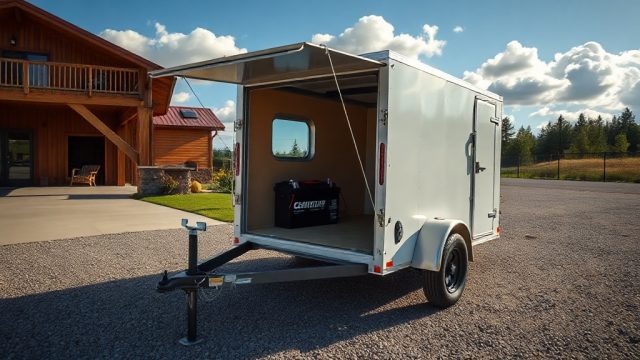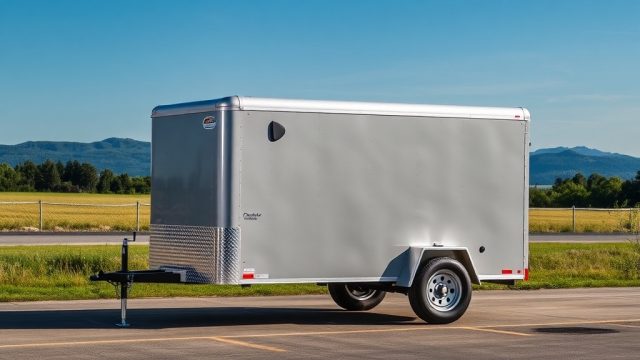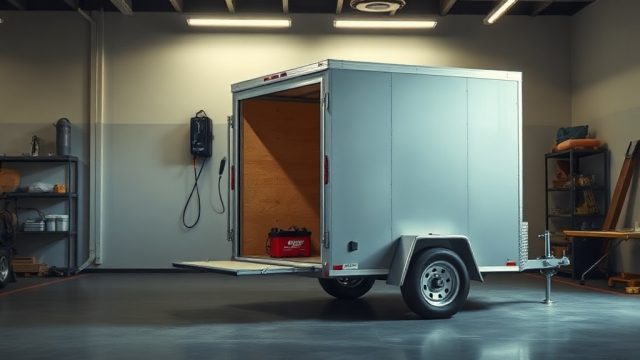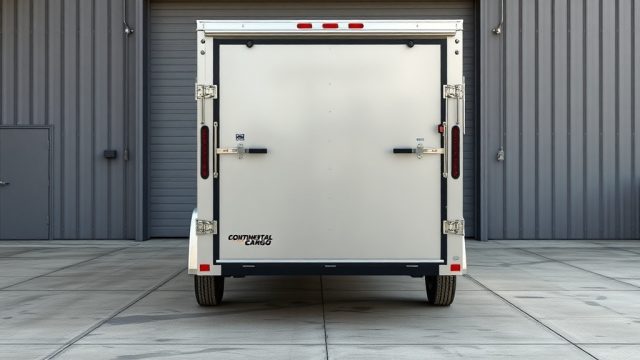
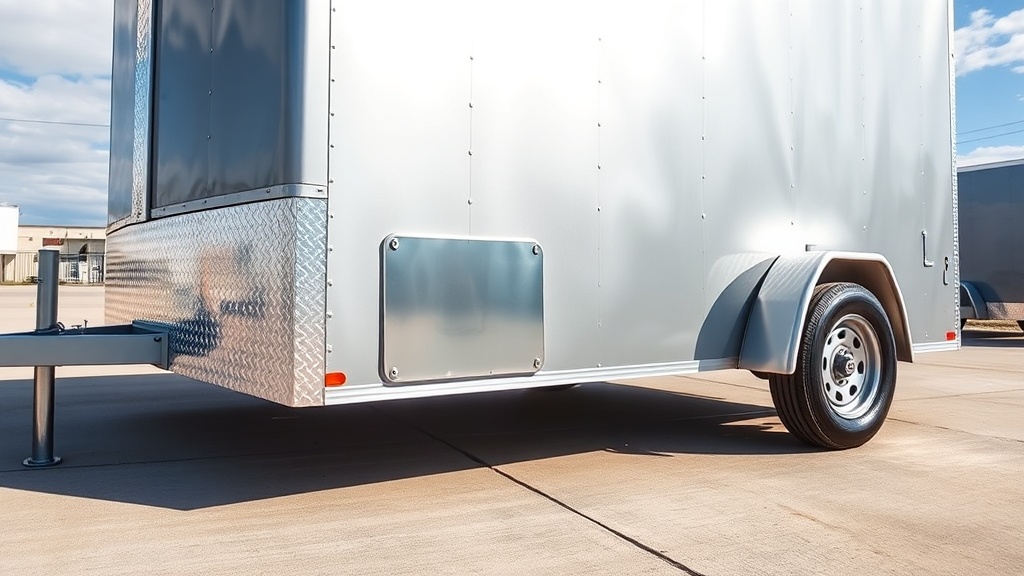
How Do You Assess the Severity of a Side Wall Puncture on a Continental Cargo Cargomate 6×10?
Before any repair attempt, determining the puncture’s severity is the top priority. On a Continental Cargo Cargomate 6×10, the side walls are typically constructed from 0.025-inch to 0.030-inch aluminum sheet over a steel frame. Punctures can range from small nail holes to long gashes from road debris or backing into a loading dock. A minor puncture—less than 1/4 inch in diameter and located more than 6 inches from any structural seam or frame member—is often repairable with a patch kit and sealant. However, any tear longer than 2 inches, or a puncture that distorts the aluminum paneling or exposes the interior insulation, requires a panel replacement or professional aluminum welding.
To inspect properly, park the trailer on level ground and clean the damaged area with a degreaser and a stiff brush. Look for cracking or deformation of the surrounding metal. If the puncture is near the tire pressure and load rating areas, check if the structural integrity is compromised. Use a flashlight to inspect the interior side wall—any daylight piercing through means the seal is broken. A simple water test also works: use a spray bottle with soapy water, and look for bubbles at the puncture site. Severity levels are categorized in the table below.
| Puncture Type | Size Range | Repairability | Estimated Cost (USD) |
|---|---|---|---|
| Pinprick / Small Nail Hole | Less than 1/8 inch | Easy: patch with RV sealant and aluminum tape | $5–$15 |
| Moderate Tear (screw or bolt) | 1/8 inch to 1/2 inch | Moderate: aluminum patch panel + rivets + sealant | $30–$60 |
| Large Tear (road debris or impact) | 1/2 inch to 2 inches | Difficult: aluminum patch panel with backing plate and structural sealant | $80–$150 |
| Severe Puncture (beyond frame or near seam) | Over 2 inches or structural deformation | Requires panel replacement or welding by a trailer shop | $200–$500 |
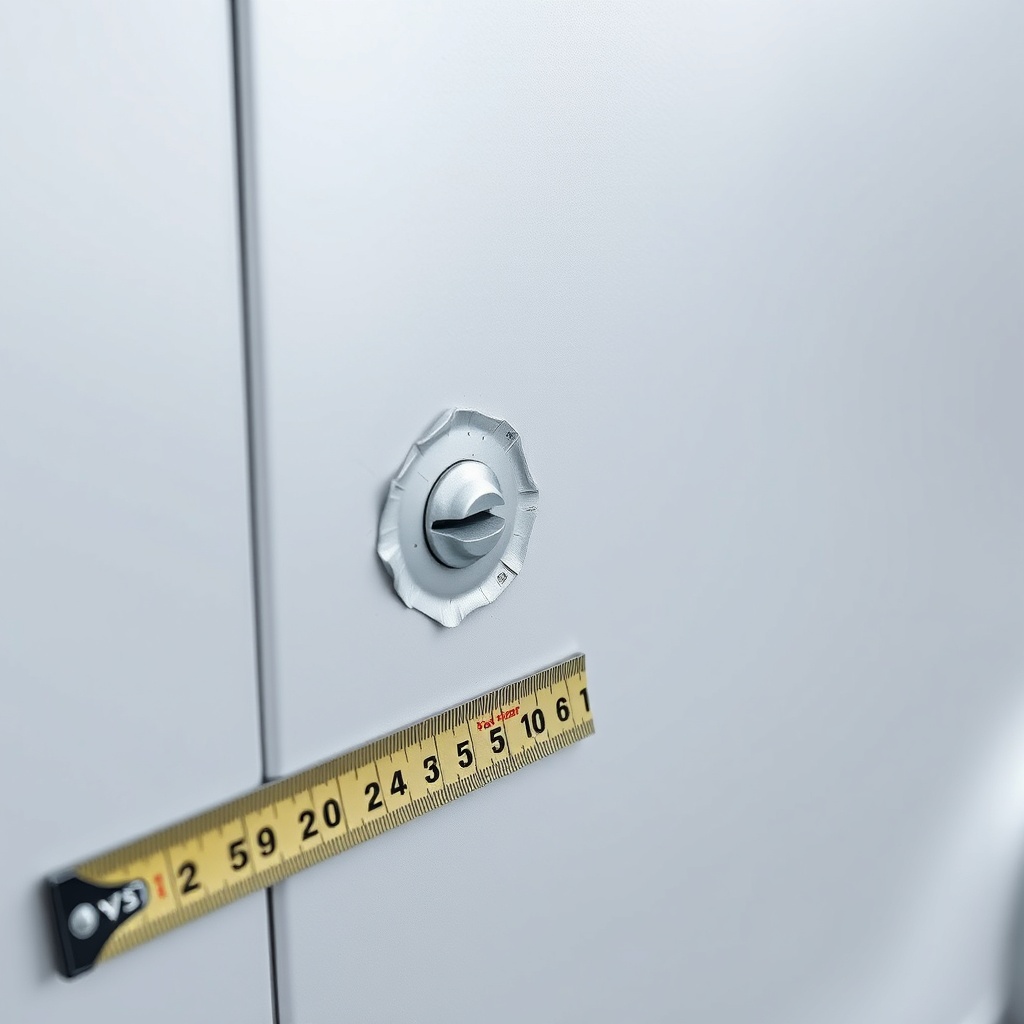
What Tools and Materials Do You Need for the Repair?
Having the right equipment ensures a proper, long-lasting repair on the Cargomate 6×10’s aluminum skin. Gather the following: a utility knife with fresh blades, a drill with a 1/8-inch drill bit for rivet holes, automotive-grade aluminum patch panel (0.025-inch thickness to match the trailer), 3/16-inch pop rivets with aluminum mandrels, a rivet gun, exterior-grade silicone or butyl sealant (specifically for aluminum), denatured alcohol or acetone for cleaning, a rubber mallet, a scrap piece of plywood for backing, and a bucking bar or flat metal piece. If the puncture is near electrical wiring (common for the Cargomate’s interior lights or brake lines), have a multimeter handy and be cautious—refer to our electric brake adjustment guide if you suspect brake line proximity.
If the hole is large enough to warrant a backing plate, cut a piece of aluminum or galvanized steel roughly 4 inches larger than the puncture on all sides. You may also need a section of 1/8-inch closed-cell foam to go between the patch and the interior wall to prevent vibration. Always use non-corrosive sealant; avoid silicone-based products that can react with aluminum over time. For a professional-grade result, purchase a roll of RV aluminum skin patch from a trailer dealer—it often features a pre-applied peel-and-stick backing that simplifies the process.
Step-by-Step: How to Repair a Moderate Puncture (1/8 to 1/2 Inch)
Start by thoroughly cleaning the puncture area inside and out. Drill a small stop-drill hole at each end of any tear (cracks propagate from ends). This prevents further splitting. Using a sanding pad, clean the surrounding 6-inch diameter area down to bare aluminum, removing paint and oxide. Wipe with denatured alcohol. Cut a patch panel that extends 2 inches beyond the damage on all sides. Use a file to round the patch corners—square corners create stress risers. Apply a generous bead of sealant around the puncture on the exterior, then place the patch over it, pressing firmly. If you have access inside the trailer (remove interior paneling if needed), install a backing plate behind the wall with sealant and rivet it through the patch, wall, and backing plate simultaneously. Repeat riveting at 1-inch intervals around the patch perimeter. Allow sealant to cure for 24 hours. Do not use the trailer for heavy loads during cure time—also check the roof leak fix guide to avoid moisture intrusion compounding the issue.
For a clean finish, apply automotive touch-up paint over the patch to prevent corrosion. If the puncture is in a prominent location, wet-sand the area with 400-grit sandpaper before painting. Test the repair by spraying the patch with soapy water and checking for bubbles after cure.
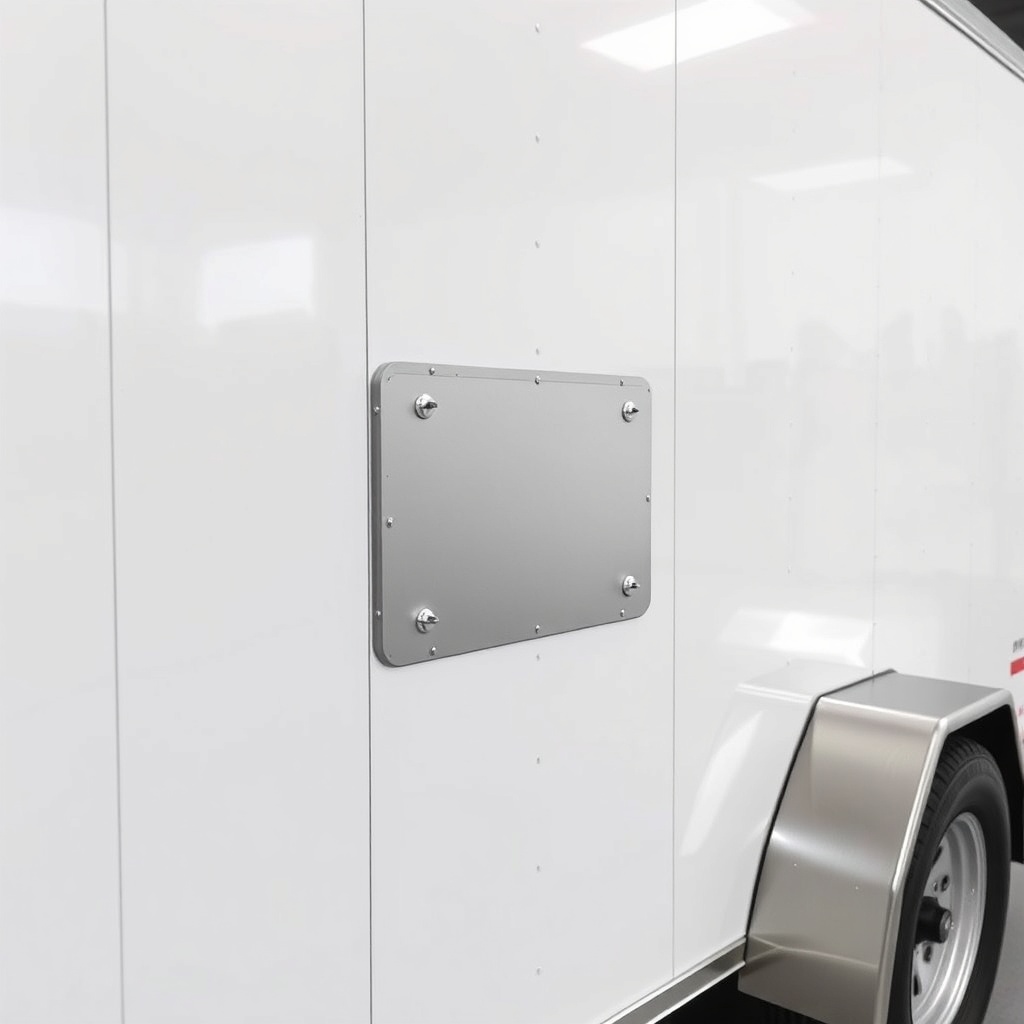
When Should You Replace the Entire Panel Instead of Patching?
For tears exceeding 2 inches, or when the damage extends into the trailer’s structural frame (e.g., a side impact at a loading dock), patching is insufficient. The Continental Cargo Cargomate 6×10 uses a sandwich construction of aluminum skin over a steel tube frame. If the aluminum is buckled or torn along a seam, water will migrate behind the panel, leading to floor rot and interior damage. Panel replacement costs between $300 and $700, depending on if you do the labor yourself. A trailer shop will remove the old panel by drilling out rivets, cutting the corner moldings, and measuring and ordering a precise replacement from Continental. They’ll install it using structural adhesive and heavy-duty rivets.
If you aren’t confident in your ability to properly seal the edges, this is a job for a professional. Improper panel replacement can lead to increased wind noise, poor resale value, and future roof leaks—see our roof leak information for related concerns. Also, if the puncture has compromised the interior wiring for lighting, read the LED strip installation guide to plan a simultaneous upgrade.
How Does the Repair Affect Towing and Weight?
A proper aluminum patch adds negligible weight—perhaps 0.5 to 1 pound—so it will not affect your tow vehicle’s capacity or the trailer’s GVWR. However, if the repair is incomplete or leaves a bulge, it can catch side winds and reduce aerodynamics. For owners towing with a small car, this is especially important. The Cargomate 6×10 is already a lightweight unit (typically 1,200 pounds empty), and any added wind resistance from a misaligned patch can reduce fuel economy. Check our guide on towing with a small car for specific speed and weight considerations.
If you opt for panel replacement, the weight gain is negligible as well (aluminum is light), but the structural integrity is restored. Do not drive the trailer with an unpatched or bubbling panel—it can tear further at highway speeds, posing a safety hazard. Always balance the repair with proper tire pressure (consult the tire pressure guide) to maintain stable handling.
What Owners Say About Side Wall Punctures on the Cargomate 6×10
Owners on trailer forums consistently report that the aluminum skin of the Cargomate 6×10 is prone to dents from tree branches, stray rocks, and loading dock mishaps. Many praise the ease of patching small holes with a simple aluminum tape and sealant combo, though they caution that larger punctures worsen quickly if left unattended. One owner shared: “I backed into a concrete post and tore a 3-inch gash. I patched it with a Home Depot aluminum sheet and pop rivets, and it held for three years before I sold it. The key is to seal it well—mine leaked a little initially until I added extra butyl.” Others note that the side wall’s curve (slight radius at top) makes patching near the roof seam difficult, often requiring professional work. Several recommend checking the best cargo trailer for motorcycle hauling discussion to see if the 6×10 is the right size, as motorcycles can cause interior wall gouges during loading.
Complaints center on the trailer’s relatively thin aluminum (some owners believe it’s only 0.020-inch), leading to dents from cargo shifting inside. Regular inspection of interior side walls is advised. Overall, the consensus is: patch smaller punctures yourself, but accept that a shop does panel replacement better and faster.