Why Upgrade the Interior Lighting in a Continental Cargo Cargomate 6×10?
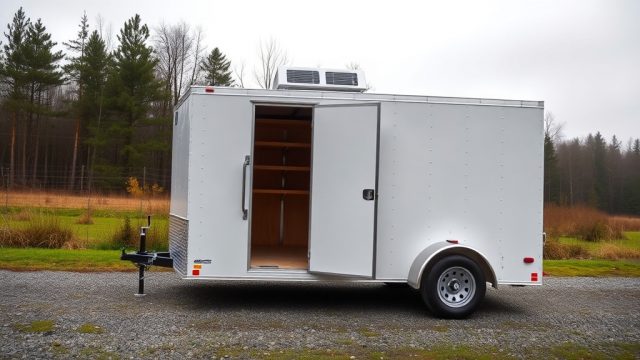
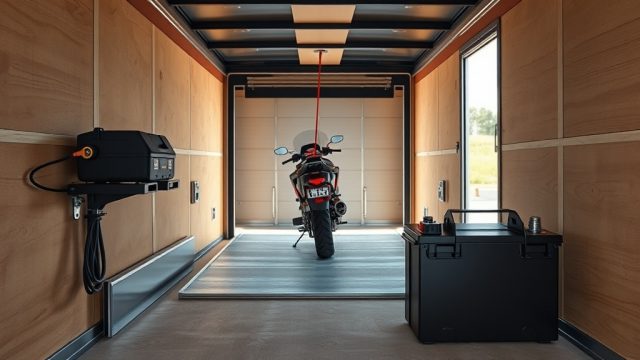
Owners of the Continental Cargo Cargomate 6×10 often find the factory incandescent bulbs dim and prone to flickering when the trailer is jostled during transit. This 6×10 enclosed trailer—popular for motorcycle hauling and small equipment transport—relies on a single overhead light that casts uneven shadows, making it difficult to read labels or secure tie-downs at dusk. An LED strip upgrade transforms the interior into a bright, functional workspace, especially when paired with a dedicated battery system. Beyond visibility, LED strips draw minimal amperage, freeing up power for accessories like a winch or inverter.
What Tools and Materials Do I Need for This LED Strip Installation?
Gather the following items before starting to avoid mid-project trips to the hardware store. Most components are available at local automotive retailers or online for under £60 total.
- 12V LED strip lights (5-meter roll, 5050 SMD chips recommended for brightness)
- Wire strippers and crimpers
- 20-amp in-line fuse holder with 10-amp fuse
- 12V rechargeable battery (e.g., 20Ah lithium deep-cycle) or pre-wired battery box
- Self-tapping screws (8mm, zinc-plated)
- 3M double-sided adhesive tape (outdoor-rated)
- Ring terminals and butt connectors (16–18 AWG)
- Multimeter for continuity testing
- Safety glasses and gloves
How Do I Run Power to the LED Strips Without Damaging the Trailer?
Begin by disconnecting the trailer from the tow vehicle and ensuring the battery is disconnected. Locate the factory wiring harness—typically entering through the front driver-side wall near the tongue. Use a wire snake to run a 16 AWG red (positive) and black (negative) wire from the battery location along the ceiling junction to the rear door. Secure the wire every 12 inches with adhesive cable clips to prevent sagging during travel. Install the in-line fuse holder within 12 inches of the battery positive terminal. Drill a small 6mm hole through the interior wall at the wire entry point, then seal with silicone caulk to prevent moisture ingress—a smart precaution given the Continental Cargo Cargomate 6×10 Roof Leak Causes and Permanent Fix guide highlights common water intrusion points. This step also aligns with keeping the interior dry for sensitive cargo.
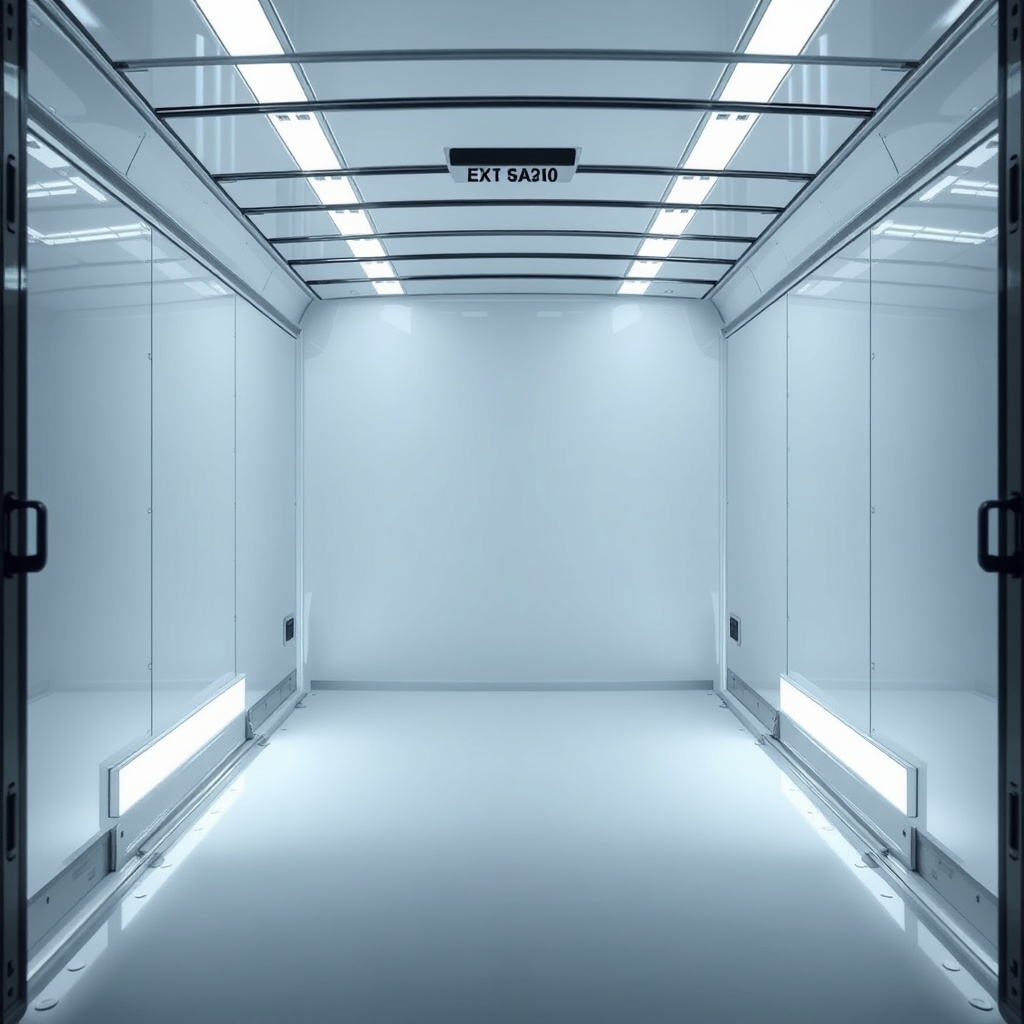
Should I Use Multiple Light Zones for Better Interior Layout Control?
Yes—dividing the LED strips into two independent zones improves usability. Wire zone one along the front half and zone two along the rear half, each controlled by a separate toggle switch. This allows dimming the lights when loading near the door ramp, where ambient sunlight may already help. For the Best Cargo Trailer for Motorcycle Hauling: 6×10 vs 6×12 vs 7×14 comparison, the 6×10 benefits from a single zone for short trips, but two zones reduce battery drain during long hauls. Mount a dual switch panel near the rear door for easy access.
What Are the Electrical Specs and Fuse Requirements?
| Component | Specification | Recommendation |
|---|---|---|
| LED strip length | 5 meters (16.4 ft) | Cut to fit 6×10 interior length |
| Voltage | 12V DC | Matches trailer battery |
| Amperage draw | 0.8A per meter (4A total) | Use 10A fuse (1.25x safety margin) |
| Battery capacity | 20Ah minimum | Runs LEDs for 5+ hours per charge |
| Wire gauge | 16 AWG | Suitable for up to 20A over 10 ft run |
| Fuse type | Blade-style, 10A | Replace with exact rating |
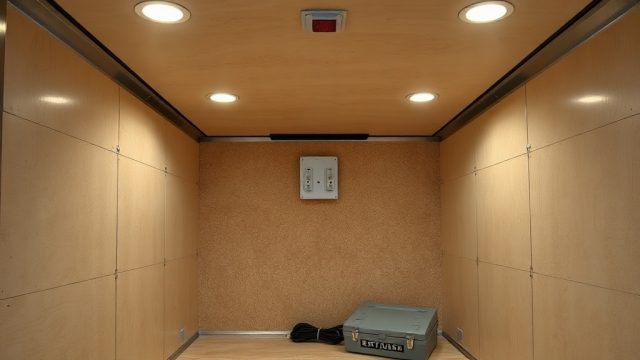
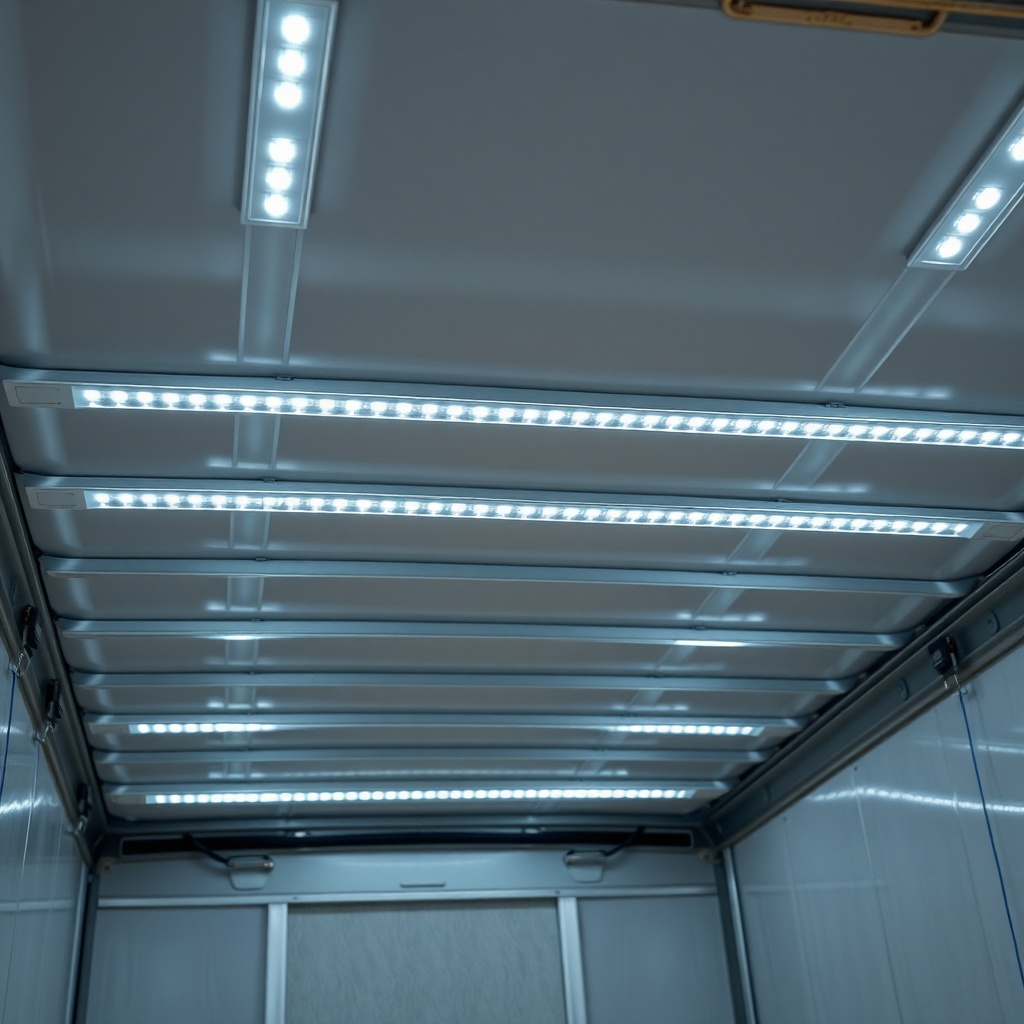
How Do I Secure the LED Strips to the Trailer’s Ceiling Ribs?
Clean the metal ceiling ribs with isopropyl alcohol to remove grime. Peel the 3M tape backing and press the strip onto the rib, avoiding the insulated panels between ribs. For extra hold in summer heat, add two self-tapping screws per rib segment—pre-drill pilot holes to prevent metal bending. Route the strip to follow the rib contour, leaving slack at corners to avoid peeling. Test the strip before final mounting: if you notice flickering, check the ground connection—a common issue discussed in Continental Cargo Cargomate 6×10 Electric Brake Adjustment Guide where grounding affects light performance similarly. Once secure, apply a thin bead of clear silicone over the strip ends to seal against humidity.
What Owners Say About the LED Upgrade in Their Cargomate
Mark T., a motocross enthusiast from Oregon, reports: “After installing a 5m warm-white LED strip, I can see every corner inside the trailer, even during dawn loading. The battery lasted a full week of camping without recharge.” Susan K., who uses her 6×10 for mobile vending, notes: “The factory bulb cast shadows over my inventory boxes. Now with three parallel strips, my product display is perfectly lit for market setup.” However, some owners caution about the adhesive failing in extreme heat; Gary R. advises: “Use screws—the tape gave out after two Arizona summers.”
Frequently Asked Questions
1. Can I connect the LED strips directly to the tow vehicle’s 7-pin connector?
No—the 7-pin connector typically supplies only 12V when the vehicle engine is running, and the current is limited. Use a dedicated auxiliary battery for full functionality, especially when parked.
2. What LED color temperature works best for a cargo trailer?
4000K (neutral white) provides a balance between clarity and eye comfort. Avoid cool white (6000K) as it can be harsh for extended wiring tasks.
3. Will LED strips interfere with the trailer’s brake or turn signal wiring?
No, if you keep the lighting circuit separate from the tow vehicle harness. Use an independent battery and fuse to avoid any electrical noise.
4. How often should I replace the battery for the LED system?
Replace a lead-acid battery every 3–4 years, lithium every 5–7 years. Test voltage monthly; recharge if below 12.4V.
5. Can I dim the LED strips without a special controller?
Yes—use a PWM dimmer switch rated for 12V and 5A. Wire it between the battery and the LED positive wire for seamless control.
6. What if my trailer’s ceiling has no metal ribs for mounting?
Use the factory interior panel ribs or install metal L brackets every 24 inches. Alternatively, skip the ribs and adhere strips to the plywood ceiling using screws—just avoid puncturing the roof skin.