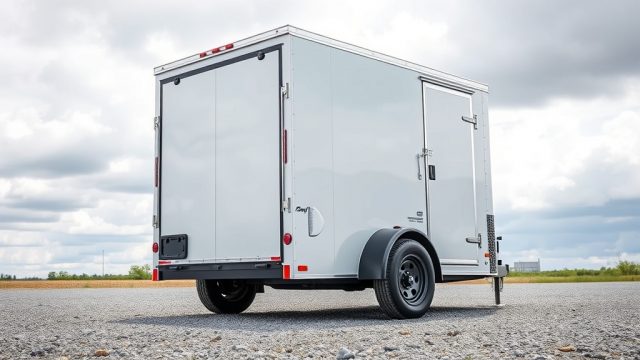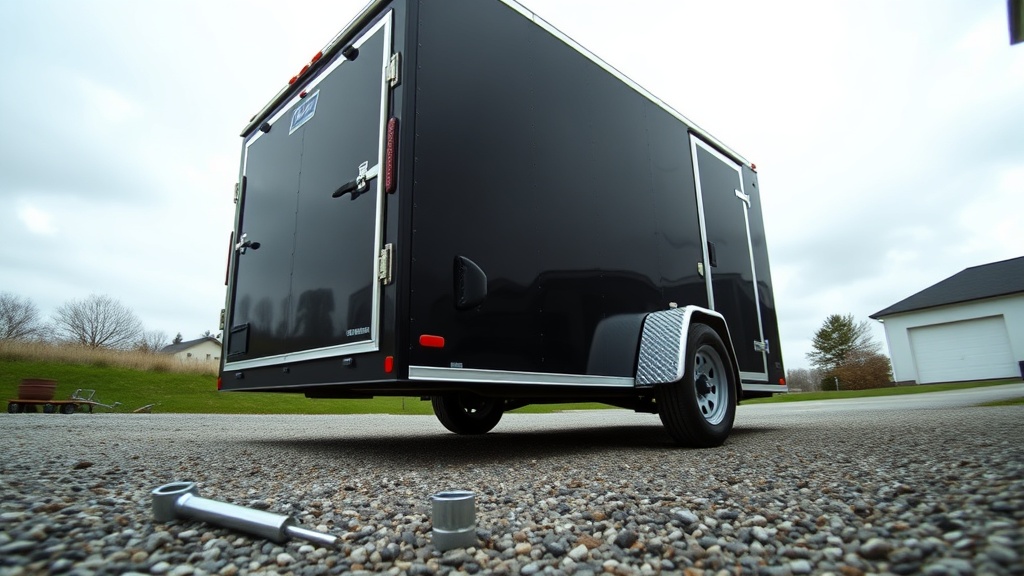
Continental Cargo Cargomate 6×10 Trailer: Why Electric Brake Adjustment Matters for Safety and Longevity
Owners of the Continental Cargo Cargomate 6×10 know that proper electric brake adjustment is crucial for safe towing—especially when hauling heavy loads like motorcycles, ATVs, or equipment. Misadjusted brakes can lead to premature wear, reduced stopping power, and even dangerous sway at highway speeds. This guide covers the step-by-step process for adjusting the electric brakes on your 6×10 trailer, common troubleshooting steps, and what to look for during routine upkeep.
How Do I Know if My Cargomate 6×10 Brakes Need Adjustment?
Several telltale signs indicate it’s time to adjust your trailer’s electric brakes. The most common symptom is a spongy or overly firm brake controller response, or brakes that seem to grab suddenly. You may also hear a scraping or grinding noise when backing up, which points to misaligned shoes. Another clear sign is uneven tire wear: if one tire shows more scuffing than the other, the brake on that side is likely dragging. Finally, if your tow vehicle pulls to one side during braking, the trailer brakes are not applying evenly.
Regularly check your brake controller’s display: anything above 4.0 amps at full manual application for a 6×10 with GVWR around 3,000 to 4,500 lbs can indicate excessive friction or worn components. For a deeper look at how to pair your brake system with your load, see our guide on Continental Cargo Cargomate 6×10 Tire Pressure and Load Rating Guide.

What Tools Do I Need to Adjust the Electric Brakes on a Continental Cargo Cargomate 6×10?
You can perform a basic electric brake adjustment with minimal tools, but having the correct equipment makes the job faster and safer. Here is what you will need:
- 2-inch socket or wrench (usually 7/16-inch or 1/2-inch) for the axle spindle nut – only if you need to remove the hub for major adjustments.
- Flat-head screwdriver (medium length) – to reach the star wheel adjuster through the backing plate slot.
- Brake adjustment spoon or a brake tool – easier than a screwdriver for turning the star wheel.
- Jack and jack stands – rated for at least 2 tons to lift the trailer safely.
- Lug wrench (4-way or cross) – to remove the tire.
- Brake cleaner and a rag – to clean dirt and grease from the assembly.
- Digital multimeter – for checking resistance in the brake magnets (optional but helpful).
If you are adjusting brakes after towing with a small car, make sure your vehicle can handle the trailer’s loaded weight. Read our guide on Towing a Continental Cargo Cargomate 6×10 with a Small Car: What to Know for compatibility tips.
Step-by-Step Procedure for Adjusting Electric Brakes on a 6×10 Trailer
Follow these steps to adjust your Continental Cargo Cargomate 6×10 electric brakes. Always work on level ground and chock the trailer tires to prevent rolling.
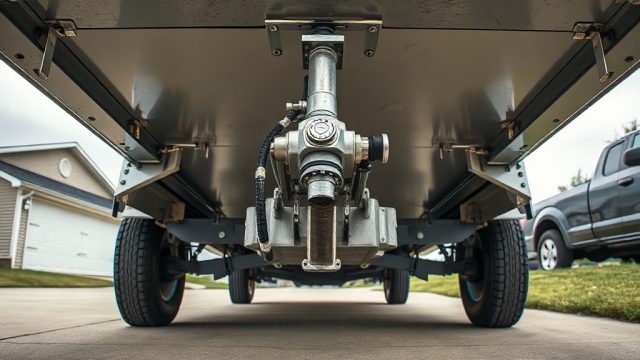
Step 1: Safety first. Park the trailer on solid ground. Chock the front and rear of the trailer wheels that you are not removing. Raise the side you are working on with a jack and secure it with jack stands.
Step 2: Remove the tire and wheel. Loosen the lug nuts slightly before lifting, then remove the wheel completely for access to the brake drum.
Step 3: Inspect the brake drum and shoes. Before adjusting, check for obvious damage or wear. The brake shoes should have at least 1/8 inch of friction material (about 3 mm). If they are worn down to the rivet heads or less, the shoes need replacement.
Step 4: Locate the adjustment slot. On most Cargomate 6×10 axles, there is an oval-shaped rubber plug on the back of the brake backing plate (the part behind the drum). Remove the plug. Inside you will see a star wheel adjuster.
Step 5: Adjust the star wheel. Using a flat-head screwdriver or brake spoon, turn the star wheel in the direction that spreads the shoes outward. Typically, turning the adjuster upward (toward the top of the wheel) when viewed from the backing plate expands the shoes. Spin the drum by hand while adjusting: you want a slight drag—a light scraping sound—on each full rotation. Then back off the adjuster until the drum rotates freely without dragging.
Step 6: Repeat for the other side. Both sides must be balanced. Adjust the second wheel until both drums have the same slight drag feel.
Step 7: Reinstall the wheel and lower the trailer. Torque the lug nuts to the manufacturer’s specification (usually 90–110 lb-ft). Lower the trailer and test the brakes in a safe area.
For a more comprehensive diagram of how the brake system integrates with the trailer frame, visit our page on Continental Cargo Cargomate 6×10: Aluminum vs Steel Frame Durability.
What Is the Correct Brake Adjustment Torque or Gap for a 6×10 Trailer?
Unlike hydraulic brakes, electric trailer brakes are set by gap, not torque. The proper specification for a Cargomate 6×10 trailer with 10-inch or 12-inch electric drum brakes is to adjust until the brake shoe-to-drum clearance is between 0.010 to 0.025 inches (about the thickness of a business card or a dime). This ensures the magnet engages the drum evenly without dragging. Here is a quick reference:
| Brake Size | Ideal Gap | Spin Resistance Feel | Typical Amperage at Full Apply (12V) |
|---|---|---|---|
| 10-inch drum | 0.010–0.020 in | Light drag, no binding | 3.0–4.0 A |
| 12-inch drum | 0.015–0.025 in | Moderate drag, consistent spin | 4.0–5.0 A |
If the brakes are too tight, they will overheat and cause the hubs to get hot (over 150°F). If too loose, brake response will be delayed and stopping distance increases. Use a brake spoon to fine-tune both sides equally.
How Do I Troubleshoot Common Electric Brake Problems on a Cargomate 6×10?
Even after adjustment, you may encounter issues. Here are the most frequent problems and their causes:
- Brakes grab or lock up suddenly: Usually caused by a misaligned star wheel adjuster or a worn brake magnet that is sticking. Check the magnet for glazing (shiny surface) and replace if needed.
- No braking power from one wheel: Inspect the brake wire connection at the axle. Corroded terminals or a broken wire (often near the frame or inside the hub) will cut power. Use a multimeter to test continuity.
- Squealing or grinding noise: This typically indicates metal-to-metal contact, meaning the brake shoes are worn past the limit and must be replaced immediately. Also check for loose brake components.
- Trailer pulls to one side: One brake is applying before the other. Re-adjust the slower side first, then verify both magnets have similar resistance (around 3–4 ohms). If resistance varies by more than 0.5 ohms, replace the magnet on the high-resistance side.
- Brake controller error codes: Some modern brake controllers display a “short” or “open” code. This can point to a pinched wire or a failing magnet. Check the junction box behind the trailer tongue for rodent damage or corrosion.
If you notice the brakes are inconsistent after cargo loading, the trailer’s tongue weight may be affecting brake force distribution. See our Best Cargo Trailer for Motorcycle Hauling: 6×10 vs 6×12 vs 7×14 article for advice on weight distribution.
What Do Owners Say About the Cargomate 6×10 Brake System?
Feedback from Cargomate 6×10 owners across forums and trailering communities is largely positive, but with a few recurring points. Many praise the trailer for having quality Dexter or self-adjusting brakes as standard, which saves time over cheaper systems. However, new owners often note that the factory brake adjustment can be too loose, requiring a turn or two on the star wheel before first use. Some owners with 10-inch drums report that after a year of heavy use (hauling 3,000+ lbs regularly), the magnets wear faster than expected, typically every 12 to 18 months. On the flip side, owners who maintain the brakes proactively—cleaning the drums every 5,000 miles—say the system stays effective for years. A common tip shared in owner groups is to apply dielectric grease to the brake wire connectors to prevent moisture ingress, especially if you store your trailer outdoors. For those dealing with ramp door issues, check out our repair guide: Fixing the Continental Cargo Cargomate 6×10 Ramp Door Latch Issue.
Frequently Asked Questions
Q1: Can I convert my Cargomate 6×10 from electric brakes to hydraulic brakes?
A: It is possible but not recommended without a full axle swap. The Cargomate 6×10 uses a compatible electric brake system that integrates with standard brake controllers. Conversion requires new axle assemblies, a hydraulic actuator, and brake lines. Unless you have a specific need (like off-road use), stick with electric brakes—they are simpler and adequate for this trailer’s weight range.
Q2: How often should I adjust the brakes on my 6×10 trailer?
A: Adjust them at least once per season or every 3,000–5,000 miles, whichever comes first. After every heavy haul (over 3,500 lbs), check the brake drag as part of your post-trip inspection. Self-adjusting brakes can extend the interval to 10,000 miles but verify manual adjustment annually.
Q3: Why does one brake shoe wear faster than the other?
A: Uneven wear usually stems from a stuck star wheel adjuster or a bad magnet. The magnet may be drawing uneven current, or the adjuster may be rusted and not moving freely. Clean and lubricate the backing plate pivot points with high-temp brake grease. Also ensure the axle is not bent (check by rotating the hub by hand).
Q4: What is the correct wiring color for the electric brakes on a Cargomate 6×10?
A: The standard 7-pin trailer connector uses the blue wire for electric brake power (12V) and the white wire for ground. On the brake assembly, the blue wire connects to the magnet lead, and the white wire attaches to the trailer frame ground. Double-check with a multimeter before powering up.
Q5: My brake controller shows “no trailer” when plugged into the Cargomate. What do I do?
A: This likely means the 7-pin connector is not making good contact or there is a break in the brake wire circuit. Clean the plug contacts with electrical cleaner, then inspect the wiring from the hitch to the trailer junction box. A loose ground wire (white) is the most common cause. If the controller still shows “no trailer,” test the blue wire with a test light at the 7-pin socket.
Q6: Should I use self-adjusting or manual adjustment for my trailer brakes?
A: The Cargomate 6×10 typically comes with manual-adjust brakes, but upgrade kits to self-adjusting assemblies are available. Self-adjusters reduce maintenance but can fail if the brake assembly gets contaminated with grease or dirt. For most owners, manual adjustment every 5,000 miles is sufficient and more reliable in wet weather. If you camp in muddy conditions, stick with manual adjusters for easier inspection.
If you suspect moisture inside the trailer body is affecting your brake wiring, inspect the rooftop seals. Our guide on Continental Cargo Cargomate 6×10 Roof Leak Causes and Permanent Fix covers how water ingress can damage electrical components.