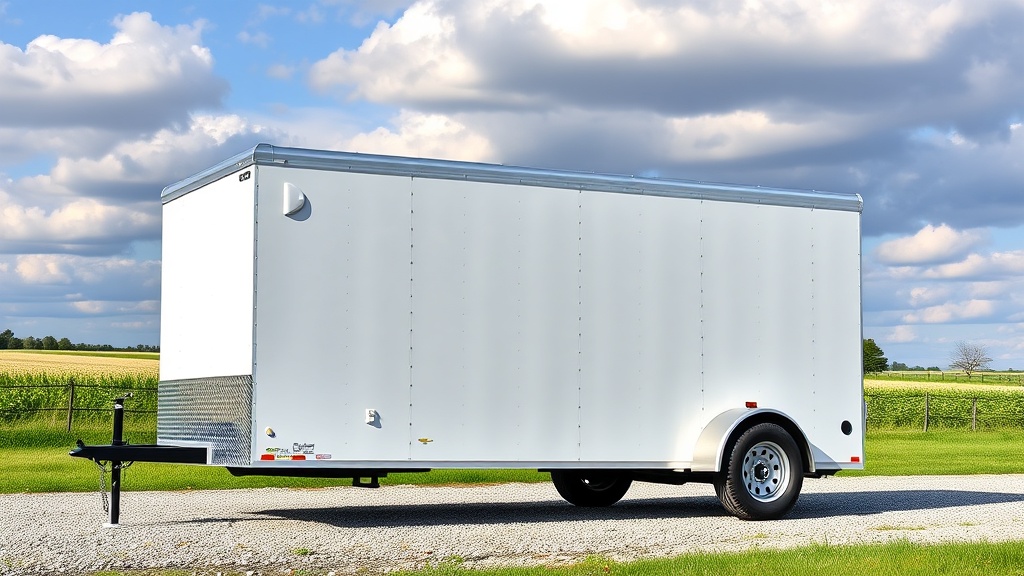
Why Does My Continental Cargo Cargomate 6×10 Roof Leak?
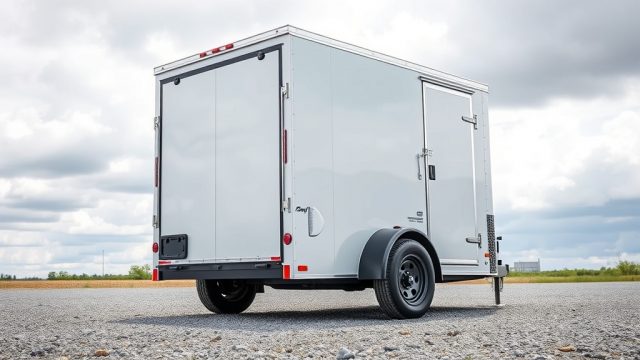
Owners of the Continental Cargo Cargomate 6×10 often report water intrusion through the roof seam or around the roof vents. The root cause is typically a failure of the factory-applied seam sealer or a damaged rubber roof membrane. This article walks through the exact reasons behind these leaks and provides a permanent DIY fix to keep your cargo dry.
What Are the Most Common Roof Leak Points on the Cargomate 6×10?
Three primary areas are responsible for the majority of roof leaks on this model:
- Center Roof Seam: The factory roll-formed seam running lengthwise down the center can separate over time, especially in extreme heat or cold. Cracks in the sealant allow water to seep through.
- Vent and Fan Gaskets: The plastic or metal vents mounted on the roof develop gaping around their bases when gaskets dry out or are under-torqued from the factory.
- Roof-to-Sidewall Joint: Where the aluminum roof meets the sidewall extrusion, a small gap can form if the trailer flexes during towing or temperature swings.
How Can I Diagnose the Leak Before It Causes Damage?
Water stains on the interior ceiling or wet cargo are the first signs. To pinpoint the source:
- Visual inspection: On a sunny day, look for dark, damp spots on the interior plywood ceiling. Trace these upward to the roof exterior.
- Water test: With a helper inside, spray water from a garden hose along the roof seams and vents. Have them watch for drips inside. Focus on the center seam and vent perimeters.
- Check for rust: Examine the roof edge near the sidewall joint for rust streaks—this indicates chronic leakage through that seam.
If you see any separation between the roof panels or raised edges around the seam, that’s a high-risk area.
What Is the Permanent Fix for the Roof Seam Leak?
The factory sealant on the Continental Cargo Cargomate 6×10: Aluminum vs Steel Frame Durability models is often a low-quality silicone that degrades after one to two years. For a permanent fix:
- Remove old sealant: Use a plastic scraper to gently remove all old, brittle silicone from the center seam. Do not use metal tools that might gouge the aluminum or rubber membrane.
- Clean thoroughly: Wipe the area with isopropyl alcohol or mineral spirits to remove grease and residue. Allow to dry completely.
- Apply self-leveling lap sealant: Use a marine-grade or RV-grade self-leveling sealant (e.g., Dicor or Geocel) in a continuous bead along the entire seam. Spread it slightly with a putty knife to ensure adhesion.
- Cover with Eternabond tape: For extra protection, apply a 4-inch-wide strip of Eternabond roof repair tape over the sealant. This tape bonds permanently to aluminum and rubber, outlasting any liquid sealant.
This method eliminates future leaks for years, even in harsh weather.
How Do I Fix Leaks Around the Roof Vents and Fan?
Leaks around vents typically require replacing the gasket or retightening the mounting screws. Follow these steps:
- Remove the vent trim ring: Inside the trailer, unscrew the interior trim ring. Support the vent from above.
- Clean the roof surface: Scrape off old caulk and clean the area around the vent opening with alcohol.
- Install new gasket or butyl tape: Place a closed-cell foam gasket or butyl tape around the vent flange. Ensure a continuous seal.
- Reinstall: Tighten screws evenly, but avoid over-torquing which can warp the plastic. Apply a thin bead of lap sealant over the screw heads.
If the vent itself is cracked (common on older units), replace the entire unit with a new, sealed version. Also check the condition of the Fixing the Continental Cargo Cargomate 6×10 Ramp Door Latch Issue—a leaky door can mimic roof leaks during rain.
What’s the Cost to Repair a Roof Leak on This Trailer?
Here’s a realistic breakdown of costs for a DIY fix versus professional repair:
| Component | DIY Material Cost (USD) | Professional Repair Cost (USD) |
|---|---|---|
| Self-leveling sealant (tube) | $15–$25 | $50–$100 (labor included) |
| Eternabond tape (4″ x 10′) | $25–$35 | N/A |
| Vent gasket replacement | $10–$20 | $75–$150 |
| New roof vent (if needed) | $40–$80 | $150–$250 |
| Professional roof coating (full) | N/A | $300–$500 |
DIY total averages $50–$160, whereas a professional fix can range from $300 to $500. Doing it yourself is significantly cheaper and gives you long-term peace of mind.
What Owners Say About the Cargomate 6×10 Roof Leaks
On owner forums and review sites, the Continental Cargo Cargomate 6×10 earns praise for its lightweight build and value, but roof leaks are a recurring complaint among owners who keep the trailer outdoors. “After two years, I noticed water dripping from the center seam during heavy rain,” reports one owner from Texas. “I applied Eternabond tape and haven’t seen a drop since.” Another owner in the Pacific Northwest wrote, “The factory sealant had cracks from day one. I resealed it properly and now it’s bulletproof.” Some owners also note that checking the roof after each winter season prevents bigger issues. For those towing with small cars, proper roof maintenance is critical because moisture can lead to rust that worsens the Towing a Continental Cargo Cargomate 6×10 with a Small Car: What to Know.
Frequently Asked Questions
Q: Can I use regular silicone caulk to fix a roof leak on my Cargomate 6×10?
A: No. Standard silicone doesn’t bond well to aluminum or rubber roof membranes and degrades quickly under UV. Use a self-leveling lap sealant designed for RV roofs.
Q: How often should I inspect the roof for leaks?
A: Inspect the roof seams, vent seals, and sidewall joints at least twice a year—once before winter and once after—or after any major hailstorm or heavy wind event.
Q: Does the roof leak affect towing stability?
A: No, but moisture inside can cause floor rot and weaken the frame. If left untreated, a compromised floor may affect weight distribution and stability, as discussed in the Best Cargo Trailer for Motorcycle Hauling: 6×10 vs 6×12 vs 7×14 guide.
Q: Is the roof on the Cargomate 6×10 aluminum or rubber?
A: The roof is typically an aluminum sheet with a one-piece rubber membrane. The aluminum provides structure, while the rubber membrane protects against corrosion. Leaks often occur where the two meet at seams or fasteners.
Q: Can I drive through a car wash with this trailer to test for leaks?
A: It’s not recommended—car wash brushes and high-pressure water can damage the roof membrane or loosen sealant. A garden hose test is safer and more controlled.
Q: Will covering the entire roof with a coating prevent future leaks?
A: Yes, applying a liquid roof coating (like a silicone or acrylic roof coating) over the entire roof adds an extra layer of protection. However, it must be compatible with the existing membrane and should only be applied after repairing all active leaks. Check the Continental Cargo Cargomate 6×10 Tire Pressure and Load Rating Guide to ensure proper load handling after repairs.