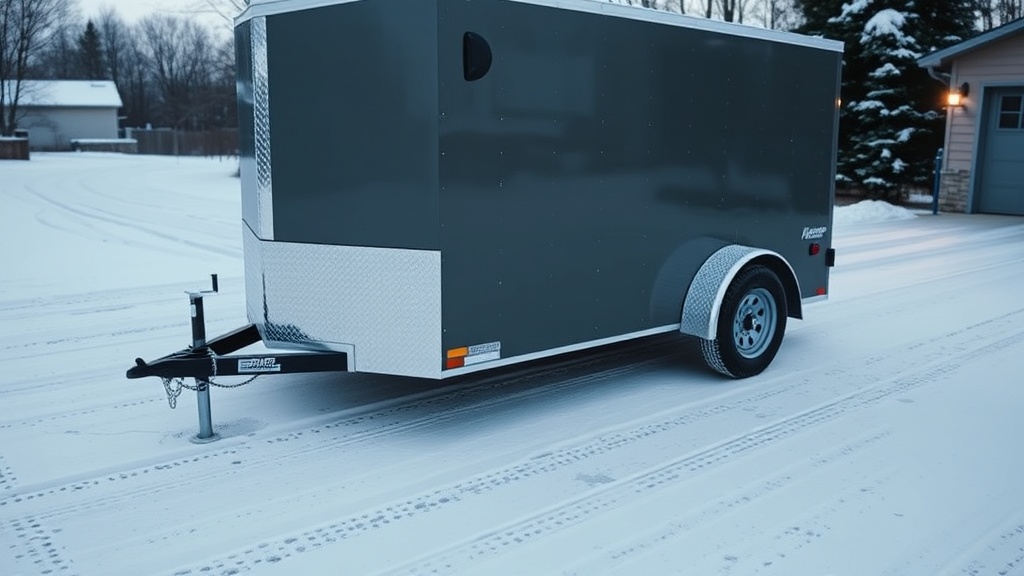
Haulmark Edge 6×12 Winter Storage Preparation Guide
When the temperature drops and snow starts to fly, your Haulmark Edge 6×12 needs more than just a parking spot. Proper winter storage preparation prevents rust, frozen seals, and electrical gremlins that can cost hundreds of dollars to fix come spring. This guide walks through six critical areas to address before buttoning up your trailer for the season, with practical steps you can complete in an afternoon.
How Do I Protect the Exterior and Undercarriage from Salt and Moisture?
The single biggest threat to your Haulmark Edge 6×12 during winter is road salt and standing moisture. Even if the trailer sits idle, condensation builds inside hollow frame members and around the wheel wells. Start with a thorough wash using a pH-neutral automotive soap, paying special attention to the rear door corners and lower 12 inches of the skin where splash accumulates.
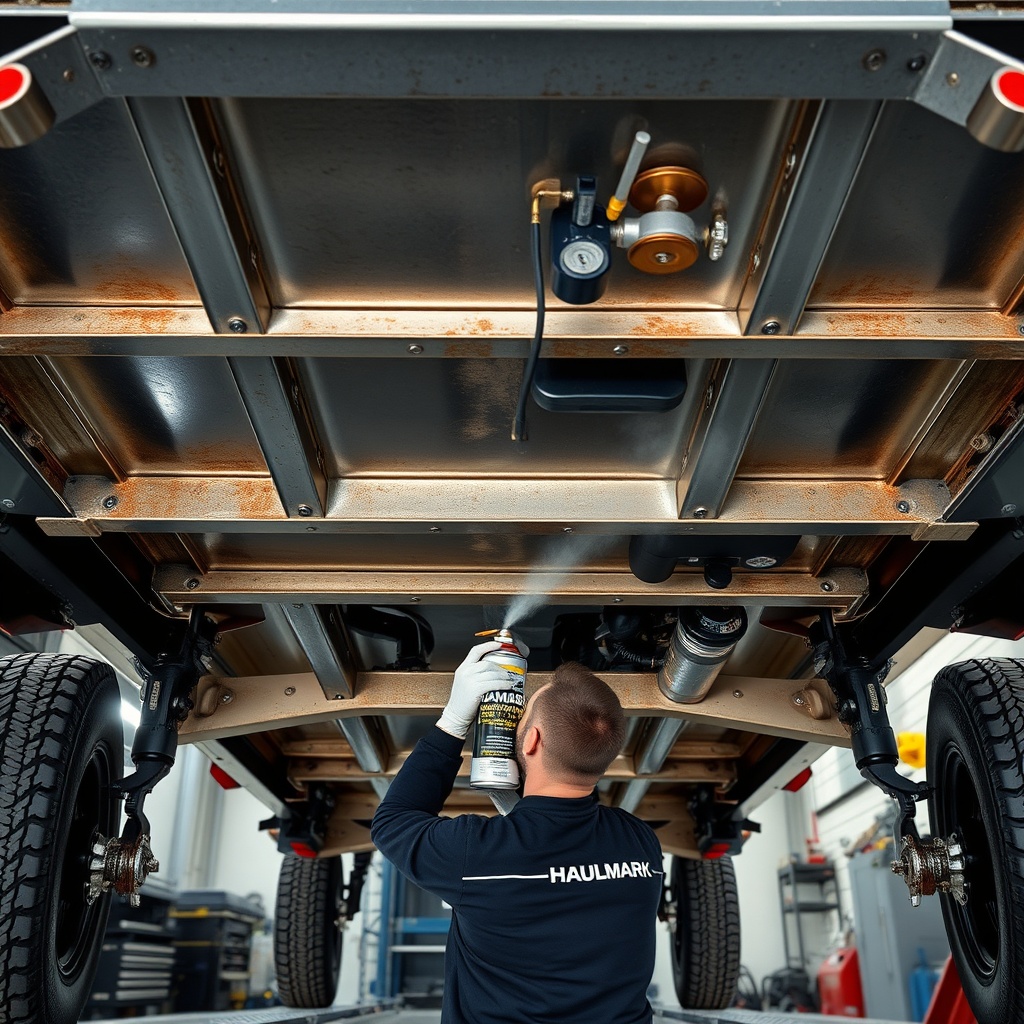
After drying completely, apply a marine-grade corrosion inhibitor to all exposed metal: hitch coupler, safety chain loops, jack tube, and the entire undercarriage frame. Boeshield T-9 or CRC Heavy Duty Corrosion Inhibitor work well and leave a waxy film that lasts 3–4 months. Avoid petroleum-based greases on rubber components—they accelerate drying and cracking. For the aluminum exterior, a coat of synthetic sealant (like Meguiar’s Marine/RV Wax) helps road salt slide off rather than embed in the finish.
Don’t overlook the interior of the frame rails. Use a Haulmark Edge 6×12 Rear Door Seal Replacement Guide to verify your rear door seal is intact before winter—any gap lets moist air drawn inside the cargo area condense on steel parts. Also spray Fluid Film inside accessible frame openings via the small weep holes already present.
Should I Remove the Battery or Leave It Installed?
This choice depends on how cold your storage environment gets. For detached, unheated storage below 20°F (-7°C), removing the battery is mandatory. A fully discharged lead-acid battery freezes at around 10°F (-12°C), and the expansion can crack the case, spilling acid into the battery box. Even AGM batteries lose 30–40% of their capacity in extreme cold and suffer permanent damage if left flat.
If your Edge 6×12 has the OEM Group 24 deep-cycle battery (typically an Interstate SRM-24), do this: clean the terminals with a baking soda solution, charge the battery to 100% using a smart charger (not the trailer’s converter), then disconnect both cables and remove the battery. Store it on a wooden board in a location that never dips below freezing, ideally around 40–50°F. Connect a battery maintainer every two weeks for 24 hours—do not leave a trickle charger connected continuously, as older units can overcharge.
For trailers parked in a heated garage (above 40°F), leaving the battery installed is acceptable if you verify the converter’s charge voltage stays between 13.2V and 13.8V. Higher voltages boil the electrolyte dry over winter. Check voltage monthly with a multimeter.
While you’re working near the tongue, take a moment to review Haulmark Edge 6×12 Tongue Weight Measurement and Adjustment Guide—the extra winter gear you might pack changes tongue weight significantly.
| Storage Method | Battery Condition Required | Maintenance Required | Suitable for Freezing Temps | Approx. Cost (USD) |
|---|---|---|---|---|
| In-trailer, unheated | Fully charged (12.6V+) | Monthly voltage check | No (risk of freeze damage) | $0 |
| In-trailer, heated garage | Fully charged | Check converter voltage | Yes | $0 (heater cost extra) |
| Removed, indoor storage | Fully charged | Maintainer every 2 weeks | Yes | $25–$40 (maintainer) |
| Removed, cold basement | Fully charged | Monthly maintainer cycle | Yes (above 32°F) | $0 |
What About the Tires—Do I Need to Do Anything Special?
Tires lose 1–2 PSI for every 10°F drop in temperature, and sitting on cold concrete speeds sidewall cracking. The Haulmark Edge 6×12 typically ships with ST205/75R15 load range C tires rated for 1,820 lbs each at 50 PSI cold. Come spring, you’re likely to find them at 35–38 PSI if you didn’t adjust.
First, inflate all four tires to the maximum cold pressure printed on the sidewall (usually 50 PSI for ST205/75R15 C-load). This compensates for pressure loss and helps prevent flat spots. Flat spots happen when the tire’s weight sits on one area for weeks in cold weather—the rubber stiffens and stays deformed. Over-inflating by just 5 PSI above spec reduces contact patch area and minimizes this. Just be sure to return to normal pressure when you take the trailer out of storage.
Next, put the trailer on jack stands at the frame rails (not the axles) to lift all weight off the tires entirely. This eliminates flat spots and protects the tire beads from freezing to the concrete. If you cannot jack it up, rotate the wheels 180 degrees every two weeks—a trick many owners miss. Place ¾-inch pressure-treated plywood under each tire to insulate from cold ground temperatures.
Check your specific tire’s load capacity before storage loading. For a full breakdown, read Haulmark Edge 6×12 Tire Pressure and Load Rating Guide. The stock tires may not support the winter weight you plan to store, especially if you add snow blowers or heavy equipment.
How Do I Prevent Frozen Door Seals and Moisture Inside?
Frozen rear door seals on the Edge 6×12 are a predictable headache. The OEM rubber gasket around the ramp door and rear barn doors absorbs moisture and then freezes to the aluminum frame. The classic result: you can’t open the doors without tearing the seal. Fix this proactively.
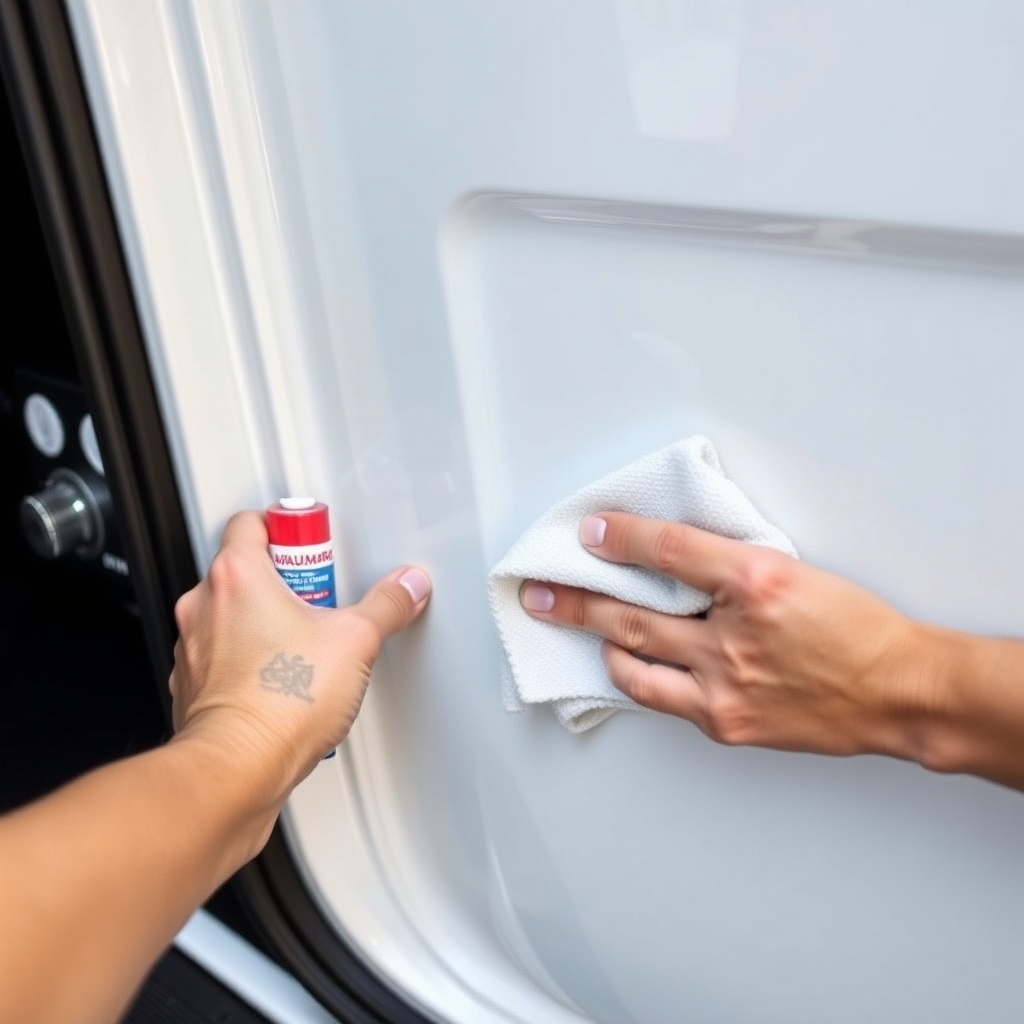
Apply 303 Aerospace Protectant or a silicone-free rubber conditioner to all four door seals (ramp door bottom, side edges, plus the barn door perimeter seals). Work the conditioner into the rubber with a microfiber cloth, wiping off excess. Avoid petroleum-based products like WD-40 or Vaseline—they degrade EPDM rubber and cause cracking within weeks. Reapply after any rainfall that occurs during winter if the trailer is stored outdoors.
Interior moisture management is equally critical. Place two large moisture-absorbing desiccant packs (like DampRid Hi-Capacity bags, about $8 each) in opposite corners of the cargo area. Replace them every 6–8 weeks—they saturate faster in cold climates. Open all interior cabinet doors, drawer the lower vent in the front storage compartment, and remove any ceiling panels that trap moisture. Point a small electric fan (set on low) toward the interior for several hours after any warm day to dry accumulated condensation.
Double-check that your rear door seal isn’t already damaged. If you see cracks, tears, or stretches that don’t spring back, follow Haulmark Edge 6×12 Rear Door Seal Replacement Guide to install a new seal before winter—it’s a $40–$60 part plus an hour of labor that saves endless frustration.
Should I Leave the Ventilation Open or Closed?
This is possibly the most debated topic among trailer owners. Closed ventilation leads to trapped humidity; open ventilation lets snow blow in and pests nest. The correct answer depends on where you store the trailer. For unheated outdoor storage away from snow drifts, crack the roof vent by 1–2 inches and install a vent cover (like MaxxAir II, about $60) that blocks precipitation while allowing airflow. This creates a chimney effect—warm, moist air rises out the top while drier, cooler air enters through lower openings.
If you store indoors in a climate-controlled garage, keep all vents closed and rely on the desiccant packs instead. The goal is to prevent interior temperature swings that cause condensation on metal surfaces—like tool racks, cabinets, and the wiring conduit.
Never seal the trailer completely airtight. Small vents at the front and rear tongue areas allow thermal expansion and prevent pressure differentials that damage the weather seal strips on the ramp door. Seal off the lower 6 inches of the interior walls with plastic sheeting if you store equipment that sweats, such as thawed tools from a workshop—those create massive humidity spikes overnight.
How Do I Protect the Electrical System from Winter Damage?
The Edge 6×12’s interior wiring is vulnerable to cold-induced brittleness and corrosion in connections. Start by unplugging all 12V accessories (lights, inverter, battery charger) and disconnecting the trailer from the tow vehicle’s harness. Spray CRC QD Electronic Cleaner into the 7-pin connector on both the trailer and tow vehicle side, then apply dielectric grease to the pins before covering the connector with a heavy-duty cap.
For the interior wiring, turn off the main breaker to the converter if you removed the battery. This prevents power cycling that stresses the transformer in cold weather. Check all ground connections—especially the frame ground near the tongue junction box—for corrosion. A loose ground in winter amplifies voltage drops, which dim lights and destabilize brake controllers.
If your trailer has upgraded interior circuits (like a separate shore power inlet), inspect the connections inside the distribution panel. Cold temperatures cause copper wire to contract, potentially loosening terminals. Tighten all screw terminals to 15–20 in-lbs with a small torque screwdriver. For a comprehensive overhaul of older wiring, check Haulmark Edge 6×12 Interior Wiring Upgrade: Step-by-Step Guide before winter hits—it’s easier to work in a warm garage than in February.
Finally, protect the brake wiring running along the axles and suspension. Those wires are exposed to road splash and salt spray that freeze and crack insulation. Wrap any exposed wiring with self-fusing silicone tape (like Rescue Tape), then cover with split loom tubing. This is especially critical if you’ve done a suspension swap—Haulmark Edge 6×12 Suspension Upgrade: From Leaf to Torsion details the specific brake wire routing changes needed after conversion.
What Owners Say
Longtime Haulmark Edge owners report two consistent lessons from winter storage mistakes. The first: never skip tire pressure checks between November and March. A forum user in Minnesota shared that after a week of -20°F temperatures, his trailer’s tires dropped from 50 PSI to 32 PSI, causing a wobble that damaged the wheel bearing seals when he pulled out in April. He now checks pressure every cold snap and keeps a portable 12V compressor strapped inside the front compartment.
The second recurring theme is the battery connector corrosion. Multiple owners mention discovering green crust on the battery terminals in spring, even after storing the battery indoors. The culprit is residual sulfuric acid fumes from the battery case vent. They now clean terminals with a wire brush, coat them in dielectric grease, and store the battery in a ventilated plastic bin, not directly on a concrete floor.
Several owners also swear by heavy-duty tire covers made for RV trailers (like Classic Accessories RV Tire Covers, about $35 per pair). While not strictly necessary, the covers block UV rays that degrade tire sidewalls over months of winter sun exposure, plus they shed snow so you don’t dig out parking spots.
One experienced owner recommends “winterizing the hitch” by filling the coupler with marine grease until it oozes out the grease zerk, then wrapping the entire coupler in a heavy-duty plastic bag secured with a zip tie. This prevents ice from forming inside the coupler ball socket and cracking the casting—a repair that runs $250–$350 if it fails.
Frequently Asked Questions
1. Can I drive my Haulmark Edge 6×12 in light snow if I don’t store it?
Yes, but only if you’ve kept the tires at proper pressure and you clear snow from the roof first. The roof load capacity is limited—Haulmark Edge 6×12 Roof Load Capacity Analysis: What You Can Safely Carry explains how to calculate safe snow weight. In general, wet snow over 6 inches deep exceeds the roof’s 300–400 pound live load rating. Drive with reduced speed and avoid sudden stops.
2. How often should I run the trailer’s interior heater during storage?
Only if you have a propane heater installed and the trailer is stored in a ventilated, unoccupied space. Running the heater once a month for 2–3 hours on low setting (around 40°F) helps dry trapped moisture. Until then, place a small dehumidifier inside and empty it weekly.
3. The rear ramp door doesn’t close all the way in cold weather—what’s wrong?
Cold aluminum contracts, and the ramp door’s hinge alignment shifts by 1/16 to 1/8 inch. This is normal. Warm the door with a hairdryer on low heat to expand it, then adjust the latch cam striker plates outward by 1/8 inch. Use a 10mm socket to loosen the three screws on each side. Re-tighten after adjustment.
4. Do I need to cover the trailer’s roof vents?
You should cover roof vents if you live in heavy snow areas—drifted snow can block the vent opening and prevent airflow. Attach a clear vent cover (about $15–$20) that allows air movement but keeps snow out. Remove it in spring to check for condensation buildup under the cover.
5. Should I disconnect the emergency breakaway switch cable?
Yes, always disconnect the emergency breakaway switch cable (the red pin) during winter storage. If snow or ice pulls the cable, the breakaway system will engage the trailer brakes, draining the battery and possibly damaging the brake assemblies. Store the cable clipped to the trailer tongue with the pin inserted fully.
6. How do I prevent mice from nesting inside during winter?
Mice enter through gaps around the wiring conduit entry points and the front tongue compartment. Stuff fine-grade steel wool (not copper, it corrodes) into any openings larger than ¼ inch, then seal with expanding foam insulation. Place peppermint oil-soaked cotton balls in the interior corners and replace monthly—mice strongly dislike the scent, and it’s safe for electronics.