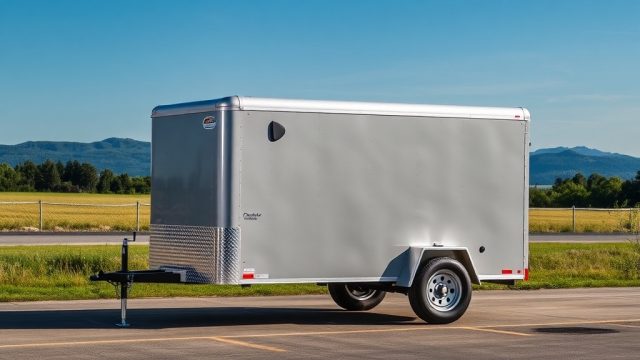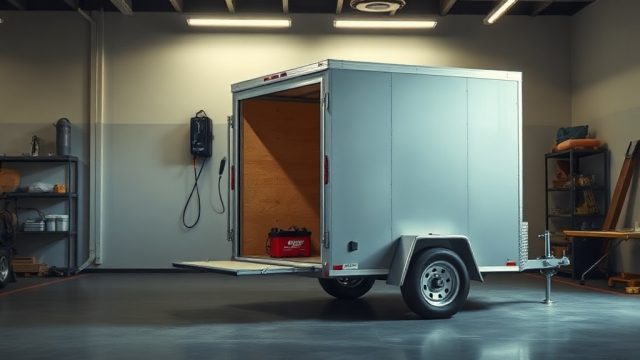
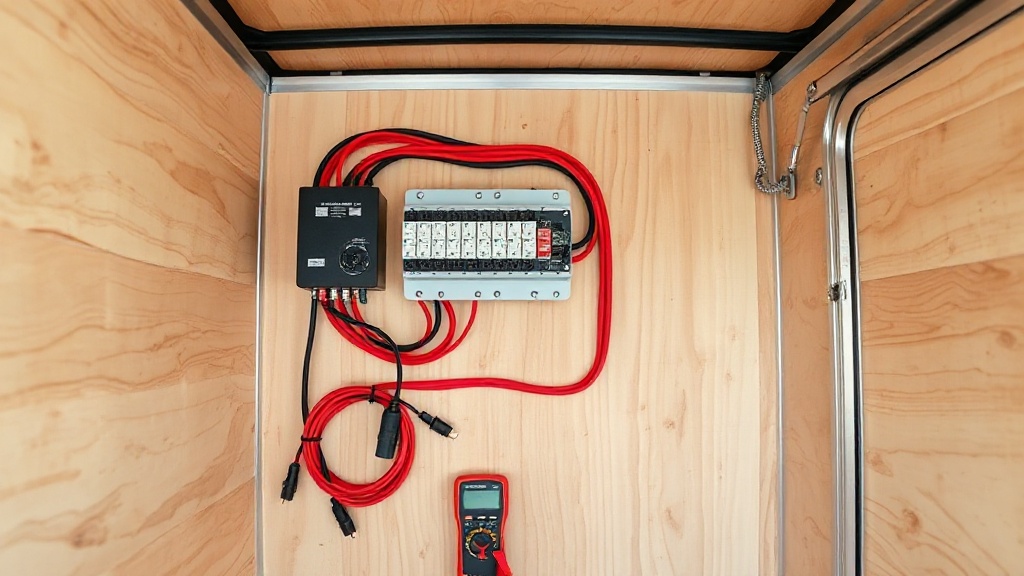
Why Upgrade the Interior Wiring on a Haulmark Edge 6×12?
Owners of a Haulmark Edge 6×12 often find the factory interior wiring adequate for basic lighting and a single outlet, but it quickly becomes a bottleneck when adding accessories like inverters, USB charging ports, or additional 12V circuits. The stock wire gauge is typically 16 AWG for lighting circuits, which can cause voltage drop over longer runs—especially in a 6-foot-wide, 12-foot-long trailer. This step-by-step guide walks through a complete interior wiring upgrade, focusing on safety, capacity, and future-proofing. By the end, the owner will have a system capable of handling up to 30 amps of DC load without sagging voltage or tripping breakers.
What Tools and Materials Are Required for the Upgrade?
Before cutting into the existing loom, gather the following components. All prices are approximate and in USD:
| Item | Specification | Estimated Cost (USD) | Severity of Need |
|---|---|---|---|
| Primary wire (red/black) | 10 AWG stranded copper for main feed runs; 14 AWG for branch circuits | $0.45 per foot (10 AWG); $0.25 per foot (14 AWG) | Critical |
| Circuit breaker panel | 6-position 12V blade fuse block with negative bus bar | $29.99 | Required |
| Marine-grade ring terminals | #8 and #10 sized for battery and ground connections | $8.99 per pack (25 count) | Essential |
| Wire stripper/crimper | Ratchet-style with 10-22 AWG dies | $16.99 | Required |
| Multimeter | Digital with diode check and continuity | $24.99 | Strongly recommended |
| Heat shrink tubing | Adhesive-lined, 3:1 ratio in 3/16″ and 1/4″ | $6.99 per 5-foot pack | Recommended |
| Battery disconnect switch | 250A continuous rated | $19.99 | Optional but advised |
For those planning to integrate LED strips after the wiring upgrade, refer to the Haulmark Edge 6×12 Interior Lighting Upgrade: LED Strip Installation Guide for dedicated drop circuits.

How to Safely Disconnect the Trailer Battery and Locate Existing Wiring?
Begin by disconnecting the deep-cycle battery (if installed) or the towing vehicle if using a 7-pin charge line. Place the trailer on level ground and chock the wheels. Remove the interior plywood panels on the wall where the factory converter or fuse panel sits—typically the front wall near the tongue. On the Haulmark Edge 6×12, the factory wiring enters through a rubber grommet on the left front corner and runs along the wall studs. Use a multimeter to verify zero voltage on all terminals before touching anything. Document the existing layout with photos; the factory often uses zipties and self-tapping screws. Carefully cut any zipties and pull the old loom out of the wall cavity, leaving the conduit in place if possible.
What Is the Correct Routing and Sizing for New Main Feeder Wires?
The main feeder from the battery (or 7-pin connection) to the new fuse block needs to be 10 AWG for distances up to 14 feet round trip. The Haulmark Edge 6×12’s interior is 12 feet long, so the round trip from the tongue-mounted battery to the rear wall is about 24 feet. For that length, 10 AWG is borderline for continuous 30A loads; stepping up to 8 AWG reduces voltage drop to under 3% at 30A. Run the red positive wire through a 30A manual-reset circuit breaker within 18 inches of the battery. Use the black wire for the negative return, bonded to the trailer chassis at a clean, unpainted point using a stainless steel bolt and star washer. Inside the trailer, mount the fuse block on a vertical surface (not on the floor) to avoid moisture accumulation. Connect each branch circuit (lights, outlets, future accessories) to individual 5A or 10A fuses as needed. Do not daisy-chain outlets; run each outlet back to the fuse block separately. For additional roof-mounted accessories, see the Haulmark Edge 6×12 Roof Rack Installation: Maximize Cargo Capacity for wire routing tips through the roof ribs.
How to Install a Ground Bus Bar and Bond the Chassis Properly?
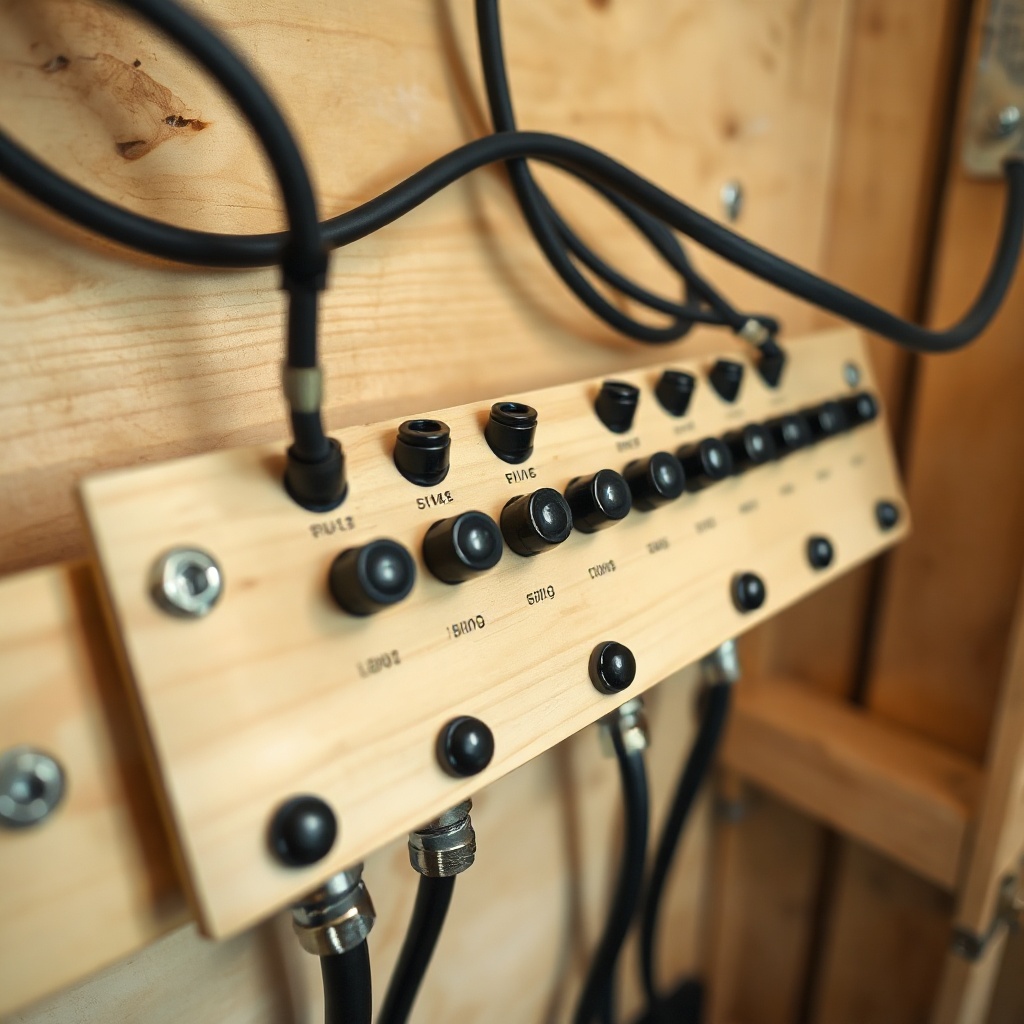
A common failure point in Haulmark Edge 6×12 wiring is inadequate grounding. The factory sometimes bonds only the negative wire to the tongue frame. For the upgrade, install a separate negative bus bar (rated at 100A) near the fuse block. Run a single 8 AWG wire from this bus bar to a clean chassis ground point on the trailer frame—scrape the paint off to bare metal, apply dielectric grease, and use a star washer and lock nut. Run individual negative wires from each circuit back to this bus bar, not to random chassis screws. This prevents ground loops and ensures consistent voltage at every device. Use adhesive-lined heat shrink on each ring terminal to prevent corrosion. Test continuity between the battery negative terminal and the bus bar with the multimeter before closing up the panels. For an additional consideration, if the battery box itself is rusty, reference the Haulmark Edge 6×12 Frame Rust Prevention and Treatment to treat the area before wiring.
What Safety Considerations Apply for Inverter or 120V Circuit Integration?
If the upgrade includes a 120V inverter or shore power charger, never mix AC and DC wire in the same conduit or bundle. Keep AC runs on the opposite side of the trailer, at least 12 inches apart from DC wiring to avoid induction interference. The Haulmark Edge 6×12 has a limited interior wall cavity depth (1.5 inches), so use separate PVC conduits for AC and DC. Install a GFCI outlet at the first AC point. For the inverter, fuse the DC input with a Class T fuse rated at 125% of the inverter’s rated current. For example, a 1000W inverter at 12V draws about 83A, so use a 110A fuse and 2 AWG wire. Never use automotive-style blade fuses for inverter circuits. Consider adding a battery monitor shunt (e.g., Victron BMV-712) for accurate state-of-charge readings. All wire splices must be inside accessible junction boxes—never hide crimps behind permanent wall panels. For those adding a separate lighting circuit, the LED Strip Installation Guide covers dimmer switch wiring requirements.
What Owners Say
Experienced owners on trailer forums report that the factory wiring in the Haulmark Edge 6×12 is adequate for minimal use but becomes problematic when adding a fridge, inverter, or multiple LED strips. One long-time owner noted that after upgrading to 10 AWG main feeders and a proper ground bus, his voltage drop at the rear outlet dropped from 2.1V to 0.3V under a 10A load. Another owner shared that failing to install a battery disconnect switch resulted in a parasitic drain that killed the battery after three weeks. Several owners emphasize labeling every wire at both ends with a P-touch labeler—this saves hours during future troubleshooting. The most common regret is not running extra pull strings in the wall cavities during the upgrade. Those who took the time to add nylon fish tapes in the conduits found adding future circuits much easier.
Frequently Asked Questions
Do I need to upgrade the wiring if I only use factory lights?
No, the factory 16 AWG wiring is sufficient for the stock dome light and basic 12V outlet. However, if you plan to add any additional lighting or charging ports later, upgrading to a 14 AWG branch at this stage saves labor.
Can I reuse the factory fuse block for the upgraded wiring?
Not recommended. The factory blocks are often rated for only 20A total and have spade terminals that corrode. Replace it with a marine-grade block rated at 30A per circuit and 100A total.
What wire gauge should I use for the trailer brakes?
The Haulmark Edge 6×12 typically uses 12 AWG for the brake output from the 7-pin connector. Do not tie brake wires into the interior 12V circuits—they must remain isolated to avoid interference with the brake controller signal.
How do I route wires across the door opening?
If wiring must cross the rear door threshold, use an exterior-rated rubber grommet and flexible conduit. Better yet, route along the ceiling edge using adhesive cable clips. The rear door seal can be damaged if wire is pinched; see the Rear Door Seal Replacement Guide if you need to replace a damaged seal.
Will a wiring upgrade affect my tongue weight?
Negligibly. The extra wire, fuse block, and bus bar add roughly 2 to 3 pounds. For tongue weight considerations and adjustment, refer to the Tongue Weight Measurement and Adjustment Guide.
Can I install a solar panel charge controller with this upgraded system?
Yes, the upgraded fuse block and 10 AWG main feeder support a 200W solar input. Just ensure the solar charger’s output wires are fused at the battery side. The Tire Pressure and Load Rating Guide is not directly related but offers safety checks for the trailer’s load capacity after adding solar weight.