Why Upgrade the Interior Lighting on Your Pennsylvania Cargo 6×12?
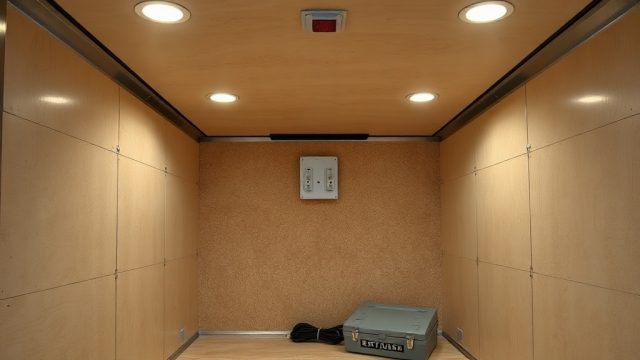
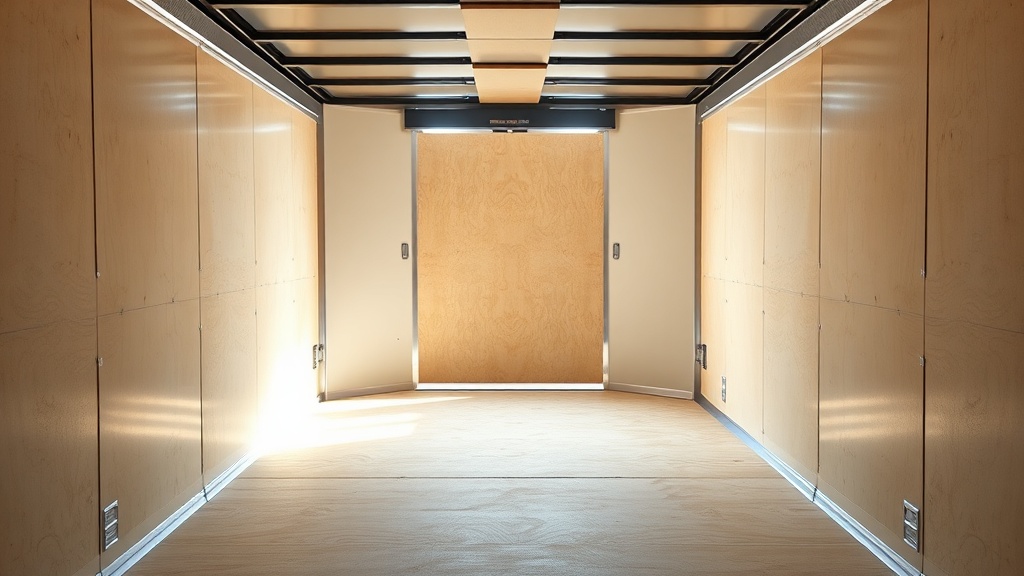
The factory-installed ceiling light in most Pennsylvania Cargo 6×12 trailers provides bare-minimum illumination, often leaving dark corners and making nighttime loading or interior organization difficult. An LED strip upgrade transforms the space, delivering consistent, bright light across the entire floor and sidewalls. This guide walks through selecting the right LED strips, wiring them safely, and positioning them for maximum utility inside a 6×12 cargo trailer.
Before starting this project, ensure your trailer’s electrical system can handle the additional load. Most 6×12 models from Pennsylvania Cargo use a standard 12V DC system with a 7-pin connector. A dedicated LED strip drawing under 3 amps per 16 feet will not strain the circuit, provided the existing wiring is sound. For a deeper review of the trailer’s electrical backbone, see our Pennsylvania Cargo 6×12 Interior Wiring Upgrade: Step-by-Step Guide.
What Type of LED Strips Work Best for a 6×12 Cargo Trailer?
Not all LED strips are suited for the vibration, temperature swings, and moisture found inside a cargo trailer. The best choice for a Pennsylvania Cargo 6×12 is a marine-grade or waterproof 12V DC LED strip with an IP65 or higher rating. These strips have a silicone coating that protects against dust and splashes, which is essential if you haul damp equipment or operate in humid conditions.
- Brightness: Look for strips rated at 300-400 lumens per foot (5,000-6,400 total lumens for a 16-foot strip). This provides ample light without being blinding.
- Color Temperature: A neutral white (4000K-5000K) is ideal. It reduces eye strain during long loading sessions and renders colors accurately for identifying gear.
- Adhesive Backing: Avoid relying solely on the factory adhesive. Use 3M VHB double-sided tape or mechanical clips for a permanent hold inside a moving trailer.
- Cuttable Lengths: Choose strips with cut marks every 2-3 inches. This allows custom sizing to fit the 12-foot length of the trailer without leaving large gaps.
A 16.4-foot reel (5 meters) of waterproof LED strip at 300 lumens per foot costs roughly $35 to $55 USD in local hardware stores or online retailers. For a 6×12 trailer, you can run two 12-foot strips along each sidewall or a single 16-foot strip down the center spine. The center mount provides slightly more even coverage, while sidewall mounting illuminates tie-down areas and storage racks better.
How Do I Plan the Layout for LED Strips Inside a 6×12?
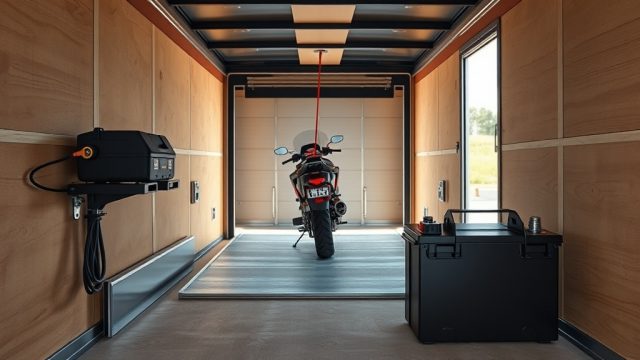
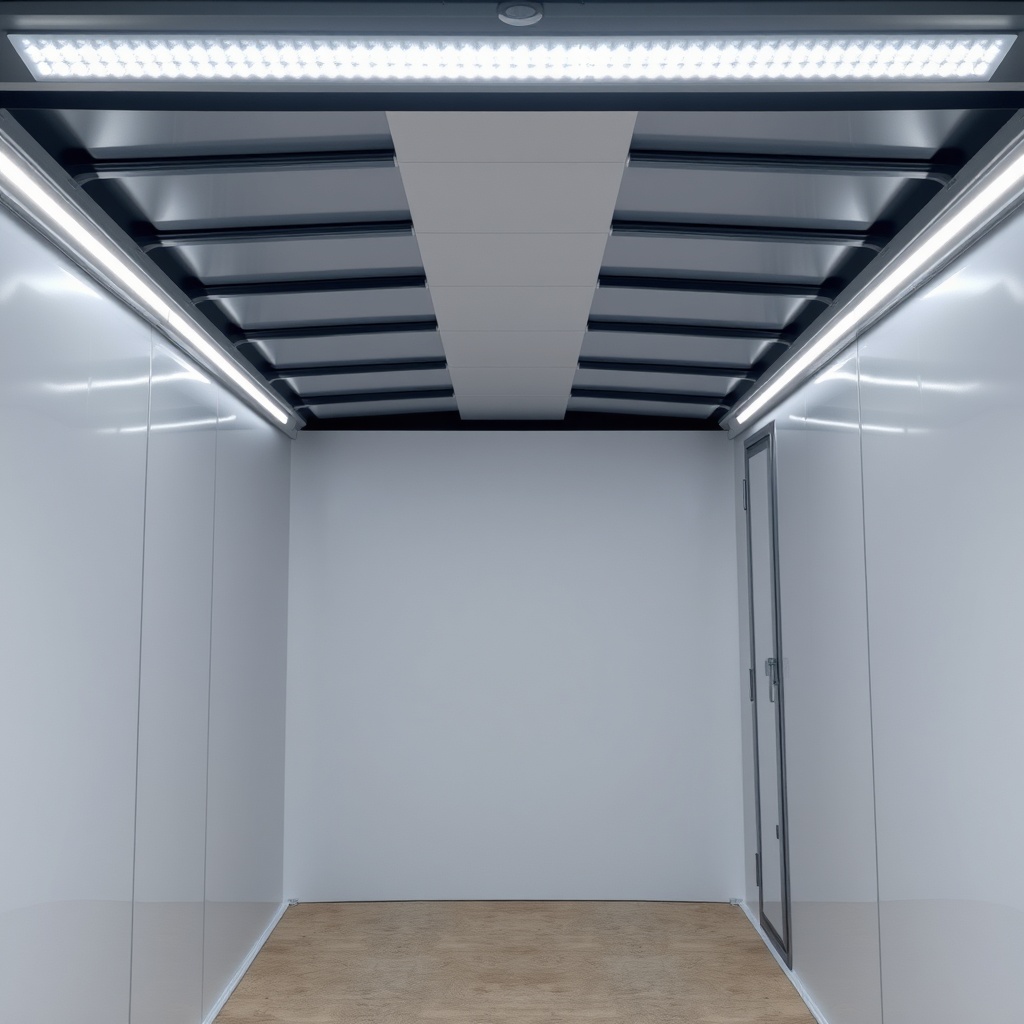
Proper layout ensures the lights serve your specific cargo needs. For a Pennsylvania Cargo 6×12, the most common layouts involve mounting LED strips along the upper edge of the sidewalls, just below the roof line. This position casts light downward across the floor and onto side-mounted shelving or gear racks. If you store items tall, such as motorcycles or kayaks, consider a second strip mounted lower on the wall (about 24 inches from the floor) to eliminate shadows in wheel wells and corners.
For maximum flexibility, install the strips on separate switches. A three-position switch (off/low/high) lets you dim the lights when working inside the trailer without draining the battery. Use a switched distribution block to control each section independently. This setup pairs well with a Pennsylvania Cargo 6×12 Wiring Upgrade: LED Lighting Installation Guide that details wiring diagrams and switch placement.
Sample Layout Table for a 6×12 Trailer
| Mounting Position | Strip Length | Lumens (Approx.) | Best Use Case |
|---|---|---|---|
| Upper sidewall (both sides) | 12 ft each (24 ft total) | 7,200 | General cargo loading, evenly spreading light across the floor |
| Center spine, roof-mounted | 16 ft | 4,800 | Minimal shadowing in tall cargo; leaves sidewalls clear for shelving |
| Lower sidewall (24″ height) | 10 ft each side | 6,000 | Task lighting for gear bins and toolboxes stored near floor level |
| Combined upper & lower | 12 ft + 10 ft per side | 12,000+ | Workshop or mobile detailing interior requiring shadow-free visibility |
Once you decide on a layout, measure the actual wall length inside your trailer. The interior of a Pennsylvania Cargo 6×12 measures approximately 72 inches wide and 144 inches long, but wheel well protrusions and sidewall paneling can reduce usable mounting surfaces. Account for any pre-installed rivet strips or wiring channels before cutting your LED strips.
What Tools and Materials Do I Need for the Installation?
Gather these items before starting the upgrade to avoid mid-project trips to the hardware store. Most materials are available for under $100 USD total.
- LED strip kit: 16.4 ft waterproof 12V DC, 300 lumens/ft, neutral white (5000K). Price: $35-$55.
- 12V DC wiring harness: 16-18 AWG wire, ring terminals, butt connectors, and a 10-amp inline fuse holder. Price: $10-$15.
- Switches: One or two heavy-duty rocker switches (rated for 10A at 12V). Price: $8-$12 each.
- Mounting hardware: 3M VHB double-sided tape (1-inch wide) or aluminum channel with clips. Price: $10-$20.
- Tools: Wire strippers, crimping tool, multimeter, drill with 1/2-inch bit for switch holes, and a heat gun (optional for soldering).
- Safety gear: Safety glasses and a multimeter to verify no live circuits during work.
If you plan to run wires through the trailer’s interior panels, consider picking up a fish tape or a set of plastic wire pullers. The Pennsylvania Cargo 6×12 has a metal stud frame every 24 inches, and you may need to drill small pass-through holes for clean wire routing. Always deburr any metal edges to prevent chafing the wire insulation.
For owners who also plan to seal the interior against moisture, our Pennsylvania Cargo 6×12 Weather Sealing Upgrade: Keep Moisture Out covers complementary steps to prevent corrosion from condensation near electrical connections.

How Do I Wire the LED Strips to the 12V System Safely?
Start by disconnecting the trailer’s battery and the 7-pin connector from the tow vehicle. Use a multimeter to confirm no voltage is present on the circuit you are tapping. The Pennsylvania Cargo 6×12 typically has a dedicated 12V power wire (often orange or red) inside the tongue junction box. If you lack a dedicated wire, tap into the battery leads directly using a fused distribution block.
- Mount the fuse holder: Install a 10-amp inline fuse as close as possible to the power source (within 12 inches of the battery terminal). This protects the entire LED circuit.
- Route the main power wire: Run a 16 AWG red wire from the fuse holder to the switch location. Use a separate black 16 AWG wire for ground, connecting to a chassis ground point or a dedicated ground bus bar. Avoid using trailer frame ground near galvanized areas, as corrosion can cause intermittent failures.
- Wire the switch: Connect the positive wire from the fuse to the switch’s “power in” terminal. Run a second positive wire from the switch’s “power out” terminal to the LED strip’s positive lead. For dual switches, repeat with independent circuits.
- Connect the LED strips: Use a soldering iron or waterproof wire connectors to attach the LED strip’s positive (+) and negative (-) leads to the switch output and ground, respectively. Test the connection with the multimeter before securing the strip.
- Secure and test: Stick the LED strip in place using VHB tape or clips. Reconnect the battery and test each switch. Verify voltage at the strip (should read 12.0-12.6V with a fully charged battery).
If the wiring inside your trailer is older or you want a complete overhaul, refer to the detailed instructions in the Pennsylvania Cargo 6×12 Interior Wiring Upgrade: Step-by-Step Guide. This guide covers running new circuits from the tongue to multiple interior accessories, including these LED strips.
What Are Common Mistakes to Avoid During Installation?
Even a straightforward LED strip installation can go wrong if certain details are overlooked. Here are the most frequent errors owners encounter with their Pennsylvania Cargo 6×12 upgrades.
- Skipping the fuse: A direct connection to the battery without a fuse can cause a short that melts wires or starts a fire. Always install an inline fuse rated for the strip’s total current draw.
- Using non-waterproof strips: Standard LED strips fail quickly in a trailer environment due to humidity and dust. Choose at least IP65-rated strips to avoid premature failure.
- Overloading the circuit: Adding too many strips to a single switch can exceed the switch’s amperage rating. A 10-amp switch can handle up to 120 watts at 12V (two 16-foot strips drawing 3A each safely). Avoid daisy-chain switches not rated for continuous duty.
- Poor mounting adhesive: The factory adhesive on many LED strips will peel off in heat or vibration. Reinforce with 3M VHB tape or aluminum channel clips.
- Ignoring voltage drop: For runs longer than 20 cumulative feet, consider using 14 AWG wire for the main feed and adding a secondary power injection point at the far end. Voltage drop can dim the LED strips noticeably.
If you load motorcycles or heavy equipment, ensure your lighting wiring does not interfere with tie-down straps or won’t get snagged. Our guide on Pennsylvania Cargo 6×12 Winch Mount Installation: Secure Motorcycle Loading covers how to route wires around a winch plate without pinching or abrading the insulation.
What Owners Say
Owners of the Pennsylvania Cargo 6×12 who have completed interior LED strip upgrades consistently report dramatic improvements in usability. Many note that the factory light was useless for loading gear at dusk or dawn, leaving them fumbling with flashlights. After installing two 12-foot sidewall strips on separate switches, owners say they can now see every tie-down point and shelf without shadows.
One owner in Pennsylvania, a contractor who uses his 6×12 for job site equipment, said the upgrade cost him $48 USD for LEDs and hardware and took about three hours to complete. He emphasizes testing the switch placement before drilling holes, as many wish they had placed switches near the rear door for quick access when loading. Another owner who uses the trailer for motorcycle hauling noted that the lower LED strip position (at 24 inches height) eliminated the deep shadows cast by saddlebags and handlebars. Several owners also mention coupling the lighting upgrade with improved ventilation; they recommend reading our Pennsylvania Cargo 6×12 Roof Vents Installation: Improve Airflow and Reduce Condensation to keep the interior dry and reduce moisture damage to the LED strips.
Critiques are minor but helpful: some wish the LED strips had a dimmer function, and a few report that the VHB tape started to lift after two years in a hot, enclosed trailer. The solution, several owners say, is to mount the strips inside aluminum channels, which also improves heat dissipation and provides a clean, professional look.
Frequently Asked Questions
1. Can I install LED strips in my Pennsylvania Cargo 6×12 without professional help?
Yes, the process is straightforward if you have basic 12V wiring knowledge and the right tools. Follow the steps in this guide, and always use a multimeter to confirm connections.
2. How long does an LED strip installation take on a 6×12 trailer?
Most owners complete the project in two to four hours, including measuring, wiring, and mounting. Adding multiple switches or routing wires through panels may extend the time.
3. What is the total cost for an LED strip upgrade on a 6×12?
Expect to spend between $50 and $100 USD. The LED strip kit ($35-$55), wiring and fuses ($10-20), and switches ($10-15) make up the bulk of the cost.
4. Will LED strip lights drain my trailer battery overnight?
Not if you turn them off. A 16-foot LED strip drawing 3 amps will drain a fully charged group 24 battery (70Ah) in about 23 hours if left on. Use a switch to avoid accidental discharge.
5. Can I use these strips with a solar panel or battery charger?
Yes, as long as the solar charge controller can handle the load. LED strips run on 12V DC, so they integrate easily with a solar system. Just ensure your battery is adequately sized.
6. Do I need to remove the interior paneling to run wires?
Not usually. You can run wires along the roof line or behind the sidewall panels if you fish them carefully. Many owners route them inside existing wire tracks or through conduit to protect the wiring and maintain a clean look.