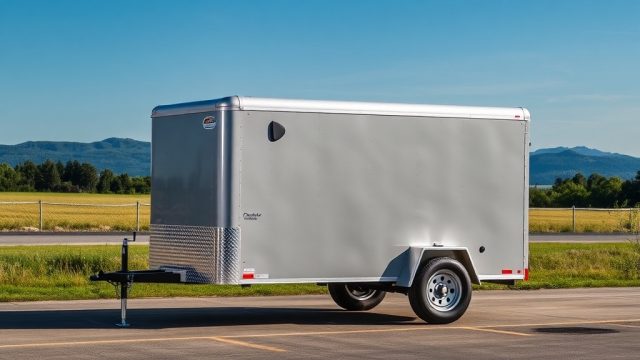
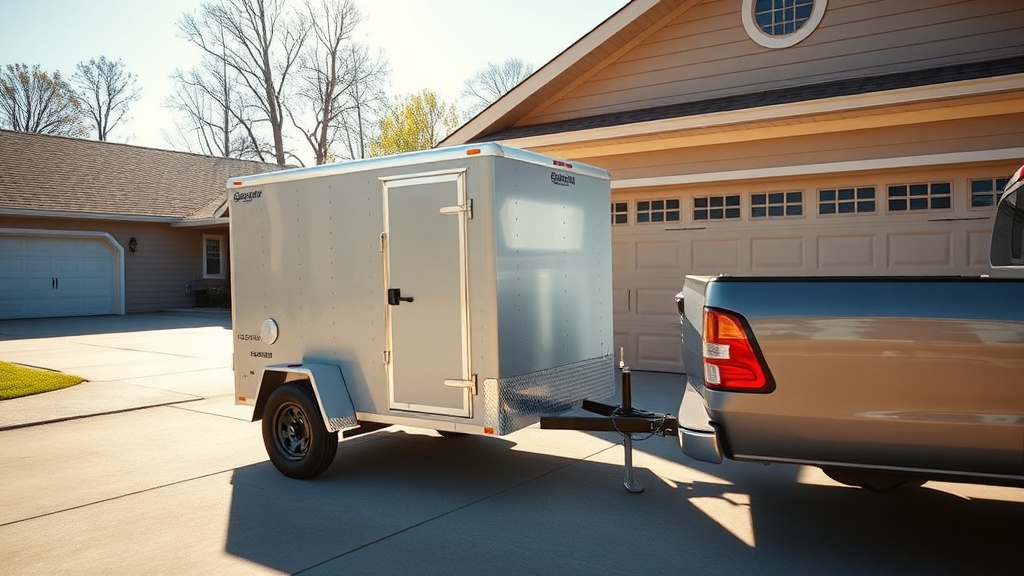
What Makes the Continental Cargo Cargomate 6×10 Brake Controller Installation So Critical?
Proper brake controller installation on a Continental Cargo Cargomate 6×10 isn’t just about legal compliance—it’s the primary safety link between your tow vehicle and trailer. Without a correctly wired and calibrated controller, the 3,500-pound GVWR trailer can push your vehicle during sudden stops, especially when loaded near its 2,540-pound payload capacity. This guide covers the wiring processes, troubleshooting common faults, and long-term upkeep so you can keep your Cargomate’s electric brakes responsive and reliable for years.

Which Brake Controller Works Best with the Continental Cargo Cargomate 6×10?
For a 6×10 utility trailer, a proportional (inertia-based) controller delivers smoother stops than a time-delayed unit. The Tekonsha P3 and Curt Spectrum are common matches due to their adjustable boost settings. Installation begins on the tow vehicle’s firewall, running the main power wire from the battery through a 30-amp auto-reset circuit breaker. The controller’s black wire connects to the brake pedal switch (cold side), while the blue wire goes directly to the trailer’s 7-pin connector. Red wire constant 12V, white ground.
Before cutting any wires, verify your tow vehicle’s existing harness. Many modern trucks have a prewired brake controller lead under the dash, saving you from tapping into the pedal harness directly. For Ford and Ram trucks, the factory pigtail (part number matches your year) reduces splicing. The Cargomate’s 7-pin plug location (often at the center of the front frame rail) should be secured with a weatherproof cap when not in use.
How Do You Wire the 7-Pin Connector on a Continental Cargo Cargomate 6×10?
The trailer’s connector must match the controller’s blue output. On the Cargomate, the 7-pin is typically wired as follows: pin 1 (ground), pin 2 (tail/running lights), pin 3 (left turn/brake), pin 4 (right turn/brake), pin 5 (electric brakes), pin 6 (reverse lockout/shut-off), pin 7 (auxiliary 12V). Verify with a multimeter: no voltage on the blue brake wire until the controller is activated. A common error is wiring the brake wire to the auxiliary pin, which delivers constant 12V and burns out magnets.
| Pin | Function | Wire Color (Common) | Common Fault | Severity |
|---|---|---|---|---|
| 1 | Ground | White | Corroded connection | High – erratic brakes |
| 2 | Tail/Running Lights | Brown | Frayed insulation near frame | Medium – visibility reduced |
| 3 | Left Turn/Brake | Yellow | Loose pin in connector | High – no signal |
| 4 | Right Turn/Brake | Green | Short to ground | High – blow fuse |
| 5 | Electric Brakes | Blue | Open circuit at magnet | Critical – no brakes |
| 6 | Reverse (shut-off) | Purple | Not connected on older controllers | Low – but bypasses brake function |
| 7 | Battery Charge/12V | Red/Black | Overload from battery drain | Medium – dead trailer battery |
Use a 12V test light or multimeter to confirm each function. If the brake light works but the trailer brakes don’t engage, the blue wire may have a break between the connector and the first brake magnet. Check the junction box underneath the Cargomate—many users report loose butt splices there. A Continental Cargo Cargomate 6×10 Electric Brake Adjustment Guide covers manual brake magnet adjustment after electrical issues are ruled out.
What Is the Correct Brake Controller Gain for a Cargomate 6×10?
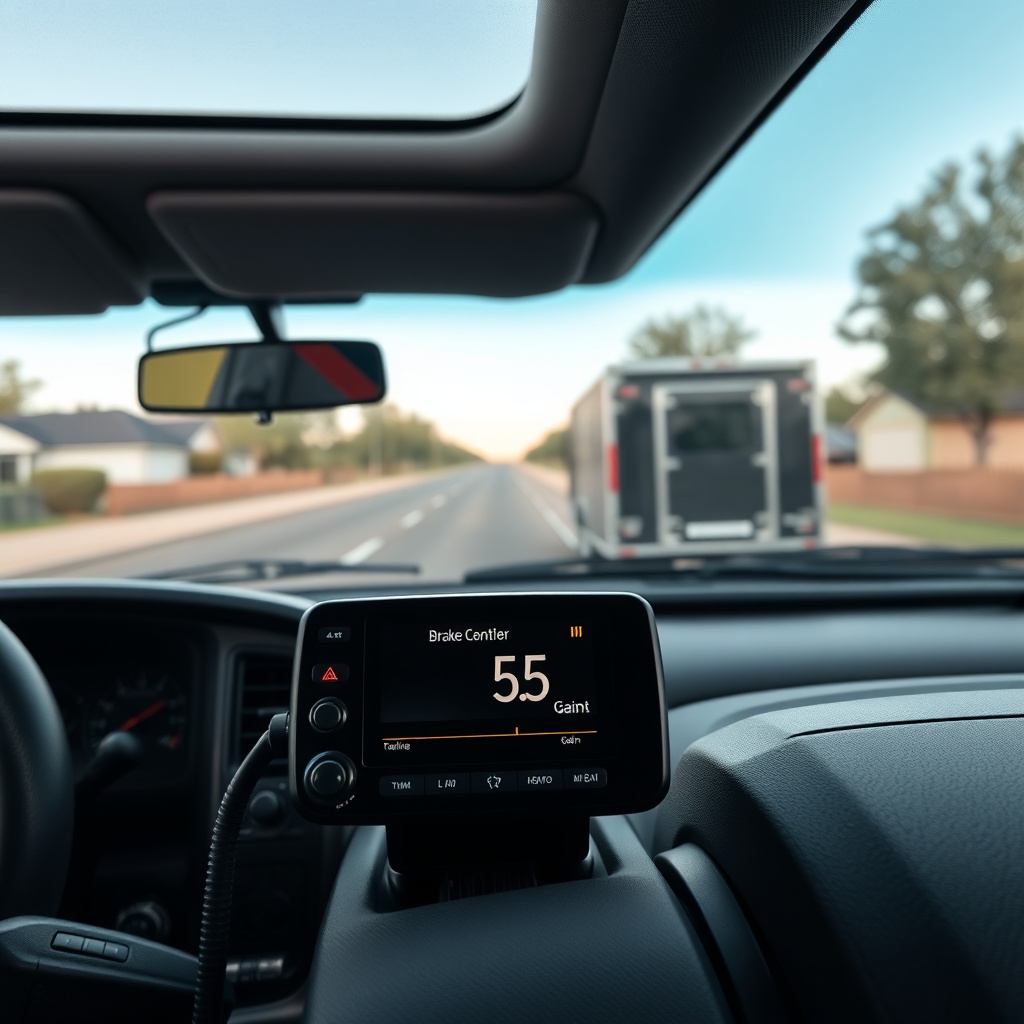
Initial gain setting depends on load weight and controller type. For an empty trailer (around 1,100 pounds dry), start at gain 3. Loaded to 3,500 pounds, increase to gain 6–7 on a proportional controller. The correct gain eliminates trailer push during a gentle stop at 25 mph without locking the wheels. After setting gain, test the sync by driving on a wet road—if the trailer brakes grab suddenly and skid, reduce gain by half a step.
A common mistake is setting gain based on empty trailer weight, then failing to adjust for full loads. The Cargomate’s tandem axle setup (often 3,500-pound axles) responds differently to gain changes than single-axle trailers. Also verify the controller’s boost level—low boost works for wet roads, high boost for dry pavement. Recalibrate the controller after any tongue weight measurement and adjustment, because tongue weight affects brake bias.
Why Do the Cargomate Brakes Lock Up or Drag After Installation?
Locked brakes typically indicate excessive gain setting, a controller short, or a stuck brake magnet. If only one wheel locks, check that magnet’s air gap (should be 0.015 to 0.025 inches). Dragging brakes—when the trailer resists rolling after the controller is set to zero—point to a continuous voltage on the blue wire. This could come from a faulty controller output (some units stay at 2V even in neutral) or a short between the brake and 12V wires in the 7-pin connector.
Use a multimeter at the controller lead: with the controller off, there must be 0V on the blue wire. If you see even 0.5V, the controller circuitry is defective. Also check the ground on the tow vehicle side—a poor ground can cause feedback currents. After electrical faults are ruled out, mechanical binding from rusted brake assemblies may require adjustment. Refer to the Continental Cargo Cargomate 6×10 Electric Brake Adjustment Guide for the star wheel procedure. For severe corrosion, a full brake replacement (average cost $180–$250 USD per axle) might be needed.
What Preventative Upkeep Extends the Life of the Brake Controller System?
Every spring and fall, perform these checks:
- Verify the controller’s plug connection is clean and dry. Dielectric grease on the 7-pin terminals prevents oxidation.
- Inspect the blue wire from the 7-pin connector to the first brake magnet. Look for abrasions where it passes over the frame crossmembers.
- Lubricate the brake adjuster star wheels with anti-seize compound (avoid getting grease on the magnet face).
- Check the brake controller’s mounting bracket for looseness. A loose controller can register false inertia readings.
- Test the manual override slide switch—it should provide immediate full power to the brakes for emergency stops.
If you notice intermittent brake function, start by cleaning both the tow vehicle connector and the trailer connector. A corrosion eraser tool (under $10 USD) can restore contact. Also, the trailer’s ground circuit (white wire) must be securely bonded to the frame. Adding a dedicated ground wire from the 7-pin to the Cargomate’s tongue ring terminal improves reliability, especially after a gate spring hookup upgrade that may shift wiring. For electrical leaks inside the trailer, the LED strip installation guide includes tips on isolating 12V circuits.
What Owners Say
Continental Cargo Cargomate 6×10 owners on forums like TrailerInsider and CargoTrailerTalk frequently highlight these installation realities:
- “My factory 7-pin connector had a loose blue wire terminal.” Multiple owners solved inconsistent braking by crimping a new terminal onto the blue wire at the plug.
- “The brake controller gain for the Cargomate is way lower than for my boat trailer.” Several users report optimal gain between 3.5 and 5.0 when loaded to 2,500 pounds.
- “After three winters, my brake magnets had 1mm of rust—cleaning them fixed the dragging.” Routine magnet cleaning extends brake life significantly.
- “Don’t skip the reverse shut-off wiring.” Owners who omitted pin 6 found that backing up a loaded trailer caused brake drag and overheating.
- “The included manual’s wiring diagram is wrong for the brake wire color.” Some early Cargomate models used purple for brakes instead of blue—always verify with a multimeter.
Frequently Asked Questions
Q1: Can I install a brake controller myself on a Continental Cargo Cargomate 6×10?
Yes, if you have basic electrical skills and a multimeter. Follow the manufacturer’s instructions for your specific controller. If you’re unsure, a professional installation costs between $150 and $350 USD depending on your region.
Q2: What happens if I connect the blue brake wire to the auxiliary power pin?
Auxiliary power (pin 7) delivers constant 12V. Connecting the brake wire there will apply full brake power continuously, overheating the magnets and draining your tow vehicle battery. Correct immediately.
Q3: How often should I adjust the electric brakes on the Cargomate?
Adjust after the first 200 miles of use (brake shoes “seat”), then at least once per year or every 3,000 miles of towing. Check air gap with a feeler gauge—spec for Dexter/Dana axles is 0.015–0.025 inches.
Q4: My brake controller shows “NC” (no connection) on the screen. What do I do?
This indicates an open circuit in the brake or ground wire. Check the 7-pin connector, the trailer junction box, and the brake magnet connections. Also confirm the trailer ground (white wire) is clean and tight.
Q5: Can I use a time-delayed controller instead of a proportional one?
Yes, but proportional controllers are recommended for loaded trailers because they apply braking according to deceleration, not a fixed delay. Time-delayed controllers (<$50 USD) work for empty Cargomate trips but feel jerky under load.
Q6: How do I test the brake magnets without towing?
Jack up one wheel of the Cargomate and spin it manually. Have a helper apply the brake controller’s manual override slider. The wheel should lock completely. Repeat for each wheel. If a wheel doesn’t lock, check that magnet’s wiring and air gap.