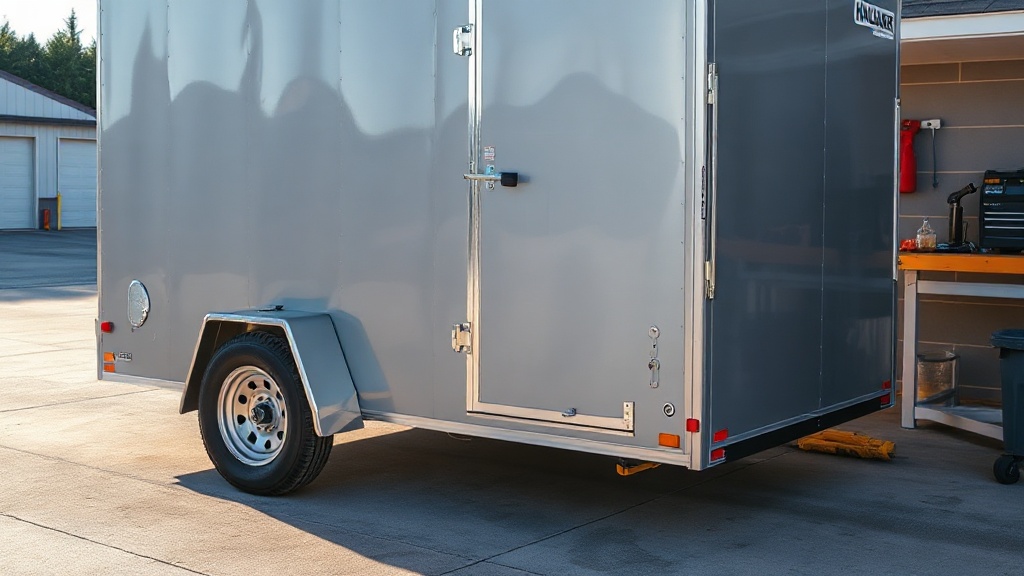
Haulmark Edge 6×12 Side Wall Puncture Repair: Step-by-Step Guide
Side wall punctures in a Haulmark Edge 6×12 are a common consequence of tight quarters, shifting cargo, or accidental contact with sharp objects. Left unrepaired, even a small hole can allow moisture ingress, leading to delamination, mold, and further structural degradation. This guide provides a systematic process for assessing and repairing side wall damage on your Haulmark Edge 6×12, helping you maintain its integrity and extend its service life.
What Materials Are Required for a Side Wall Puncture Repair on a Haulmark Edge 6×12?
Before beginning repair, ensure you have the correct materials. The Haulmark Edge 6×12 side walls typically feature a smooth aluminum skin over a plywood or composite core with an interior liner. A proper repair requires matching the original construction as closely as possible.
- Aluminum patch sheet (0.040-inch or 0.063-inch thick, matching the original gauge)
- Structural adhesive (e.g., VHB tape or epoxy-based panel adhesive rated for aluminum and wood)
- Rotary tool with cutting wheel for clean cuts
- Sandpaper (80-grit and 220-grit)
- Rivet gun and aluminum rivets (3/16-inch or 1/8-inch depending on wall thickness)
- Sealant (marine-grade silicone or butyl tape)
- Backer board or plywood piece to reinforce interior core
- Paint or aluminum coating to match exterior finish
For deeper damage involving the interior liner, refer to our Haulmark Edge 6×12 Interior Wall Insulation Guide: Reduce Condensation and Noise for additional steps.
How Do You Assess the Severity of a Side Wall Puncture?
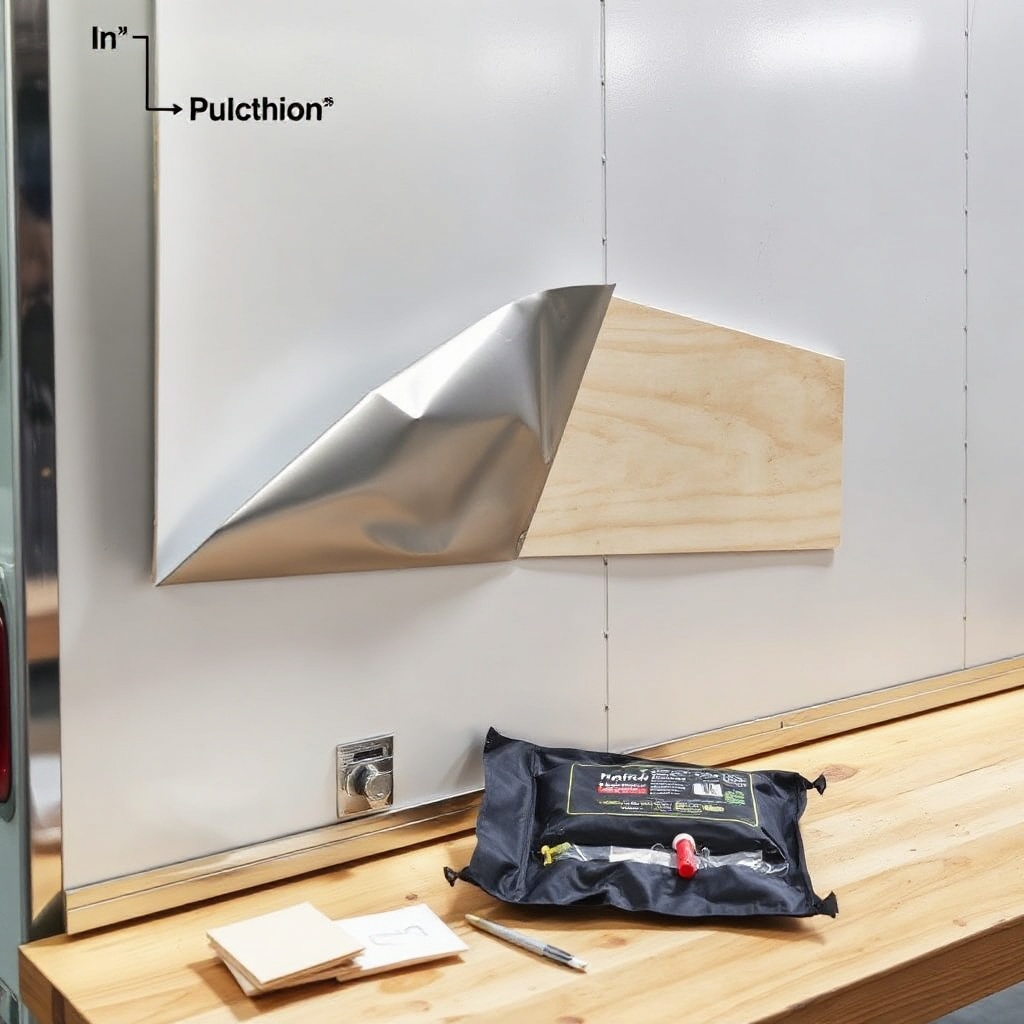
Not all punctures require the same approach. Use the following table to determine the repair method based on damage size and depth.
| Puncture Size | Depth | Recommended Repair Method | Estimated Cost (USD) |
|---|---|---|---|
| Less than 1 inch | Skin only | Sealant patch with rivets | $15–$30 |
| 1–3 inches | Skin and core | Aluminum patch with backer board | $40–$80 |
| Over 3 inches | Full wall thickness | Section replacement or professional repair | $150–$400 |
If the puncture extends beyond the skin into the core, moisture may have already penetrated. For general upkeep, review our Haulmark Edge 6×12 Winter Storage Preparation Guide to prevent further damage during storage.
What Is the Step-by-Step Process to Repair a Small Puncture (Under 2 Inches)?
For punctures under 2 inches, a straightforward patch works effectively.
Step 1: Clean and Prepare the Area
Wash the damaged section with soap and water, then wipe with isopropyl alcohol to remove grease. Sand the surrounding 2 inches in a circle with 80-grit sandpaper to remove oxidation and create a bonding surface.
Step 2: Cut the Patch
Using the rotary tool, cut an aluminum patch at least 1 inch larger than the puncture on all sides. Round the corners to reduce stress points.
Step 3: Apply Adhesive and Rivets
Apply structural adhesive to the back of the patch and press it firmly over the puncture. Clamp in place for 30 minutes. Then, drill rivet holes every 2 inches around the perimeter and install aluminum rivets.
Step 4: Seal and Paint
Apply marine-grade silicone over all rivet heads and the patch edge. Once cured, paint to match the trailer’s finish.
How Do You Repair a Larger Puncture (2 to 4 Inches) That Penetrates the Core?
Larger punctures require reinforcing the interior core to prevent wall flex.
Step 1: Remove Damaged Material
Use a utility knife to cut away any loose aluminum skin and splintered plywood core. Vacuum debris from the cavity.
Step 2: Install Backer Board
Cut a piece of 1/2-inch exterior-grade plywood to fit snugly into the cavity from the interior side. Apply adhesive and screw it into place from inside the trailer.
Step 3: Patch the Exterior
Cut an aluminum patch 2 inches larger than the hole. Apply adhesive and secure with rivets through the skin and into the backer board.
Step 4: Seal Both Sides
Apply sealant to the exterior patch and interior liner edges. For interior finishing, see our Haulmark Edge 6×12 Interior Wall Insulation Guide: Reduce Condensation and Noise for liner replacement tips.
What Alternative Repair Methods Exist for Side Wall Damage?
Depending on the puncture location and accessibility, other methods may be suitable.
- Fiberglass patch – For small holes, a fiberglass cloth and epoxy kit can work but may not match aluminum appearance. Not recommended for high-stress areas.
- Self-adhesive aluminum tape – A temporary fix for emergencies. Rated for up to 6 months but not for structural pressure loads.
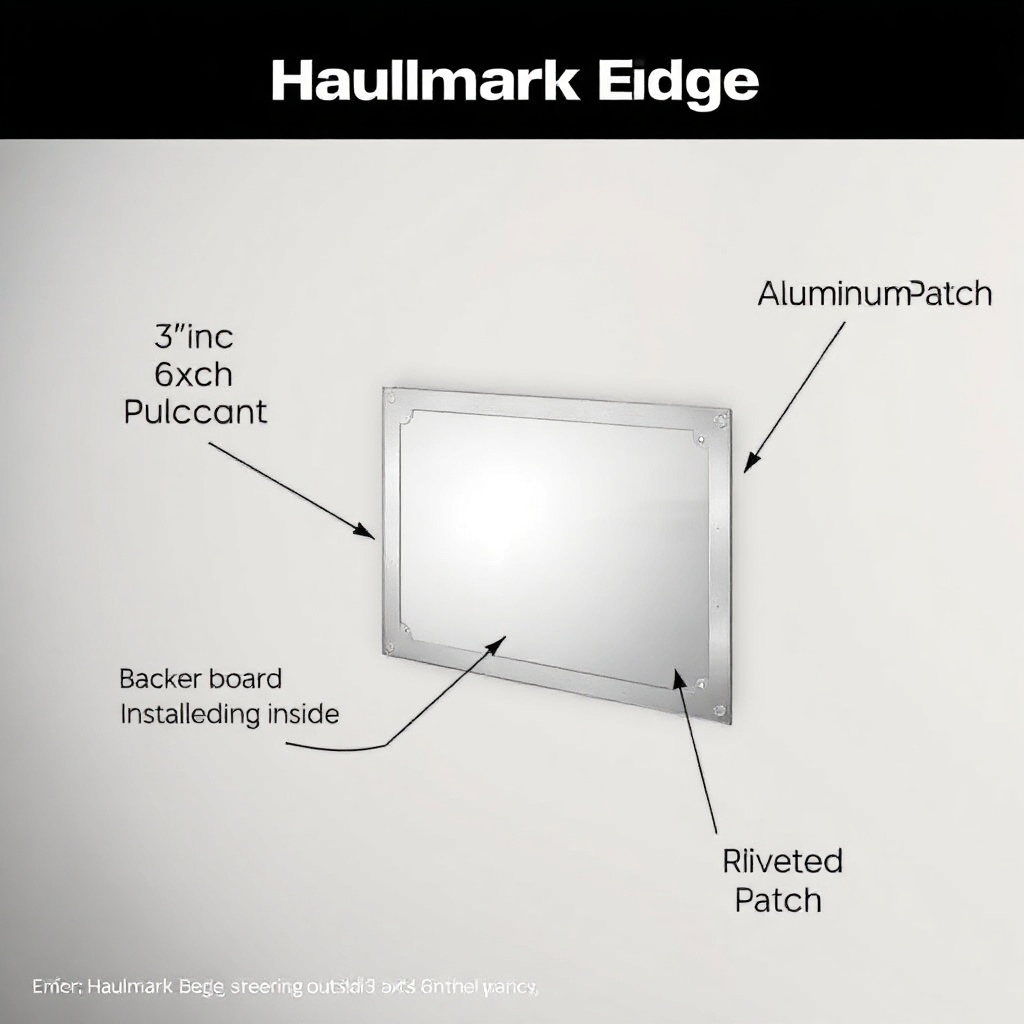
- Riveted plug patch – A pre-formed aluminum plug that fits into the puncture hole exactly, sealed with butyl tape. Ideal for round punctures from bolts or posts.
- Professional welding – For punctures near seams or corners, TIG welding by a certified trailer technician may be required. Costs range from $200 to $500.
If the puncture is near the hitch area, inspect the Haulmark Edge 6×12 Hitch Receiver Wear: Inspection and Replacement Guide to ensure structural integrity is intact.
What Do Owners Say About Haulmark Edge 6×12 Side Wall Puncture Repairs?
Owner experiences with side wall puncture repairs on the Haulmark Edge 6×12 are generally positive, though the learning curve varies. Many note that the aluminum skin is relatively easy to patch compared to fiberglass trailers.
“I hit a low branch backing into a storage lot. The 2-inch puncture in the side wall took me about three hours to repair with a patch and rivets. It’s held up through two winters now,” reports Mark T., a weekend hauler from Ohio.
“The plywood core got wet before I noticed the hole. I had to cut back 6 inches of wall to get dry wood. It was messy, but the instructions in this guide helped me get it right,” says Jennifer L., who runs a mobile pet grooming business from her Edge 6×12.
Several owners caution against using pop rivets that are too long, which can interfere with the interior liner. For flooring repair tips related to cargo spillage, check our Haulmark Edge 6×12 Flooring Options Comparison: Plywood vs Aluminum vs Composite.
Frequently Asked Questions
1. Can I use a standard automotive body filler on a Haulmark Edge 6×12 side wall?
No. Body filler is not structural and will crack under vibration. Use an aluminum patch with adhesive and rivets for a permanent repair.
2. How long does a side wall puncture repair last?
When done correctly with the right materials, a repair can last the remaining life of the trailer (10–20 years). Improper sealing may fail within 1–2 years.
3. Do I need to remove the interior liner to repair a side wall puncture?
Only if the puncture penetrates through the interior skin or the core is severely damaged. For small punctures, you can work from the exterior alone.
4. Is it safe to tow with a punctured side wall?
A small puncture (under 2 inches) does not affect structural safety, but it invites moisture damage. Larger punctures should be repaired before long towing trips to prevent wall failure.
5. Can I upgrade the brake controller while the side wall is open for repair?
Yes. With the wall panel accessible for wiring, this is an ideal time to install a modern unit. See our Haulmark Edge 6×12 Brake Controller Installation Guide and Haulmark Edge 6×12 Brake Controller Upgrade: Bluetooth Integration for options.
6. How much does a professional side wall repair cost on a Haulmark Edge 6×12?
Professional repair at a trailer shop ranges from $150 to $600 USD depending on damage size and location. DIY costs typically run $20 to $100.